Go to Table of Contents
This is a brief overview of the entirety of House Vladaam, including its members, citizens, business affairs, and criminal enterprises. You can use it to orient yourself as you explore and run the adventure.
LORD VLADAAM
IRISTUL VLADAAM: Leader of the Vladaams. Currently searching the world for hungerswords. (Ptolus, p. 100)
HEIRS
ALIASTER: Eldest brother. Specializes in arcane magic and alchemy.
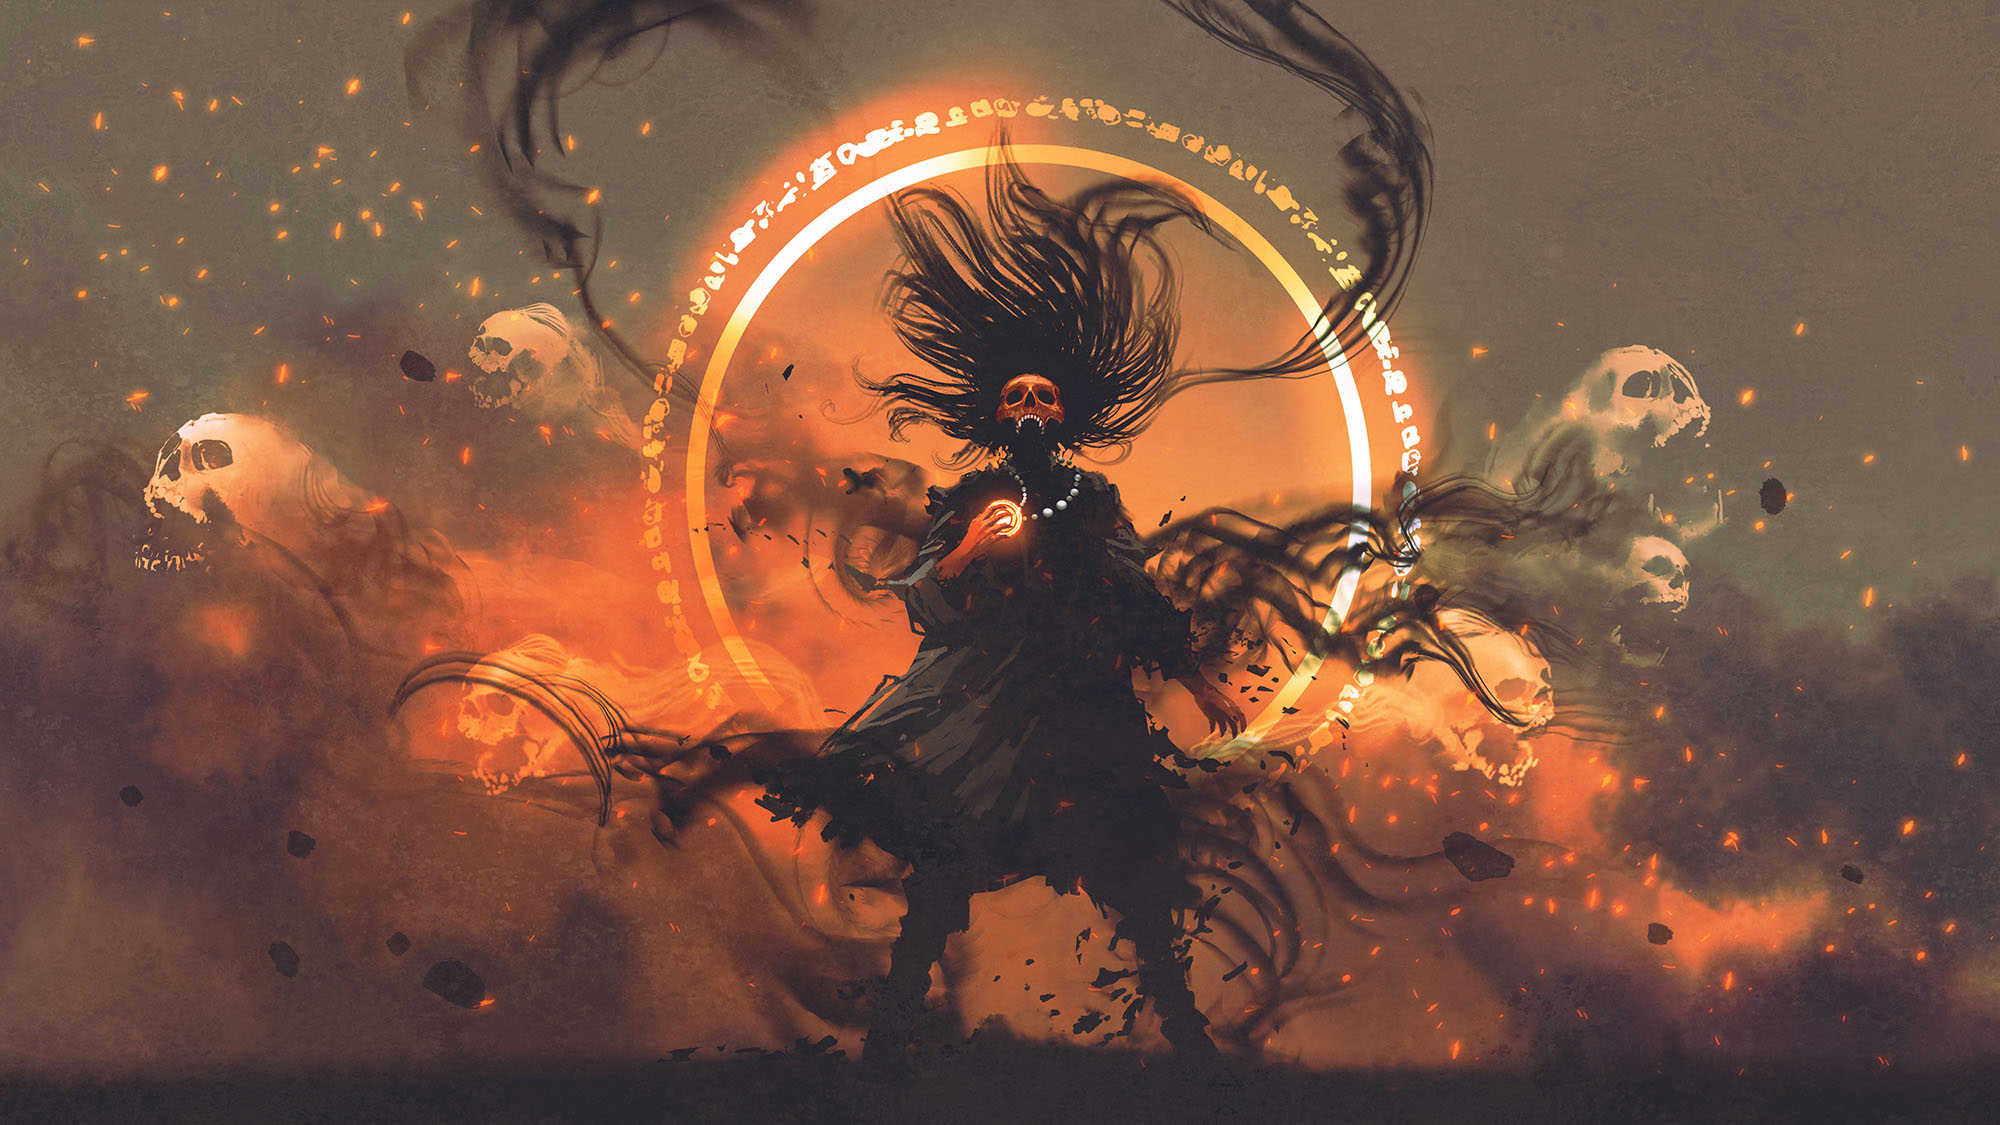
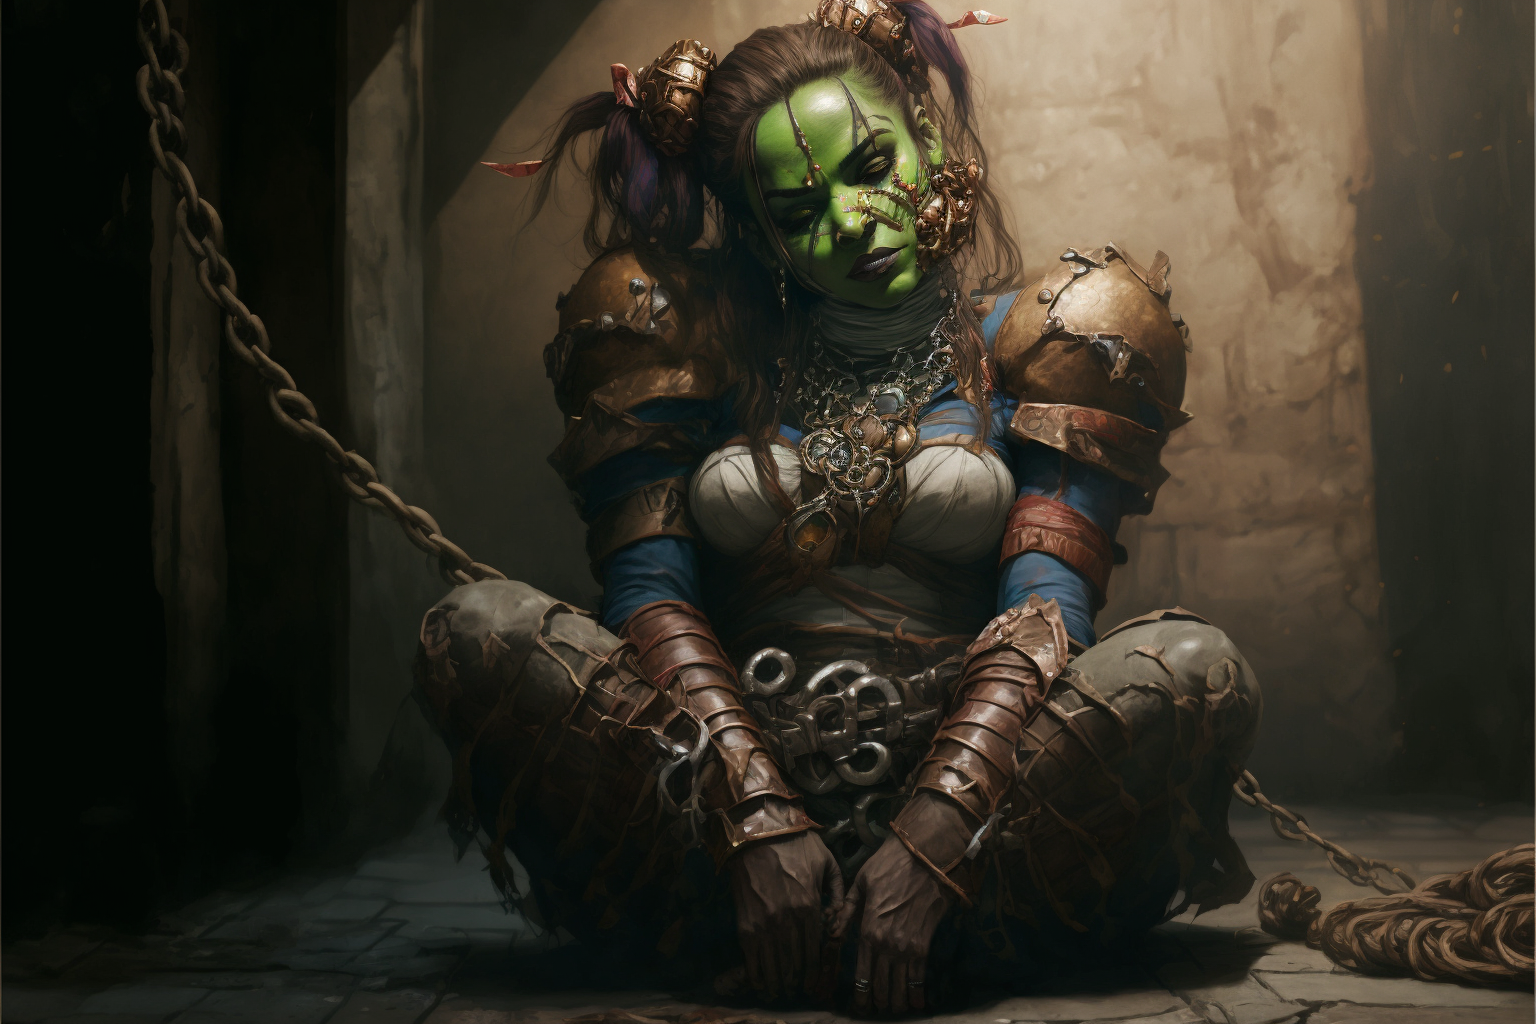
GATTARA: Eldest sibling. Given to fits of irrational rage. She abandoned arcane studies to become a priestess of the Galchutt.
GODFRED: Younger brother. A lumbering oaf who enjoys violence.
NAVANNA: Younger sister. The de facto leader of the family in Ptolus. Mostly keeps out of the public eye.
The heirs are described in more detail in Part 2: The Vladaam Family.
HOUSE ESTATE
Vladaam is one of the smaller houses, claiming a total deot of 636 citizens. (However, it’s suspected that their actual total may be higher due to shadow members of the deot who participate in criminal activities.)
NOTABLE PROPERTIES:
The Vladaams own dozens of properties throughout Ptolus and many more through their various guilds (see below). Notable properties include:
- Vladaam Family Estate (Part 5)
- Abandoned Temple of the Great Mother (Part 6)
- Alchemical Labs (Part 7)
- Oldtown Apartments (Part 15)
PROPERTY LEASES:
If a search of a property’s deed is made at the Administration Building — DC 25 Charisma (Investigation), -1 per 5 gp of bribe, minimum DC 15 —the following ownership can be discovered:
- The ownership of any guild’s properties is generally in the name of the guild (and these guilds are recognized as being part of House Vladaam’s deot).
- The deed for the Abandoned Temple of the Great Mother is held by the Red Company of Goldsmiths.
- The Alchemical Labs are all directly owned by House Vladaam, except for the Storefront on Guilder Street (which is officially the Red Company of Alchemists).
- The Curse Dens are all owned by Marcus Corellius (Curse Den Master).
- The Oldtown Apartments are all directly owned by House Vladaam.
- The Slave Trade Warehouse is owned by Marcus Corellius (Curse Den Master).
- The Undead Shipping Warehouse is officially owned by the Guild of Silver Seamstresses (an organization that doesn’t actually exist, but pays its taxes regularly).
NOTABLE HOUSE GUILDS
The house guilds of the Vladaams are also known as the Red Companies. (The Red Company of Glaziers, for example.) The house controls a couple dozen guilds of various sizes and importance. Notable red companies are listed below.
RED COMPANY OF ALCHEMISTS
Red Company of Alchemists. Officially operating out of a building on Guilder Street, the Red Company of Alchemists maintains a network of secret alchemy labs around the city for making illicit substances. (Part 7: Alchemical Labs)
RED COMPANY OF FLETCHERS
Well-known for the distinctive black shafts of their arrows. These arrows have become particularly favored by assassins in Ptolus, although the Vladaams deny any direct connection. After all, anyone is free to purchase their guildcraft; they have no control over what they do with it after that.
The Red Company of Fletchers also maintains a black market in dreadwood arrows. They harvest the wood from an underground grove maintained by the guild. (Part 10: Guild – Dreadwood Grove)
RED COMPANY OF FOUNDERS
Publicly a guild of brass and bronze workers. In practice, however, this guild has become the focal point for Vladaam research into chaositech.
Word on the street is that the Shuul believe the Red Company of Founders is responsible for a recent theft from the Foundry. They have been unwilling to make an official complaint due to the prestige of House Vladaam, but they are currently looking to hire some mercenaries to steal their goods back. (Part 11: Guild – Founders’ Workshop)
RED COMPANY OF GLAZIERS
Essentially the only guild in Ptolus specializing in paned glass. They achieve this distinction – and the monopolistically high prices that come with it – by virtue of violently shutting down competitors. (The term “glass-shatterer” has become common slang in Ptolus for guild-on-guild violence.)
The company also supplies alchemical glassware.
RED COMPANY OF GOLDSMITHS
A small metal-working guild. The Vladaams use it to launder stolen funds and goods from their other enterprises. (Part 12: Guild – Goldsmiths)
RED COMPANY OF MAGI
This is a wizard’s guild directly under the control of Aliaster Vladaam. Although relatively small by some standards, in the shadow of the Inverted Pyramid, the Red Company of Magi is one of the largest groups of organized spellcrafting in Ptolus. (Part 13: Guild – Red Company of Magi)
The group is ostensibly dedicated to research, but the junior members of the company are deeply enmeshed into the illegal activities of the Vladaam family (providing arcane might where and when it’s necessary). The company’s dedication to research is not entirely a sham, however: The senior members of the company – referred to as “Archmages” – are often pursuing arcane research.
RED COMPANY OF SURVEYORS
This company of mapmakers rose to prominence nearly three centuries ago when they began producing incredibly detailed maps of the Serpent’s Teeth based on the exploration ships that were sent into the southern reaches of the island chain by Yrkyth Vladaam. These charts greatly expanded trade throughout the Whitewind Sea during the decades leading up to the Great Sea War.
The Red Company of Surveyors still uses as its mark the great seal Yrkyth used when he was head of the household. It’s also said that the company was intimately involved in the creation of Yrkyth’s “Enigma Engine”. The company’s influence considerably declined following Yrkyth’s disappearance in 651 IA, but continues to be known for their accurate navigation charts.
The company’s chart-making workshop is located in Oldtown. Their apprentices work as boy messengers on the Docks, purchasing interesting chart data from docking ship captains. (Some of these apprentices are part of Part 18: Vladaam Drug Running.)
The guild uses a diamond-feather badge (representing the quills of the cartographers, but also having deeper meanings for the Brotherhood of Yrkyth).
See the Brotherhood of Yrkyth, below, and Part 14: Guild – Surveyors’ Headquarters.
RED COMPANY OF PAINTERS
Colloquially known on the streets as the “Forgers’ Guild”. They provide portraiture and murals of all kinds, but fifteen years ago they were involved in a minor scandal involving their forgeries. The company was able to successfully weasel their way out of it by claiming that the works were merely imitations and were never meant to actually deceive anyone.
RED COMPANY OF PAVIORS
Responsible for laying much of the original roadwork for Rivergate, the company still holds license for maintaining most of those paving stones and also the maintenance of the Rivergate Bridge.
A century ago, the Red Company of Paviors was involved in a scandal involving repeated sabotage of the Wings Fall Bridge. Their tolling rights for the Rivergate Bridge were stripped from them, but the Vladaams responded by getting all bridge tolls banned within the city.
OTHER ACTIVITIES
BROTHERHOOD OF YYRKYTH
The Brotherhood of Yyrkyth is a secret society founded by Yrkyth Vladaam in 600 IA. Its membership is primarily made up of the senior members of the Red Company of Surveyors and the captains of the Fleet of Iron Sails.
In the early decades of the 7th century, the Brotherhood coordinated the gathering of arcane knowledge from the arcane isles of the Whitewind Sea using the Fleet of Iron Sails and the Red Company of Surveyors. They were also involved in the creation of Yrkyth’s “Enigma Engine” (the plans for which are still held in their secret headquarters beneath the Red Company of Surveyors). Following Yrkyth’s disappearance in 651 IA, the Brotherhood withdrew itself into a greater cloak of secrecy.
The Brotherhood is deeply tied to a variety of Vladaam activities, but is notable because none of the current Vladaam family are members. It’s a secret within a secret. However, the Brotherhood does arrange for certain arcane information gathered by the Brotherhood to be transmitted to the family for its benefit. (For example, the Brotherhood was responsible for forging the family’s connection with the dark dwarves in Catar, which resulted in the family gaining the services of the dark dwarf alchemy masters. See Part 7: Alchemical Labs.)
The sign of the brotherhood are four quills laid over each other to form the pattern of a diamond.
See Part 14: Guild – Surveyor’s Headquarters.
CURSE DENS
These dens of iniquity feature a rich drug culture mixed with strange curse magicks and gambling. (Part 8: Curse Dens)
DRUG RUNNING
The Vladaams deal primarily in three drugs. The Fleet of Iron Sails (see Part 9) is used to smuggle in Snakeweed and Abyss Dust from Freeport, while the slave trade (Part 16) is used to create Liquid Pain. (See Vladaam Drug Running.)
ITHILDIN COURIERS
The Vladaams also run one of the many companies of couriers in Ptolus. The Ithildin Couriers carry small badges of ithildin (a decorative silver that glows at night but is dull and almost invisible during the day) and are notable for three reasons: First, they operate primarily at night, a time when most other courier services are either shut down or operating at a reduced capacity. (This has also earned them the nickname of “the night couriers”.)
Second, the ithildin badges they carry provide a rudimentary form of message authentication. The message sender takes the badge and speaks a password to it. The receiver can then speak the same password and the ithildin will flash brightly.
Finally, they carry the full and brutal protection of House Vladaam. No one dares to interfere with an Ithildin Courier, and that includes the Watch.
As a result, the Ithildin Couriers are one of the most secure methods for sending a message in the city.
FLEET OF IRON SAILS
The Vladaams maintain a fleet of trade ships which are active throughout the Whitewind Sea. They are notable for their dull grey sails. The current Fleet of the Iron Sails contains 18 ships. See Part 9: Fleet of Iron Sails and Part 16: Slave Trade Ships.
Note that all ship captains of the Fleet of Iron Sails are members of the Brotherhood of Yrkyth.
SLAVE TRADE
The Vladaams are involved in the slave trade in two ways.
- The Fleet of Iron Sails – specifically the Pride of Morrain, Eye of the East, and Sarathyn’s Sail – are regularly used to transport slaves for the Ennin. These ships collect slaves from the Serpent’s Teeth and deliver them to the Ennin Headquarters (Ptolus, p. 168).
- The Vladaams maintain a warehouse as a place where the Ennin can temporarily store slaves who are going to be sold at the Ennin Slave Market (Ptolus, p. 399). It’s used as either an overflow storage facility or as a place to move the current stock of the Slave Market if it’s threatened by law enforcement. The Vladaams offer this service gratis in exchange for being allowed to use the slaves to process Liquid Pain (see Drug Running, above).
See Part 16: Slave Trade.
UNDEAD SHIPPING
The Vladaams maintain a black market for undead in Ptolus based out of a warehouse in the South Market. See Part 17: Undead Shipping Warehouse.
Go to Part 2: The Vladaam Family