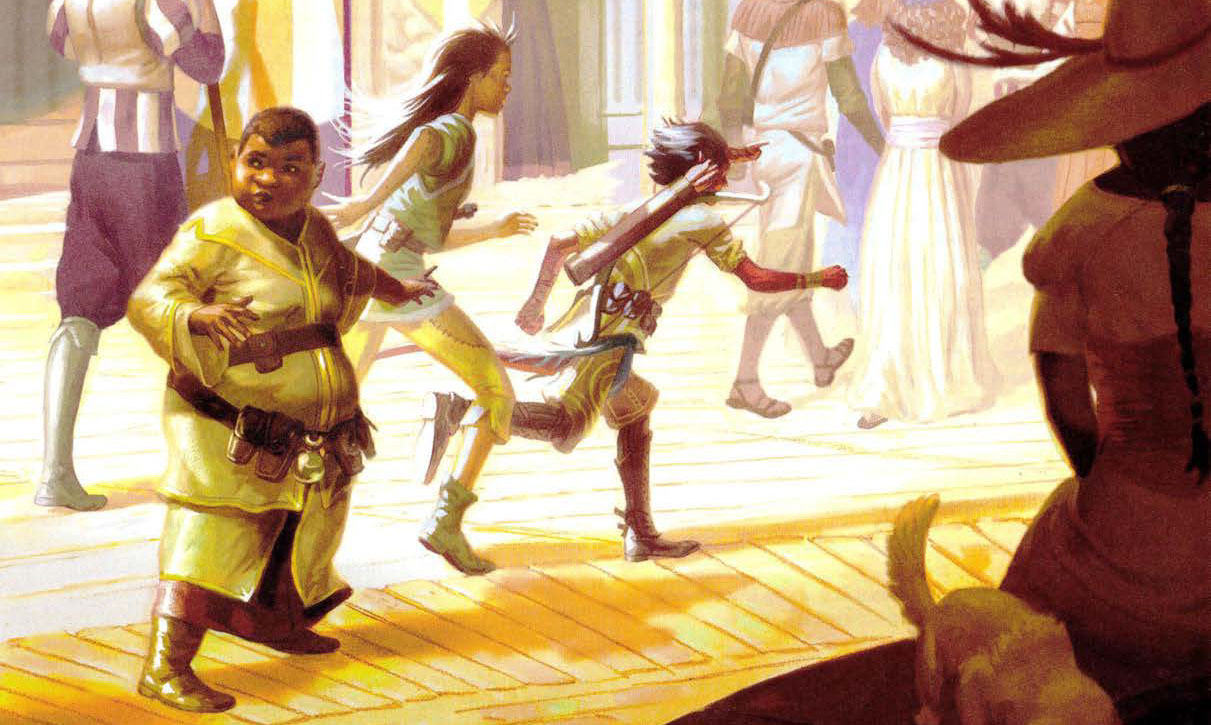
In my Dragon Heist campaign, the PCs ended up adopting the orphans. (Something which I have rather good reason to suspect is far from uncommon.) They also decided that they would, of course, have to make arrangements for their proper education, and so they began arranging apprenticeships and tutors for them.
JENKS wanted to become a cook. (He’d already been hanging out with the cooks the PCs had hired for Trollskull Manor and had been helping out in the kitchen.) His apprenticeship in my campaign was rather bespoke, as the PCs had acquired Frewn’s Brews (after driving Emmet Frewn out of town), converted it into a bakery, and made arrangements with the Baker’s Guild to sponsor an apprentice cook who was ready to become her own master. Thus was born Amara’s Bakery, and it was quite natural for Jenks to be apprenticed there.
NAT wanted to learn magic. Eltorchul Academy was an arcane academy founded by the Eltorchul family. (Detailed in the 3rd Edition City of Splendors sourcebook.) The current headmaster is Ambrulavage and Nat was placed under the immediate attention of Miss Ferolie.
SQUIDDLY, inspired by the party’s ranger, wanted to become an archer. He was apprenticed to the Fellowship of Bowyers and Fletchers. The guildmaster is Javan Riautar and Squiddly was apprenticed to Master Kennadr.
TUTORS
In addition to their apprenticeships, the PCs also arranged for additional tutors. I had four tutors respond to their advertisement, and the PCs ended up hiring several of them.
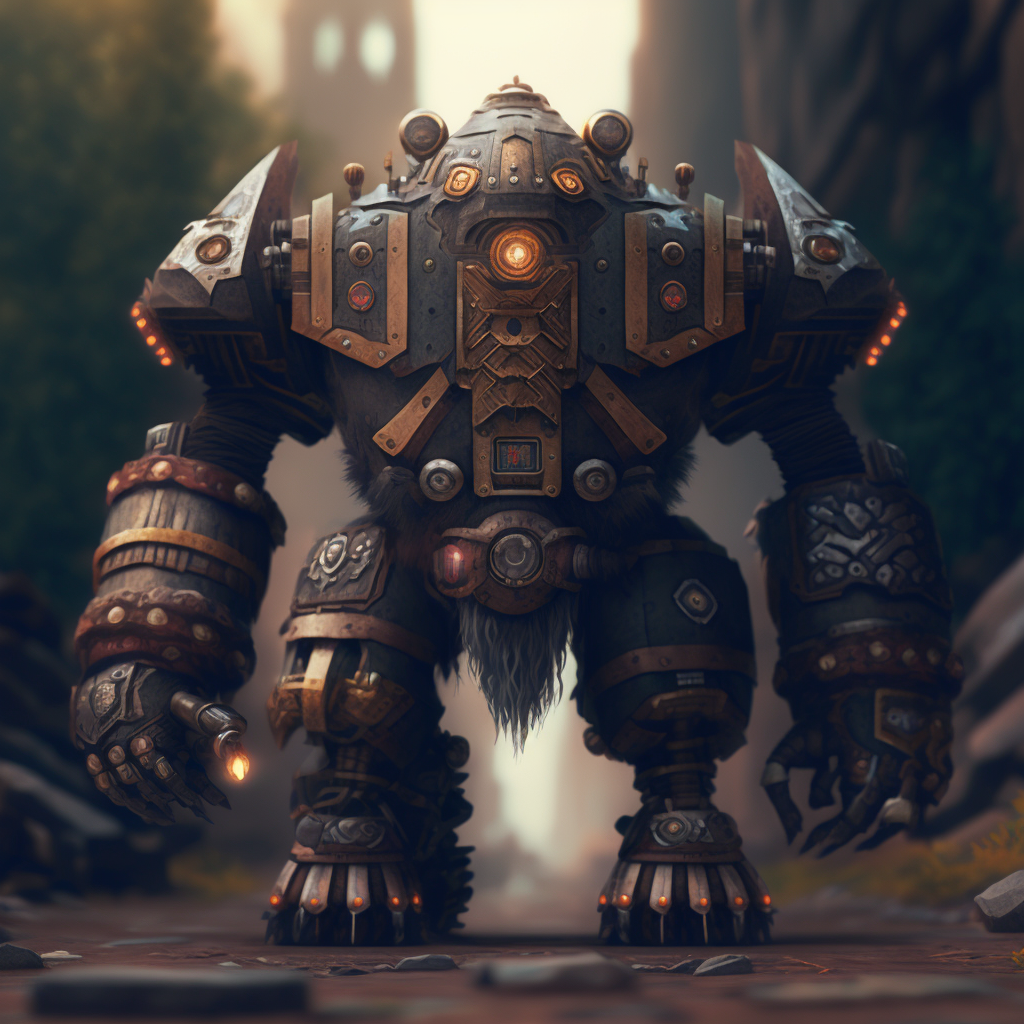
NALOLIR is a podrikey — a dwarven mining construct with the brain and spinal column of a kobold inside it. Nalolir escaped from Undermountain a hundred years go and now focuses on teaching history. He speaks with a somewhat robotic voice, but moves with a gentleness and precision somewhat belied by the sheer mass of metal being propelled.
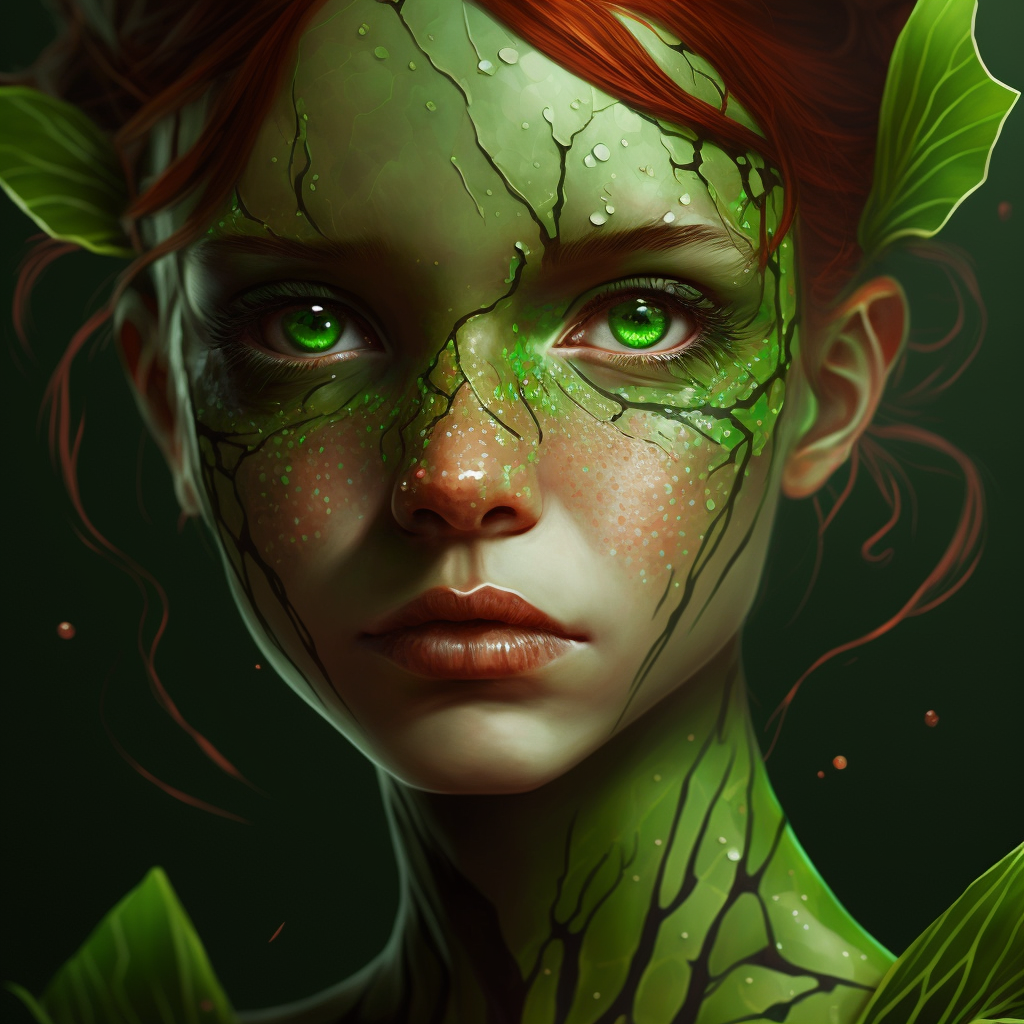
FIREDROP is a pixie philosopher. She teaches the three philosophers — natural (the properties of the physical universe), moral (the study of sentient thought and ideology), and metaphysical (lore of the arcane and extraplanar). Physically, she is effervescent, always in flight and flitting here and there. Her speech is erudite, while also reflecting the endless, bubbling font of curiosity which is constantly driving her.
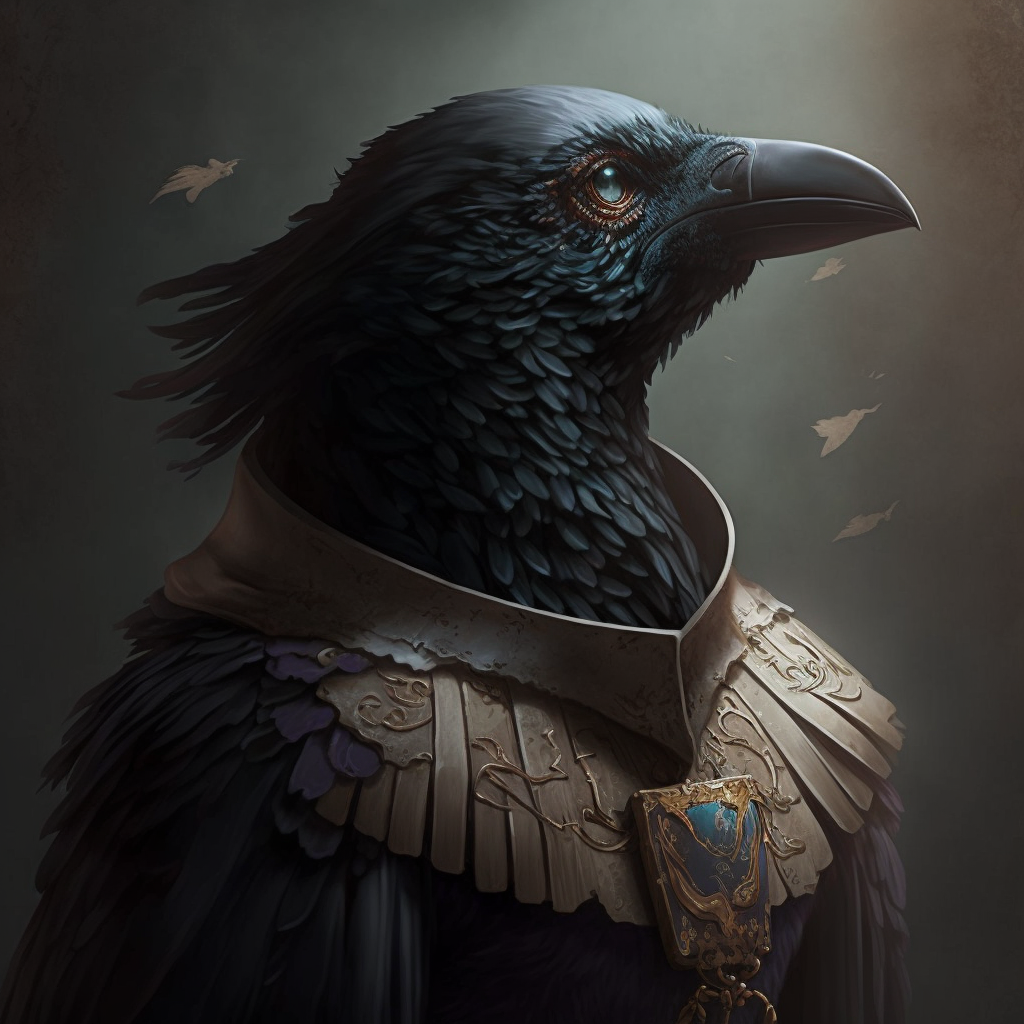
STARAI is a kenku scholar. His teaching method is extremely Socratic, almost ceaselessly echoing speech as a reflected question.
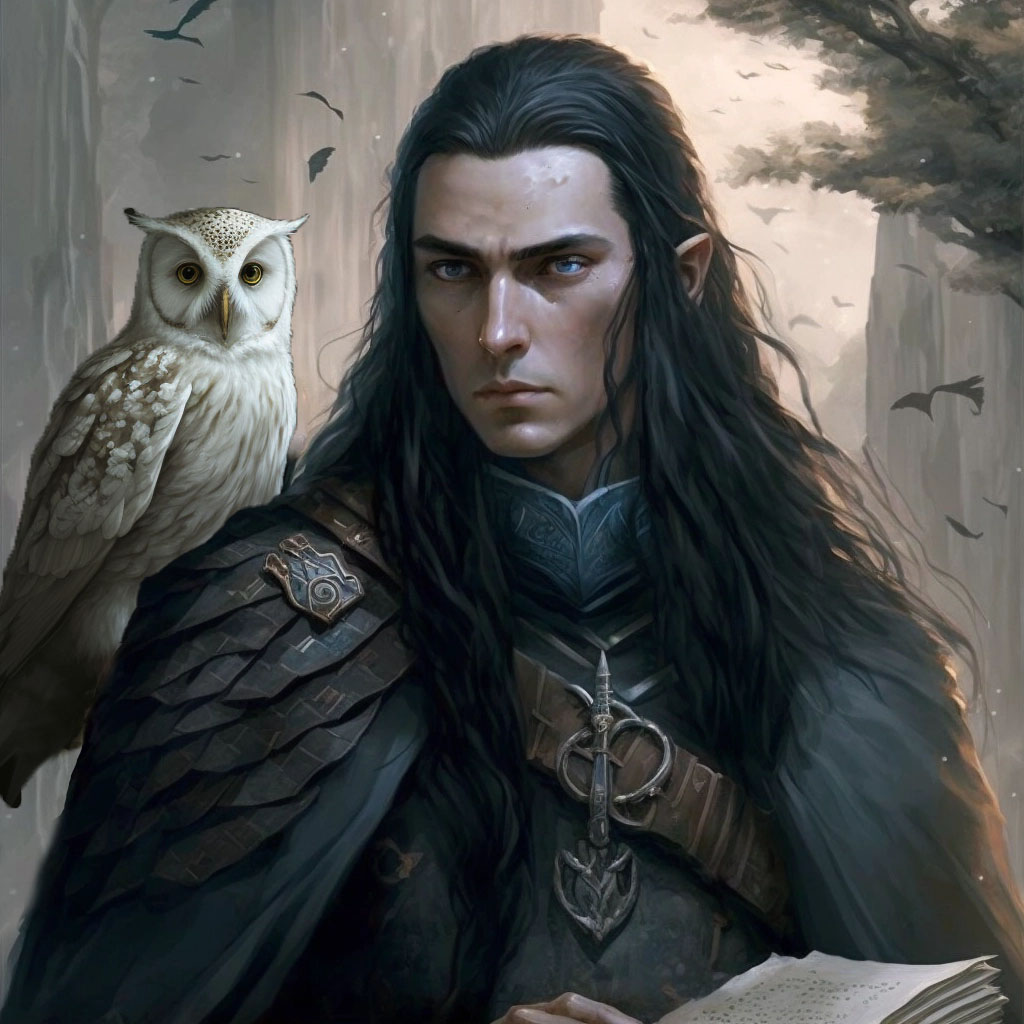
ETHLANDO is an elven scholar who was once a magi. Tragically, he suffered a curse which stripped his magic from him. (He does not hide his history as an arcanist or the curse which afflicts him, but he does not speak of why or how he came to be cursed.) His owl familiar, Bulbuena, remains loyal and is rarely far from his side.
I’m not sure how much general use these tutors might see, but I had mentioned them in a live chat and a number of patrons reached out to ask if I would share my notes on them. As you can see, they were not given an abundance of detail: The PCs’ arrangements for their adopted kids’ education were happening towards the end of the campaign, and even the ones they ended up hiring did not have much time for development.
You might consider calling upon them for any occasion where you might have need of a scholar.