As previously discussed in the Remix, there are at least two things the PCs might gain by raiding Zariel’s flying fortress:
- Zariel’s half of Bellandi’s contract (which can be destroyed if brought together with the other half)
- Access to the control room for the Dock of Fallen Cities (which they can use to detach the chains holding Elturel if the pact has been broken)
It’s also quite possible that the PCs might come up with any number of other plans, like sneaking in with a Bel-sponsored strike team to assassinate Zariel. Or they might be captured by Zariel’s forces, thrown into the fortress’ brig, and then need to escape.
There are two flying fortresses presented in Descent Into Avernus – Zariel’s flying fortress (p. 130) and a wrecked flying fortress (p. 118). The presentations of both are severely restricted by the limitations of their design. The wrecked flying fortress, for example, crams everything into the command deck so that it can be presented as a single, small dungeon map. Zariel’s fortress, on the other hand, would be impossible to tackle as a clear-the-dungeon style adventure with its vast legions of hell troops, so an implausible railroad sees the ship abandoned by all but a skeleton crew of twenty-two devils.
To avoid these problems, we’ll use an alternative structure. A Death Star Raid is designed for exactly this type of scenario. It’s discussed in more detail here, but we’ll look at the essential elements below. The adventure features:
- A toolkit of situational obstacles, including both active and passive defensive measures that can be found in the flying fortress.
- Entrances to the flying fortress, including the obstacles which will try to prevent the PCs from using them (if any).
- A flowchart map of significant locations within the fortress, including obstacles and objectives placed within some of these locations.
RUNNING THE RAID
This should give the PCs enough structure to make meaningful choices (without getting bogged down in navigating every corridor) and give you the tools to flexibly run the scenario (without micromanaging every imp).
As noted in the article on Raiding the Death Star:
Don’t feel trapped by your prep. Remember that what you’re designing are tools: If they’re in the brig and they blow their Bluff check, send in some stormtrooper squads. If they feel trapped, don’t think they can fight their way out, and they say, “There must be another way out of here! Can we get out through the vents?” think for a moment and then say, “Sure. That works. You can blast a hole in the wall over there and drop down onto the garbage disposal level.” You didn’t prep a garbage disposal level, but it makes sense that a space station would have one, right?
Since the garbage disposal feels like a significant location, you might want to add an obstacle to it. You could add stormtroopers here, too, but since the whole point was to get away from the stormtroopers (and who would bother guarding garbage anyway?) it might make more sense to add a passive defensive measure. Perhaps a magnetically sealed door?
Use this same combination of logic and rulings when running Zariel’s fortress and you should be in good shape.
RAID PREP
If the PCs want to get information about the layout, defenses, and other features of Zariel’s fortress before initiating their raid, there are several options:
- Explore the wrecked flying fortress in Hex H6. The layout may not be precisely identical, but will be broadly so.
- Detailed blueprints of the flying fortress can be found in the archives of Bel’s Forge in Hex H2.
- Questioning captured devils of the 5th Legion (or making soul bargains for the information) can also reveal many details.
THE 5th LEGION
Zariel’s flying fortress is the mobile base of operations for the 5th Legion, which is composed of the:
- 3rd Aerial Cohort, composed of spined devils
- 7th Infantry Cohort, composed of bearded devils
- 9th Cavalry Auxiliary, consisting of several dozen war machines.
See The Ranks of Hell for more details on the organization of Avernian legions. The command structure of the 3/5 and 7/5 is a little unusual, with the flying fortress having two rotating officer corps:
- The Horned Devil corps, under the command of Signifier Uxtarthas, is currently out of favor and are stuck leading the 7th
- The Erinyes corps, under the command of Principia Hathastus, currently have dominion and are leading the prestigious 3rd
Each officer corps consists of an independent cadre of prima, triarii, and their Princeps. They are kept in competition with each other, creating a fierce rivalry for supremacy in Zariel’s esteem. This drives them to fiendish heights, but also creates the opportunity for clever PCs to sow discord and distrust between the ranks.
The 9th Cavalry maintains its own, independent command structure under the command of Principia Vastarxes. They are not responsible for internal security on the fortress and, therefore, will be not be significantly featured here.
Legate Siccatrax Augustus, a pit fiend, is the commanding officer of the 5th Legion. She is also unlikely to directly appear in this adventure unless the PCs seek her out.
Homework: The 9th might be field-testing an experimental war machine. (Mobile Suit Avernus?) Or perhaps their war machines are simply significantly superior to the outdated crap the warlords are driving around in. Either way, pulling a heist to steal one or more of the 9th’s war machines might be the price demanded by a warlord for their assistance.
OBSTACLES: DEVILS
The 3rd and 7th Cohorts are not intermixed in most regions of the ship and are never on patrol together. However, consider staging scenes or encounters featuring members of each squabbling with each other (their rivalry echoing those of their commanding officers).
Security Patrols: Your basic security patrol. Also the ones standing around guarding the random location the PCs need to pass through. Or the poor devils who respond to a minor alarm to “check things out.”
- 2-4 spined devils
- 2-4 bearded devils
Optio Squads: A full squad led by an optio. Use the alternate stat blocks from Enhanced Devils to make the officer distinct from the other devils in the squad.
- 4-6 spined devils (including optio)
- 4-6 bearded devils (including optio)
Primus Squad: A squad led by a primus.
- 4-6 spined devils + 1 erinyes
- 4-6 bearded devils + 1 horned devil
Design Note: Assuming the players are higher than 10th level by the time they’re mounting a raid on Zariel’s fortress, Security Patrols should be an Easy encounter for them. (They will likely be able to take them out before they have a chance to raise an alarm with minimal difficulty.) Optio Squads are slightly more difficult, varying from Easy to Medium challenges. The PCs should still have no problems dispatching them in combat, but the risk of the alarm being raised and additional reinforcements arriving is higher. A Primus Squad is a very serious threat, posing a Hard to Deadly challenge.
Barlguran Slaves: These deckswabs are captured demons who perform menial tasks. Their actions are controlled through experimental cyber-technomantic helms (with lots of strange metal protuberances and glass tubes imbedded into their skulls). Some of the older models are attached to a kind of “mobile slave platform” that they wheel around with them (6d6 psychic damage if you sever the connection), but newer models pack all the gear into the demon’s skull.
Thavius Kreeg: If the PCs killed Kreeg on the Material Plane, his soul was damned to Hell… and immediately rewarded for his exemplary service to Zariel. Wreathed in a perpetual cloak of fire and given the rank of Triarius, the devil Thavius serves in a position of honor onboard Zariel’s fortress. He is constantly accompanied by his “honor guard.”
- Thavius Kreeg: magugon (The Book of Fiends, p. 170)
- 2 gladiatrix (The Book of Fiends, p. 160)
- 2 pain mistresses (The Book of Fiends, p. 175)
Design Note: What about Zariel? The Archduchess is unlikely to go swooping around her ship dealing with internal problems. She literally has an entire legion to do that for her. (To use the Death Star analogy: Vader comes looking for the PCs. Tarkin deos not.) If the PCs want to confront Zariel, they will probably need to seek her out. In other words, she’s an objective, not an obstacle. (Your mileage may vary.)
OBSTACLES: PASSIVE DEFENSES
Security Gates: Doors on the fortress iris open and close. They have razor-sharp edges and can be quite dangerous when shutting unexpectedly (DC 15 Dexterity save or suffer 4d6 damage).
Security gates use infernal technology and can be opened only with a password or physical contact by authorized personnel (or a DC 18 Thieves’ Tools check).
Scourge Ooze Doors: Some vital compartments and passages on the fortress are protected with “doors” formed from a thin layer of gray-black ooze. Known as a scourge ooze, devils can simply walk through these oozes (with a slight popping sound). Mortal flesh, however, is scourged away, dealing 10d6 damage.
Scourge oozes can be easily destroyed with holy water (simply melting away if splashed with such).
Demon-Detectors: These are unlikely to bother most PCs, but there are demon-detectors located throughout Zariel’s fortress. These take the form of brass eyeballs protruding (sometimes obtrusively, sometimes less so) from the walls. The eyeballs spin back and forth. Using magic, they can detect demons in line of sight within 100 feet with a Passive Perception score of 25. If a demon is detected, an alarm-type spell triggers alerts on the bridge.
Ioun Turrets: These technomantic constructions have 1d4+2 specialized ioun stones whirring around their top. They are operated by a soul trapped within a soul coin which is placed in a slot at the top of the turret. The souls can also speak through the turret and have a Passive Perception score of 18. (Souls who serve well within a turret are given an opportunity to advance in the ranks of Hell.)
The ioun stones cannot operate independently of the turret. Each ioun stone contains one stored spell. These are usually offensive in nature (fireball, lightning bolt, finger of death, and power word pain are quite common), although some may also be loaded with divinations useful for security (zone of truth, detect evil and good, or true seeing, for example).


Your section on Barlguran Slaves ends in the middle of a sentence.
Yes!! I’ve been so excited to see this developed and posted ever since A Raid on Zariel’s Flying Fortress was mentioned! I’m just about to start a game of DiA using your Remix and I’m so grateful to have the tools to give my players a well fleshed out experience! Thank you for all this work you’ve done for over a year now and I can’t wait to see your conclusion to this Remix!
Hi Justin.
Will there be a second part of the raid?
Love this, will definitely use the raid in my soon-to-be-finished Avernus campaign!
Will there be a second part? Would love to see how you manage the locations!!
Any plan to publish Part 7D-B: Fortress Locations? Love the guide but would like to see the rest!
I’m concerned with how realistically someone could sneak through the fortress.
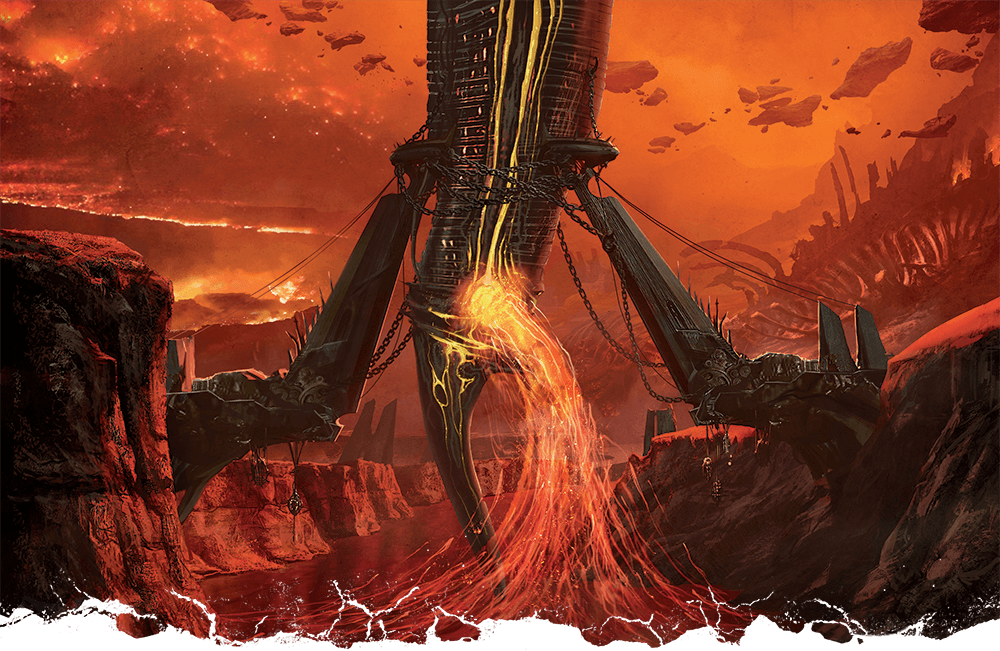
It seems enormous in the concept art… but its size is mostly vertical.
Each separate floor is actually rather small.
On an unrelated note, infernal vehicles should have something to eject spent soul coins. Since a spent soul coin releases a soul back into circulation (usually into Styx if it was evil) completely burning it out in the engine seems like a horrible waste.