I think we need to start with a little disambiguation. This is NOT a review of Ptolus: City by the Spire, the incredible 700-page city supplement originally designed for D&D 3rd Edition, recently adapted to both D&D 5th Edition and the Cypher System, and the basis for my own In the Shadow of the Spire campaign.
This is a review of Ptolus: City of Adventure, an anthology of three adventures each sold separately as PDFs:
(Also not to be confused for Ptolus: City By the Spire, the graphic novel by Monte Cook and Caanan White. Although the odds of that error being made are probably significantly lower.)
The adventures are designed with the expectation that you’ll be using them in conjunction with the Ptolus sourcebook, but it wouldn’t be terribly difficult to adapt them to any urban D&D setting.
They are dual-statted for use with both 5th Edition and the Cypher System. I usually find dual-statted books very awkward and frequently confusing, but Monte Cook Games cleverly uses sidebars and iconography to clearly delineate the two sets of stats. The result is easy to read and easy to use.
SPOILERS FOR THE ADVENTURES!
DOCTRINE OF GHUL
In Bruce R. Cordell’s Doctrine of Ghul, an incomplete manuscript purportedly written by Ghul the Skull-King (an evil overlord from the history of Ptolus) has surfaced and is being promulgated through the city. Those who read the manuscript, however, discover that (a) they are cursed to die unless they finish reading it and (b) it’s incomplete, so they can’t do that.
Whether it’s the PCs who get cursed by the incomplete doctrine, someone they care about, or someone who’s willing to pay them for help, they’ll have to journey into Ghul’s Labyrinth — the vast dungeons beneath Ptolus which once served as the barracks for Ghul’s legions and the laboratories for his arcanists — and visit three locations where the missing passages of the Doctrine can be found.
Truth be told, the metaphysics and background of this whole framing device is a dog’s breakfast. The “Doctrine” is actually a fake, created by a wizard named Alberek who wants to bring Ghul back from the dead. Alberek believes that each time someone finishes reading the full Doctrine there’s a chance that they’ll bring Ghul back from the dead… so, naturally, rather than just sending out full copies of the Doctrine, he’s hidden chunks of the text underground so that people have to go adventuring to read the full Doctrine. (Even though this isn’t necessary and, if you copy out the passages, you can bring them back to the surface and have people read them.) Also the Doctrine isn’t completely fake, it’s based on fragments of text which may have actually been written by Ghul. Also also, each time someone finishes reading the Doctrine and doesn’t miraculously resurrect Ghul, Alberek teleports to their location and kills them. For… reasons?
Bit of nonsense really.
But here’s the thing: This whole framing device is, ultimately, just a way to get the PCs to visit three locations within Ghul’s Labyrinth.
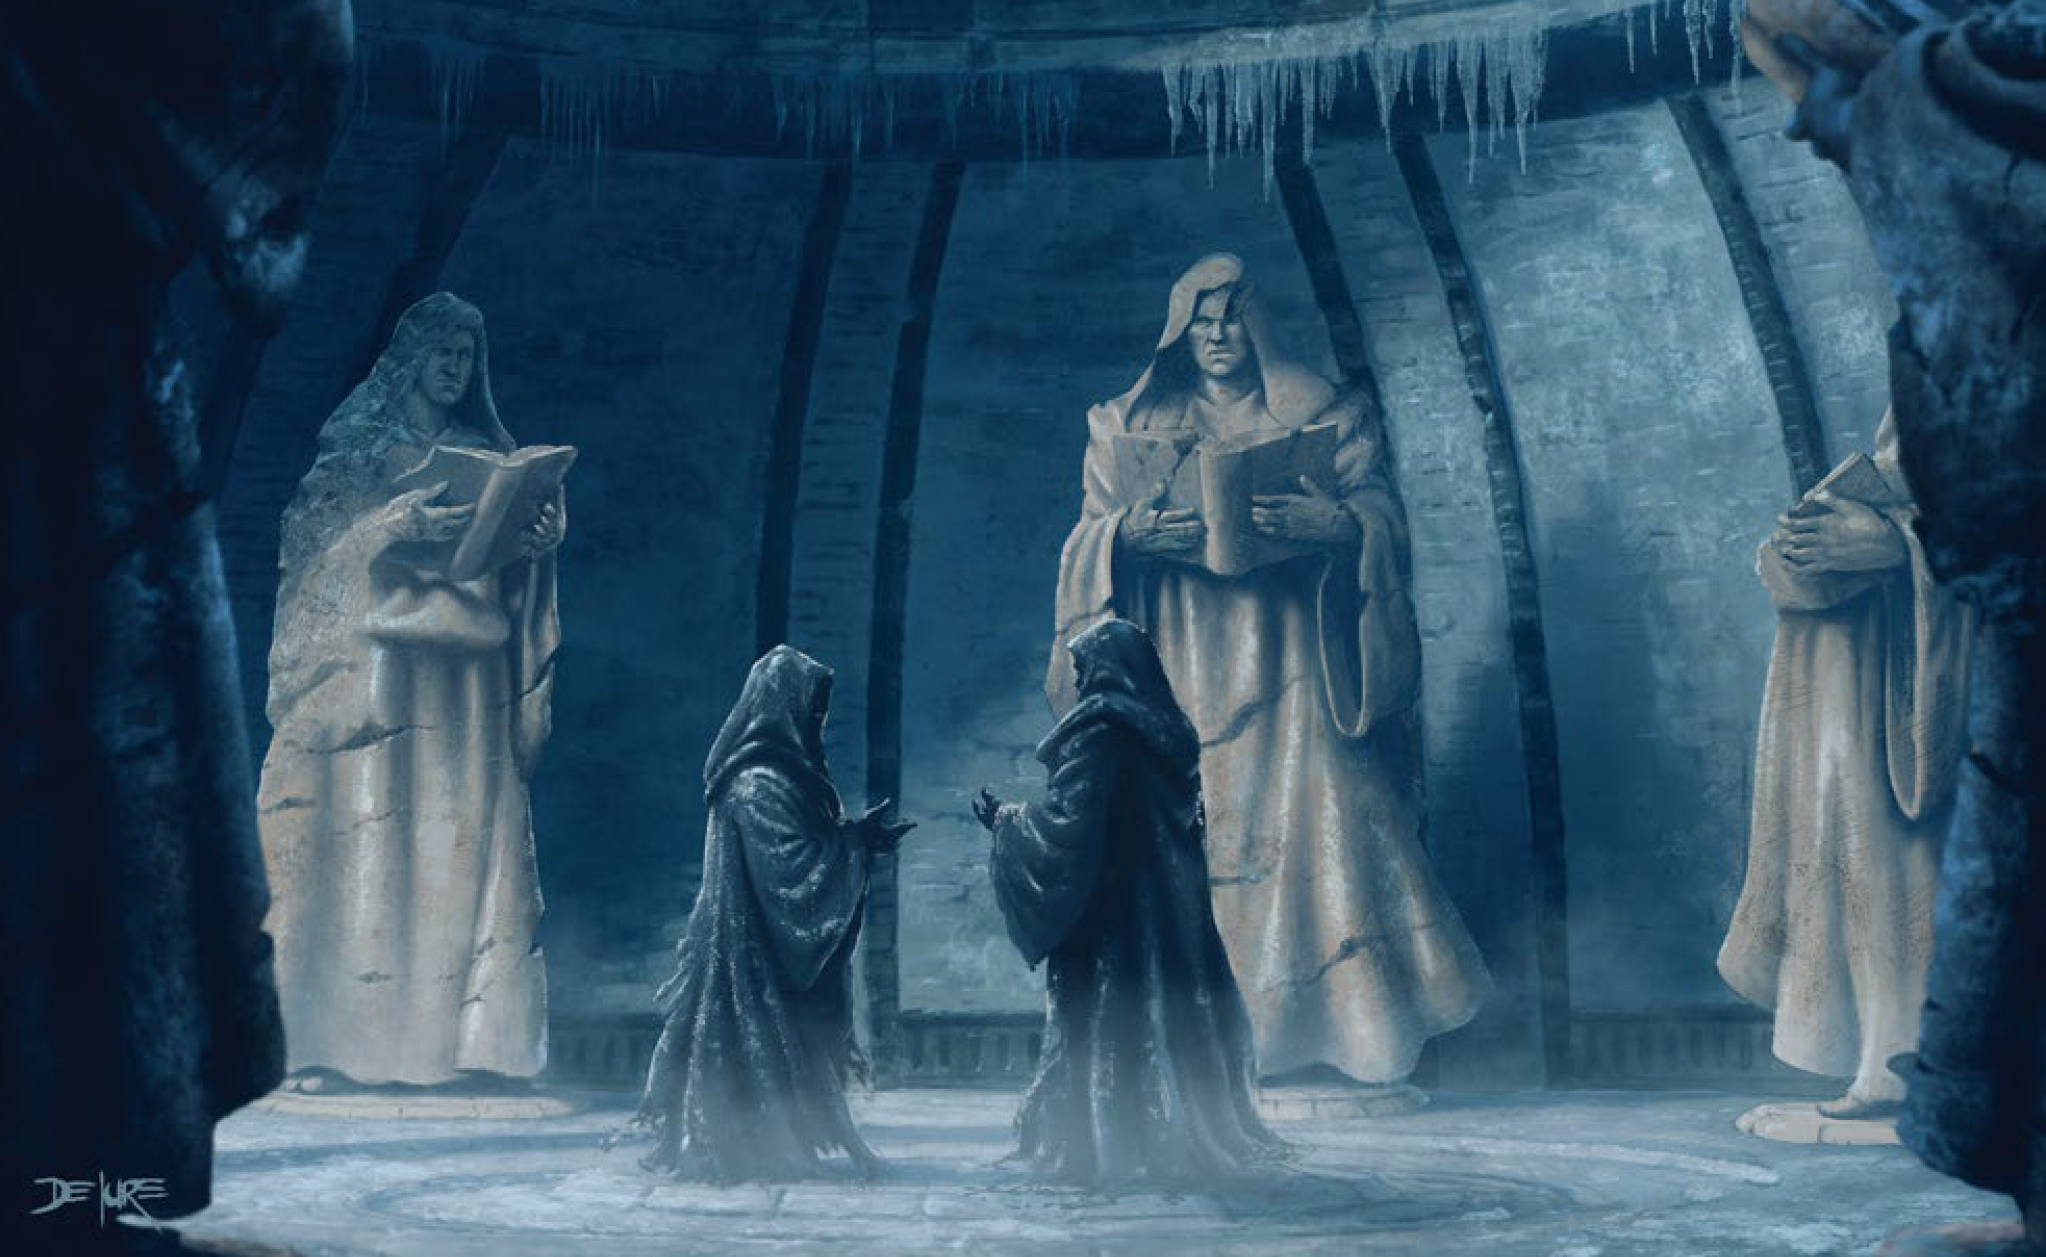
- The Frozen Crypt
- The Breeding Pits of Formless Hunger
- The Galchutt Cyst
Each of these locations is a completely independent mini-dungeon, and they’re all quite excellent. Incredibly creepy ambience, clever encounters, and cool lore make each one a delightful gem of dungeon design.
For example, in the Breeding Pits the PCs will encounter an airborne pathogen which subverts their immune systems and uses them to begin creating a grey goo. As they expectorate or vomit forth the strange substance, it becomes animate and begins joining together to form strange servitors seeking to continue the ancient work of the researchers who once labored here.
That’s the kind of idea which elevates a simple dungeon crawl into a truly memorable experience, and each of these locations are studded with stuff like this.
So here’s the bottom line for me: Jettison the wonky framing device and you’re left with three really great mini-dungeons that you can use to flesh out any journey into or through Ghul’s Labyrinth. That’s a fantastic tool for your toolkit! And makes it more than worthwhile to grab a copy of Doctrine of Ghul.
(Just make sure you read the whole thing.)
Grade: B-
THE RUNEBLOOD BLESSING
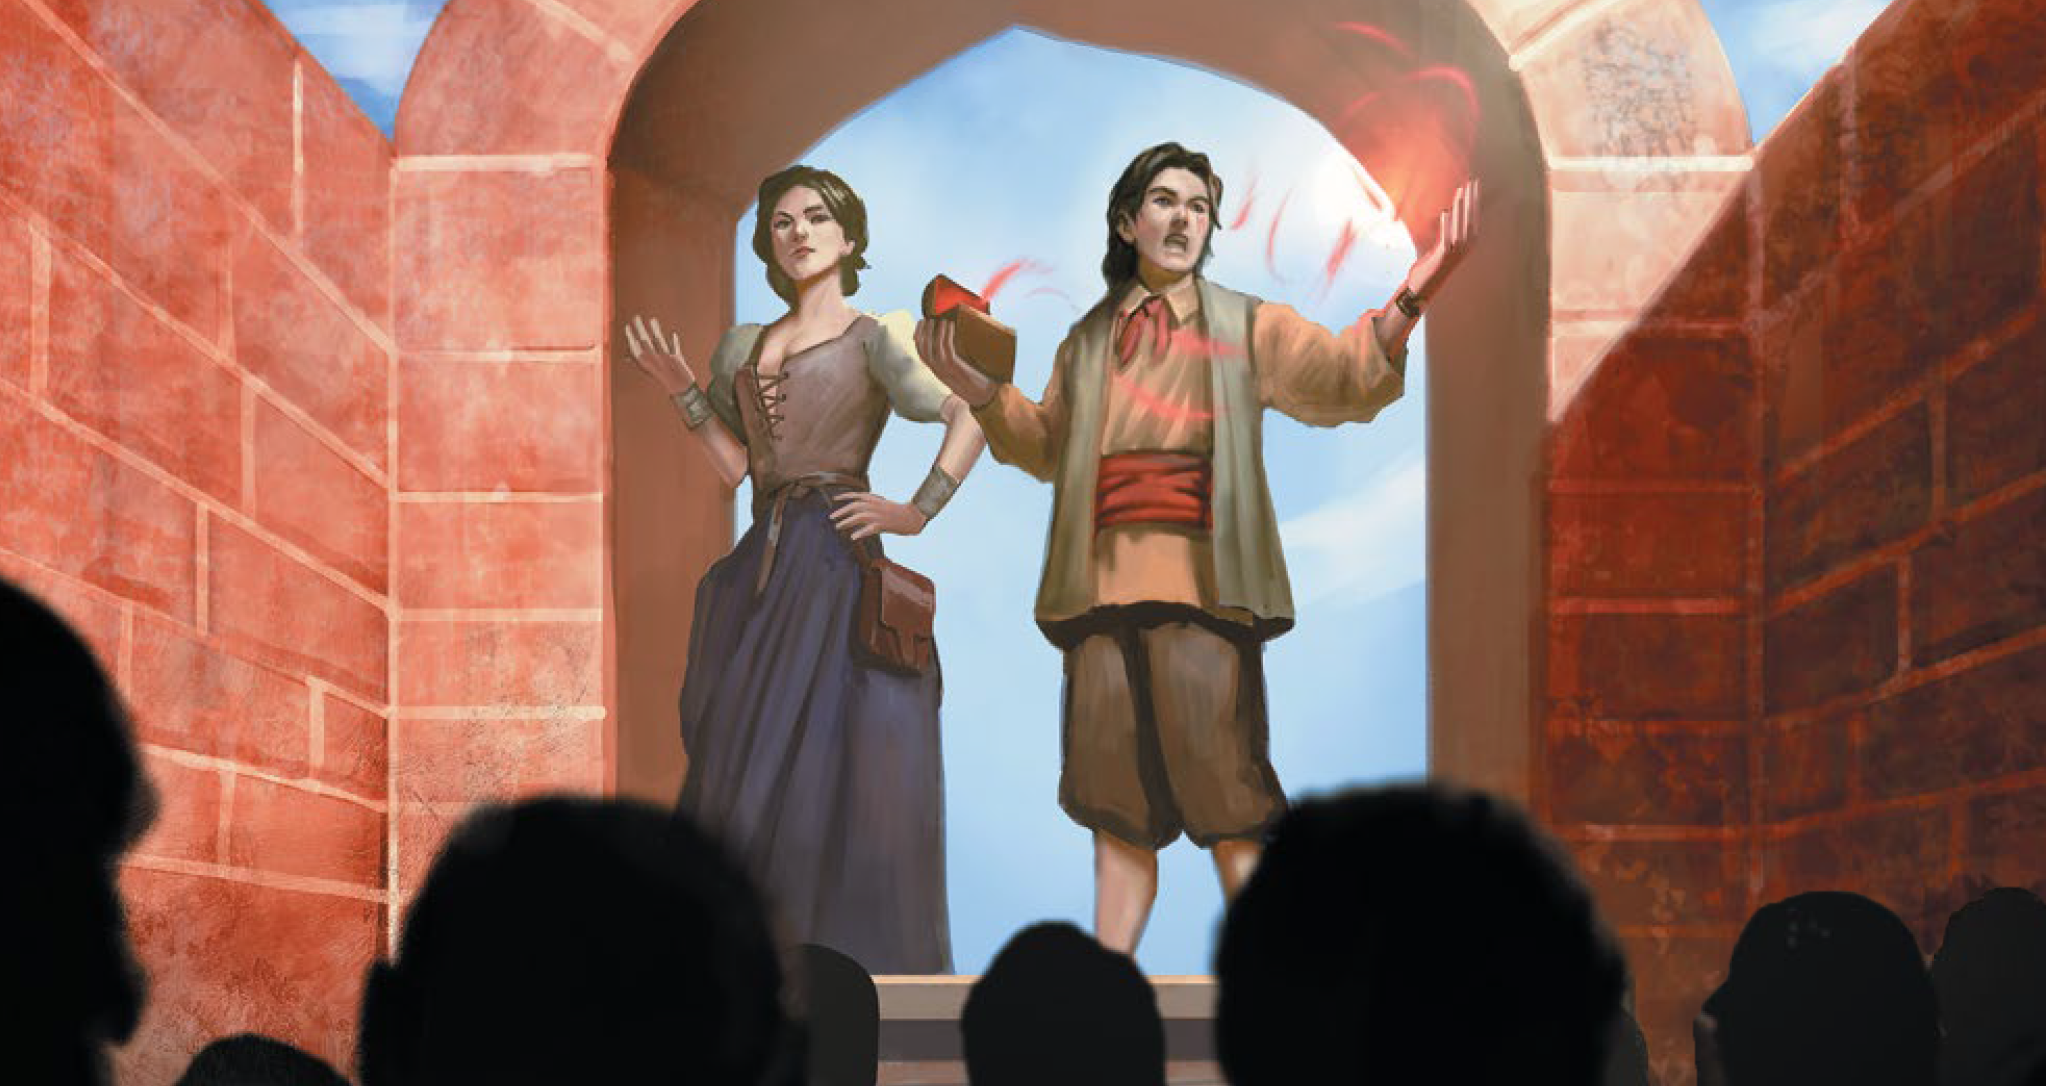
The Runeblood Blessing by Sean K. Reynolds is a brilliant example of how to prep and run urban adventures.
The concept is that a sorcerer named Vlenn has perfected a magical ritual that will grant people a blood-red rune that gives them a magical power (like blur or invisibility or feather fall). She offers the ritual for an extremely affordable price, and empowered runeblooders begin showing up throughout the city. It’s the democratization of magic and it upsets the existing structures of power in myriad ways.
There’s just one little problem: Some of the runeblooders are dropping dead.
So many published adventures would take this incredibly cool concept and immediately fail to realize its expansive, transformative potential by locking it into some form of linear structure. Reynolds’ skips right past this potential pitfall by instead providing an adventure toybox for the GM to actively play with.
The presentation of these toys can be a little sloppy in places, but it boils down to:
- A series of background events combined with incidental encounters that allow the runeblood blessing to become engrained into your campaign world.
- An investigation track that the PCs might choose to proactively look into the “runeblood sickness” as it begins to emerge through the background events.
- An investigation into various crimes being committed by runeblood-enabled gangs and cat burglars.
- An investigation into Vlenn’s operation, culminating in a location crawl or raid at her headquarters in the Warrens.
- An otherworldly dungeoncrawl in the Shadow of Ptolus (an evil demiplane) where the PCs explore the surreal umbral fortress from which the runeblood blessing’s power flows.
- A set of three Ptolus “side scenes” that further flesh out the life of the city.
The important thing to recognize is that these are all independent (yet overlapping) adventure elements. What makes The Runeblood Blessing so cool is that there’s not some specific moment at which The Adventure™ begins. There’s not one specific point where somebody shows up and says, “You should go on this adventure now.”
Instead, there is this vast, ongoing event that’s happening throughout the entire city. It’s not happening specifically to the PCs. It’s happening to the city. To everyone. And it’s up to the players to decide if, how, and when they’re going to choose to interact with these events: Do they buy a runeblood blessing? Blackmail Vlenn? Investigate the criminals?
The result will add a deeply rewarding layer to your Ptolus campaign, bringing the city to life and making it feel huge to your players. That scope and vibrancy, in turn, will make the PCs feel incredibly important once they get involved.
Highly recommended not only as an adventure in its own right, but also as a nearly perfect exemplar of how to create your own urban adventures.
Grade: A-
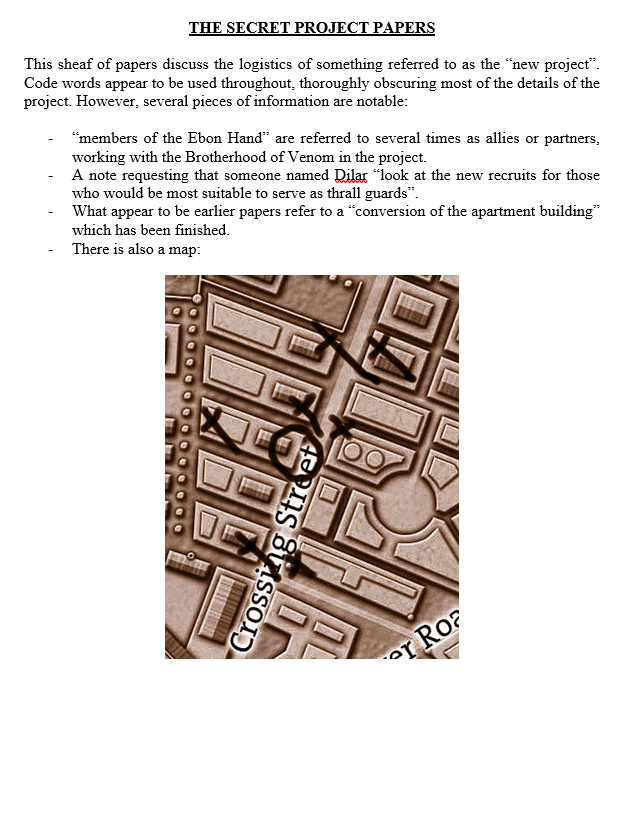
RETURN OF THE EBON HAND

The final adventure in the book — Return of the Ebon Hand by Monte Cook and Sean K. Reynolds — is another phenomenal example of how you can/should design adventures for your Ptolus campaign.
There are two things I love here.
First, Return of the Ebon Hand is a sequel. The adventure assumes that the PCs have already routed the Ebon Hand from their temple, which is presented as an adventure location in the core Ptolus sourcebook. Although it can’t be entirely sure how those events might have played out in your campaign, it offers several options and some guidance on how you can adapt the adventure to make it fit.
This is such a great example of how events in your campaign can/should spark additional adventures as events develop over time. (I might have a soft spot here because, in my own campaign, the PCs routed the Ebon Hand and then also had to deal with the legacy of their actions in a subsequent adventure.)
Note: I’ll also note that you don’t have to run this adventure as a sequel. The published adventure notes the possibility of assuming that NPC heroes or the City Watch had cleaned out the Temple of the Ebon Hand, and that perhaps those events could be used as background events in your campaign. But it would also be fairly easy to tweak things so that both the Temple of the Ebon Hand and the New Temple of the Ebon Hand are active at the same time. You could even put Fulton’s Journal, as described below, in the Temple of the Ebon Hand where the PCs can discover it.
The second thing I love about Return of the Ebon Hand is how it showcases using multiple scenario hooks that all point to the same scenario.
The background of the adventure sees the vestiges of the Ebon Hand flee from the destruction of their temple and eventually reorganize into a new temple built around a Pit of Insanity within Ghul’s Labyrinth. Harnessing this powerful artifact of chaos, the Ebon Hand once again begins experimenting with the human mutations which are the heart of their faith and through which they believe they will achieve transcendence.
Their use of the Pit kicks its chaotic power into high gear, and it begins manifesting strange effects in the city above and the dungeon nearby. This includes resurrecting various dead criminals in the crypts of the Prison.
As with The Runeblood Blessing, several background events are presented to integrate this background into your campaign. Then Cook and Reynolds present three scenario hooks:
- The PCs can investigate the chaotic manifestations, eventually tracking them back to the house that the cultists are using to access their underground temple.
- The PCs can investigate the resurrected criminals (who begin causing trouble throughout the city).
- The PCs can be come into possession of journal written by a delver named Fulton, whose adventuring party explored the area of Ghul’s Labyrinth where the Ebon Hand has now established its temple.
The cool thing is that you can deploy all three of these scenario hooks simultaneously. (The PCs might pursue one of them or they might want to pursue all three of them.) The even cooler thing is that it’s not immediately obvious that all three clues point to the same dungeon crawl!
Each hook not only points to a different problem/opportunity (chaos manifestations, resurrected criminals, an enigmatic journal), it also points to a completely different entrance to this section of Ghul’s Labyrinth. So, for example, the PCs might explore the prison crypts, follow the tunnels back to the lair of the resurrected criminals, and then realize, “Hey! I think these tunnels match those in Fulton’s journal!” And then they might explore a bit more and discover the Ebon Hand cultists that have been making headlines in the newssheets for the past several weeks!
In short, it’s a rich, multi-dimensional adventure environment that I think you’ll find really rewarding in actual play.
There are, unfortunately, a couple of flaws here that should be noted.
First, I found the cartography a little underwhelming. There’s some very nice xandering here (including, but not limited to the multiple entrances), but there’s a lot of “square rooms joined by long hallways.” I would have liked a few more geographically distinctive set pieces and perhaps a greater sense of the purpose for which these corridors were originally made. (This should not be interpreted as a knock on the key, which is studded with lots of interesting rooms.)
Second, Fulton’s journal is a really scenario hook and could be a really cool prop. But the adventure chooses to chop the journal up and print each entry directly next to the room which it’s describing. Expect to do some extra work stitching these together, and then even more work filling in the significant lacuna that you’ll immediately discover. (If you don’t do this, your players will find it virtually impossible to get any meaningful utility out of the journal.)
But these quibbles should be understood as exactly that: Quibbles.
Return of the Ebon Hand is a very, very good adventure that’s also a perfect bookend to The Doctrine of Ghul, nicely showcasing a different facet of Ghul’s Labyrinth.
Grade: B+
Style: 5
Substance: 4
Authors: Bruce R. Cordell, Sean K. Williams, Monte Cook
Publisher: Monte Cook Games
Cost: $29.95 (Physical) / $14.97 (PDF)
Page Count: 96
Buy Now!