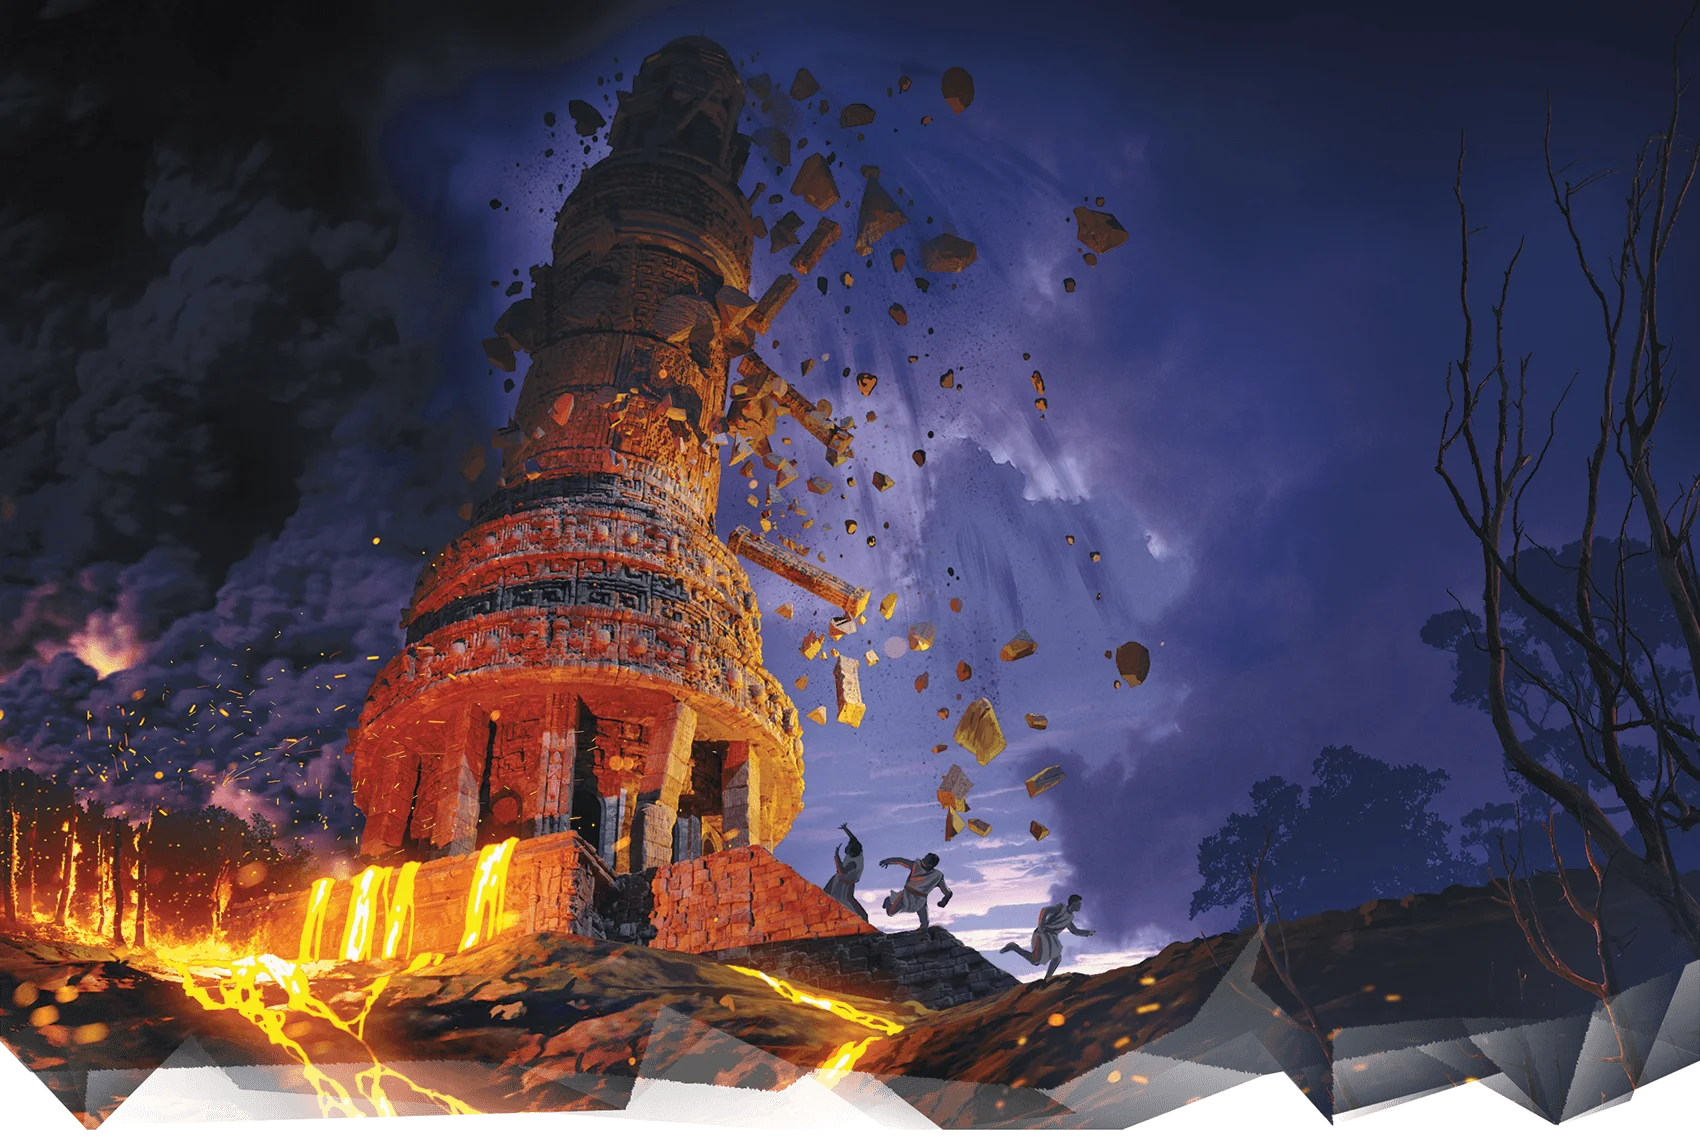
SHADOW OF THE SUN (Justice Raman Arman): Fifty years ago the city-state of Akharin Sangar came under the despotic rule of an archangel named Atash. He enforces an intolerant code of absolutist religious laws (which are every bit as bad as you might imagine them to be). Various rebel groups are working to free the city from Atash’s tyrannical rule, but their efforts are ruthlessly quashed by a secret police of religious zealots known as the Brightguard which the despot angel has empowered to replace the former legal apparatus.
Reading that introduction you might be thinking, “Oh! Sweet! Let’s bring down the tyrant!”
But that’s not what “Shadow of the Sun” is about.
“Shadow of the Sun” is about how Blue Lives Matter.
Ostensibly, the adventure is framed so that the PCs can choose between working with the Brightguard or working with the rebels. But that’s not entirely accurate: There are two different rebel groups. The first is the Ashen Heirs, who do things like stage protests and disrupt capitalism. The other is the Silent Roar, who are very concerned that the uppity Ashen Heirs will ruin their big plans of doing nothing. And then the Silent Roar’s worst nightmare happens! Their leader is mistakenly associated with the uppity Ashen Heirs and is arrested! Oh no!
So the Silent Roar wants the PCs to crush the Ashen Heirs so that their leader can be freed from being wrongfully imprisoned by the religious zealots. And the religious zealots want the PCs to crush the Ashen Heirs because otherwise Atash will be “forced” to “cancel the celebrations and impose martial law.”
If the PCs are maybe a little hesitant about all this, they’re told to go check out the Ruz Bazaar, where members of the Ashen Heirs are once again disrupting capitalism and proving that they’re really bad people because they’re (checks notes)… breaking into a smuggler’s shop to free a slave?
Once the PCs have crushed the Ashen Heirs, the Brightguard naturally says, “Good work! Now, let’s move on to crushing the Silent Roar.” It’s at this point that the PCs have a choice to either continue working with the gestapo or not.
The adventure has an EXTREMELY linear plot to follow, though, so the choice has little impact on what happens next. You can tell which option Arman assumes the PCs will take, though, because it’s the only one that makes any logical sense.
The conclusion of the adventure has a quote that neatly sums up its structural issues:
Regardless of the characters’ allegiance, their actions and the fallout of Afsoun’s detainment or escape have broad implications for Akharin Sangar. The Silent Roar’s resistance efforts increase in either case, causing the organization to become the Brightguard’s greatest rival.

There’s a cool flying carpet chase in the middle of all this, but everything else is a mess, and the, “Let’s all join and/or collaborate with the gestapo!” framing is beyond tasteless. I find it hard to believe it’s what Arman intended, but it’s what’s on the page. As someone who lived just three blocks away from where George Floyd was murdered, I may be biased, but I cannot imagine any version of reality where I would want to see this scenario brought to the table as written.
Grade: F
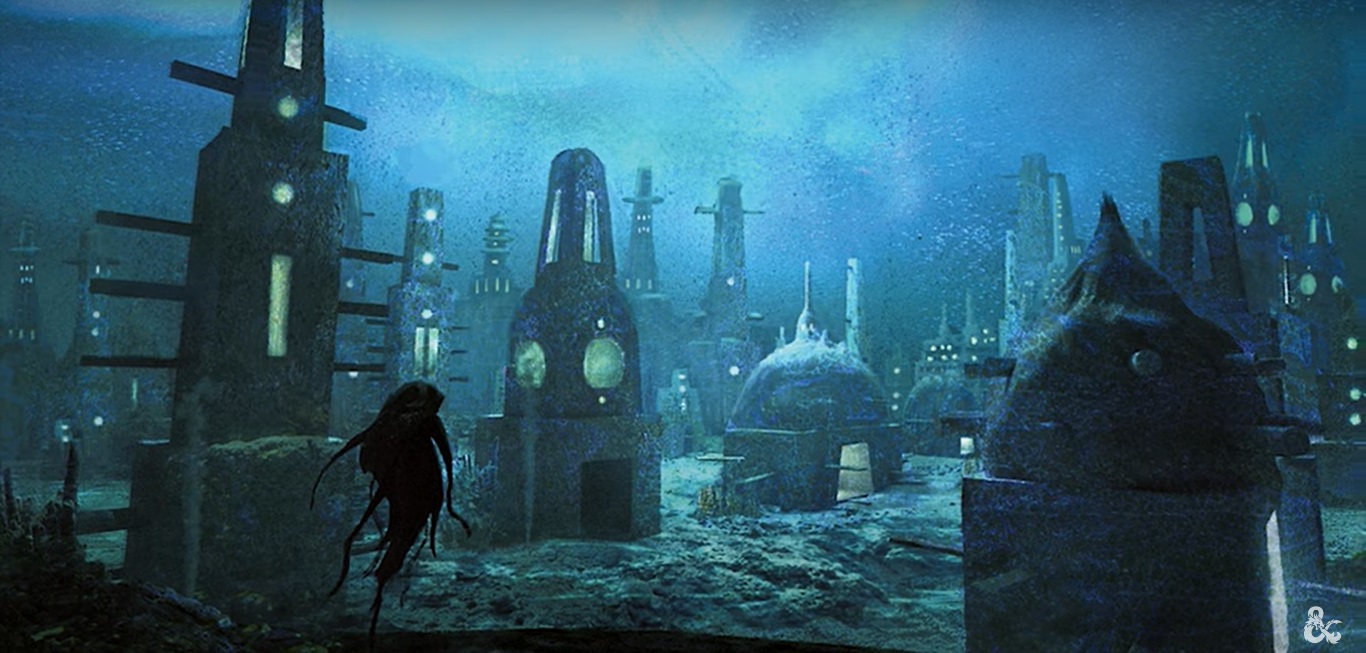
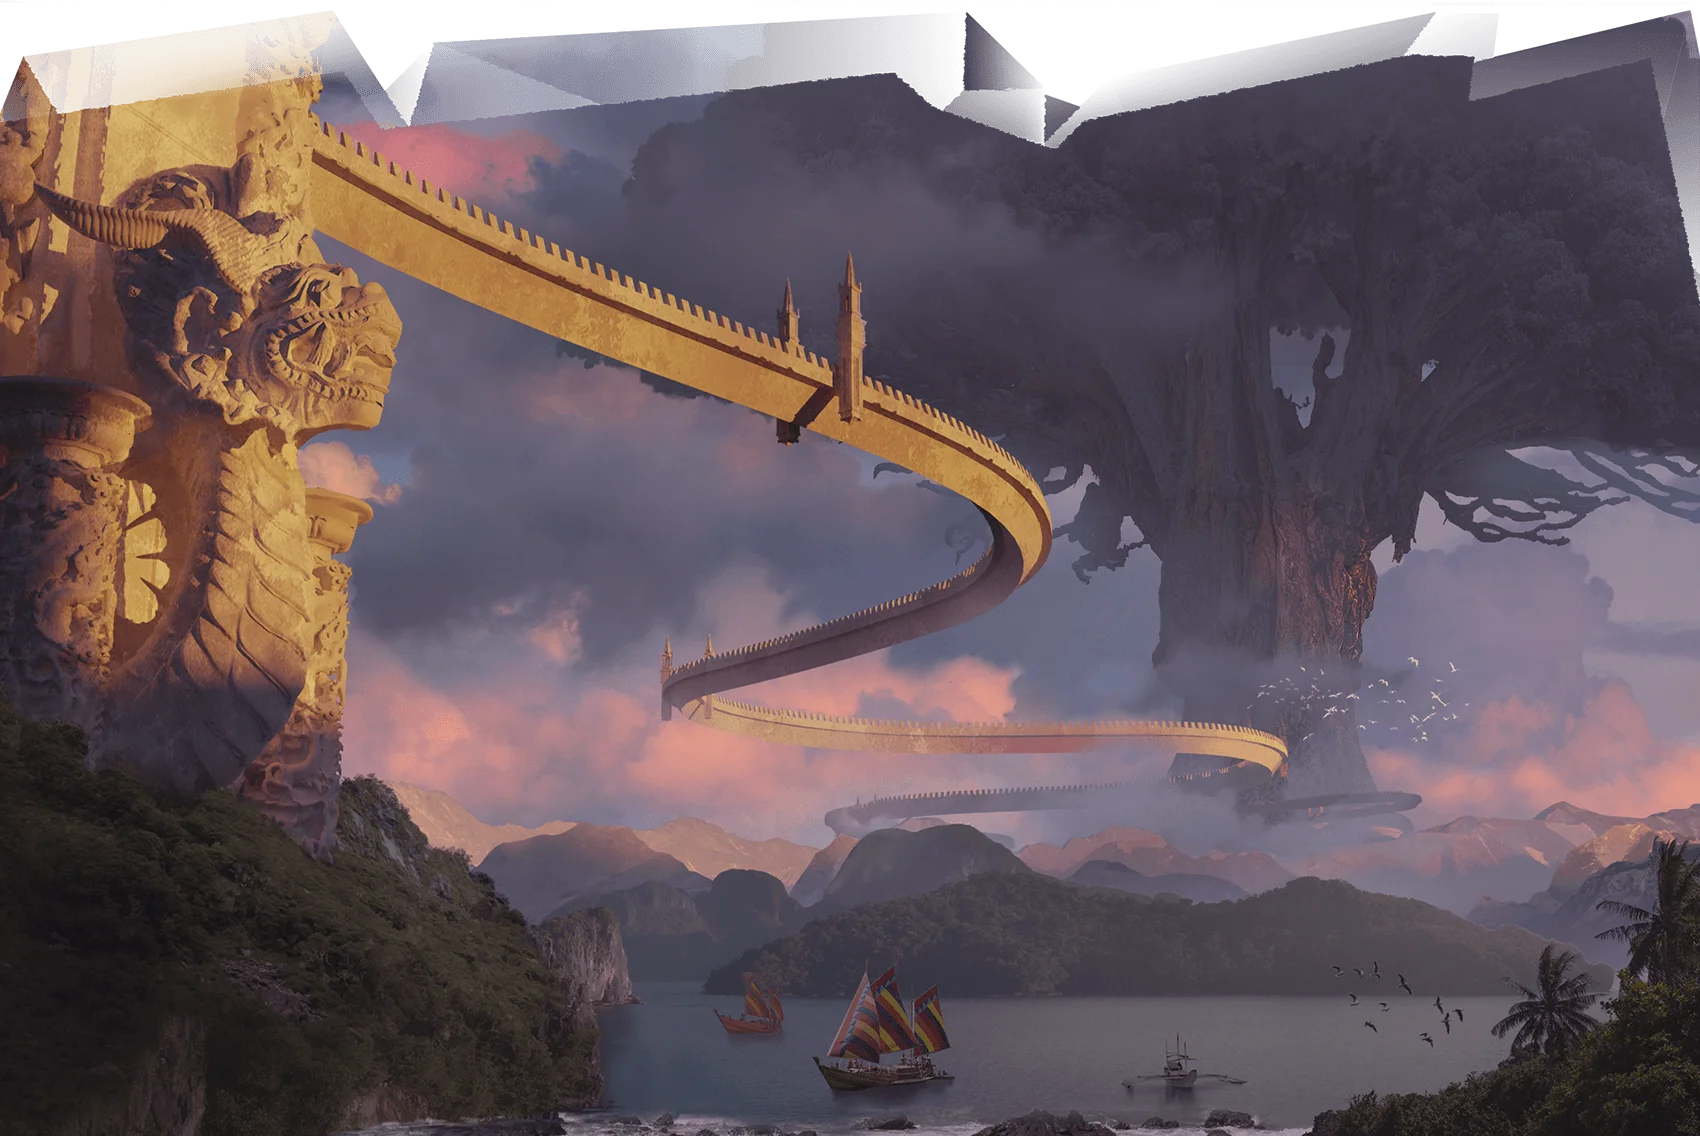
THE NIGHTSEA’S SUCCOR (D. Fox Harrell): “The Nightsea’s Succor” is another adventure that positions the PCs between Authority/Tradition and Rebellion/Reinvention, and it’s somewhat stunning how much more effective it is.
Long ago the nation of Djaynai was plagued by reavers known as the Vultures. My personal touchstones for this are Viking raiders and the Bronze Age deprecations of the Sea Peoples: Cities were looted and burned. Thousands of Djaynaians were taken as captives and loaded onto ships to become slaves.
A couple key things happened during this time. First, some of the Djaynaian captives staged a revolt and leapt off the reaver ships rather than remain slaves. As they plunged into the ocean, powerful sorcerers among them used the sorcerous secrets of their civilization to weave a powerful rite which transformed some of them into merpeople known as the chil-liren. The descendents of the chil-liren formed the underwater city-state of Jayna.
Second, in order to protect those same sorcerous secrets – known as the Blackmist Way and the Blackthrone Arts – they were loaded into a ship and sent away to a place of safety. Unfortunately, the ship was attacked and sank. The legacy of the Djaynaian people was lost.
Cue the beginning of the adventure, when some ghosts from the shipwreck cast detect player characters and give them the information they need to find the shipwreck and the lost arts that lie within it.
This immediately puts the PCs in the crosshairs: They’re contacted by Atiba-Pa, the regent of Djaynai, who wants to use the recovered lore to restore Djaynai to its lost Golden Age. But they’re also contacted by the Night Revelers, a group of counter-culture revolutionaries who would prefer to use the lore to reinvent the Djaynai and forge something new and unshackled from the legacy of the past.
Following the clues given to them by the ghosts, the PCs eventually end up in Jayna. And here, too, they’re torn between different political ideologies: On the one hand, those who want to stay separate from Djaynai and would keep the lore secret. On the other hand, those who believe the Janyans need to forge their own future. Once again, the legacy of the lost lore of ancient Djaynai is crucial.
Things wrap up with a short dungeon crawl through the ancient shipwreck (which is also an underwater library? the lore gets a little confused here) and then the PC have some tough choices to make.
What elevates “The Nightsea’s Succor” is that Harrell crafts a meaningful and nuanced dilemma. There are a few things that make this work.
First, it feels like a legitimate choice. There’s enough nuance depicted in all of the political and cultural factions that the PCs should be able to see both the potential good and the potential bad in each one.
Second, having two different rivalries on separate axes that are nevertheless connected to each other is, frankly, inspired. Introducing them at different times is also crucial here: Even if, due to their own opinions and predilections, the PCs find it easy to choose between A or B, the introduction of C or D as an intersecting issue and choice will force them to re-analyze the “easy” choice they made earlier. Even if they ultimately don’t change their minds, it’s kept the core philosophical debate an active part of the adventure.
Third, the choice feels truly meaningful. It doesn’t seem as if the world will radically change overnight as a result of what the PCs choose, but there will be definite consequences that affect both the PCs personally and society as a whole.
In short, “The Nightsea’s Succor” is really nice. In structure it is quite simple, but the cultural crux adds considerable depth and every scene is studded with lush detail.
Grade: B+
Prep Notes: The problem with using a ghost as your scenario hook is that it just takes one impetuous PC to say, “Ah! Ghosts!” and use turn undead to leave you without a scenario. Not necessarily a problem, but a good idea to be aware of the possibilitiy.
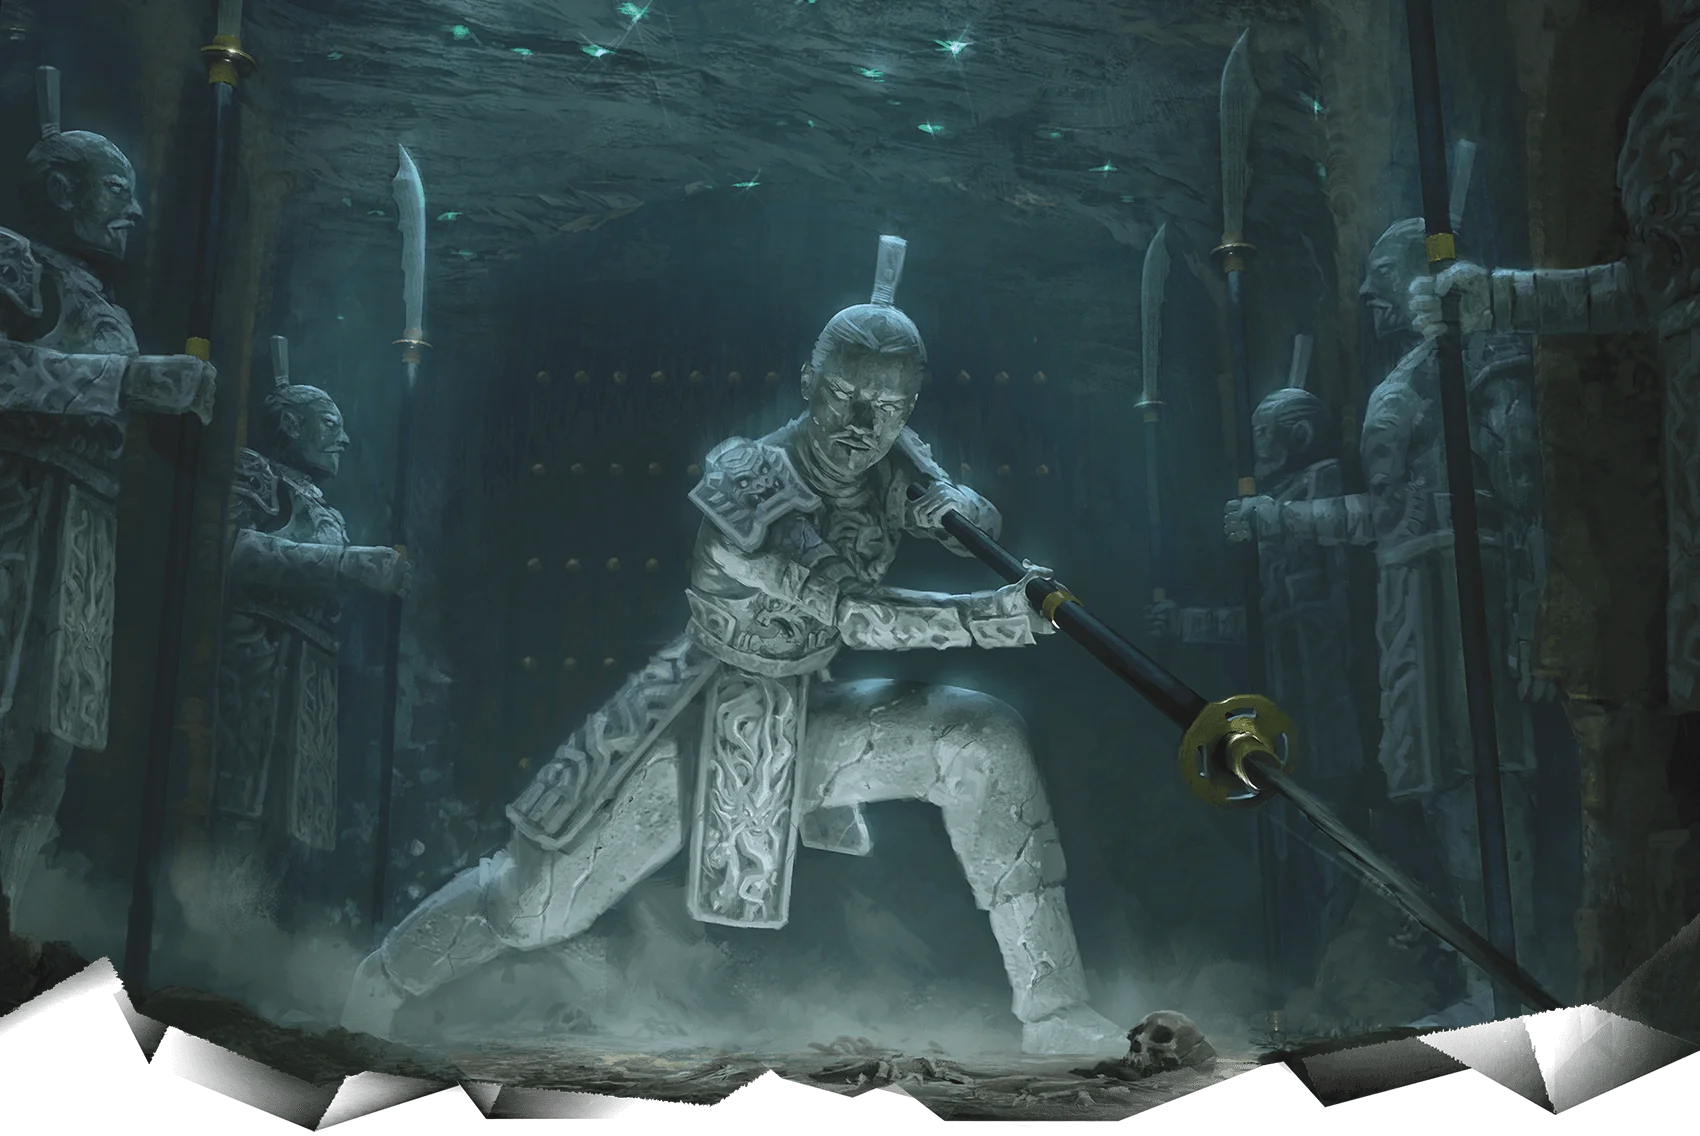
BURIED DYNASTY (Felice Tzehuei Kuan): This adventure has a really cool premise. The White Jade Emperor of Great Xing has lived for centuries due to a customized potion of longevity created using a secret recipe. Unfortunately, the rare ingredients used for the Emperor’s potion have run out. Without the potion, the Emperor will die and the effect on Grand Xing is likely to be cataclysmic. Grand Secretary Wei Feng Ying, therefore, is desperately trying to locate a new source, and she hires the PCs to help her.
Unfortunately, everything else in the adventure is utter nonsense.
Wei doesn’t want the PCs to know what she’s actually looking for, fearing chaos if the imminent death of the Emperor were to leak out. So they’re actually just assigned to guard Wei’s personal agent, a scholar named Lu Zhong Yin. Zhong Yin is under strict orders not to tell the PCs anything and his character description explicitly says, “I’ll follow any order from my commanders.” But he just tells the PCs anyway.
They don’t find the missing ingredient, but they DO find three unused doses of the potion of longevity itself.
But now the PCs know too much! So Wei, who is observing them through a crystal ball, decides this is the perfect moment to betray them and orders a court mage to collapse the entrance to the ruin. (You might think it would make more sense to have them bring back the potions of longevity and then betray them. But no.) The author has also cleverly established that teleportation and planar travel are both blocked in the ruins.
OH MY GOD! THERE’S NO WAY OUT!
… is what the PCs would say if they weren’t 13th-level characters with probably a dozen different ways of trivially escaping.
Left with “no other option,” the PCs then make telepathic contact with Wei who says, “Oh no! Let me help!” She then opens a one-way magical portal that the PCs can use to escape!
(…wait, wasn’t teleportation magic blocked down here? Yes, but it’s okay because there’s a loophole! But can’t the PCs just use the same loophole and avoid all this nonsense? Yes, but they presumably won’t because by this time the rails should be obvious!)
But this is a trick! Wei has actually teleported them into a trap! A hologram of Wei appears and she says, “I’m sorry to inform you that I’m betraying you because there’s a vague possibility you might know some of my secrets. My only choice is to teleport you into a room directly next to my uber-secret alchemy laboratory filled with all the secrets you shouldn’t know. Your deaths are assured, for in this room I have arranged for you to fight a level-appropriate Easy encounter.”
So the PCs trivially escape the “death trap” and then proceed through an entire linear dungeon. In the last room of the dungeon, they find a gold dragon who has been captured and shackled by Wei’s secret cabal of imperial alchemists. If they free the dragon, he thanks them, and then goes scurrying up the Exit Tunnel.
The PCs, of course, can follow the dragon along a perfectly straight tunnel with no turn-offs before arriving at a hatch. If they open the hatch and crawl through it, they emerge directly in the center of the stage at the Pear Garden Imperial Opera in the middle of a performance being attended by the Emperor himself!
…
The layers of stupidity here are truly staggering.
First: Where the fuck did the dragon go?
The adventure actually goes out of its way to confirm that the dragon definitely went through this very same hatch in the center of the stage, but apparently without any member of the cast or audience noticing.
Second: Let me get this straight. Wei built her secret alchemy laboratory directly below the Imperial Opera? And the only way into or out of this laboratory is through a trapdoor in the center of the stage?
…
Anyway.
We have now reached the conclusion of the adventure, in which the Emperor demands to know, “What is the meaning of all this?!”
The PCs can now tell the Emperor their story, but he will only believe them if they have three out of four pieces of “evidence.” At this point, the adventure copy-pastes from the worst school of Sierra adventure game design. Did you randomly decide to pick up a gold dragon scale from Area S4? You didn’t? You lose!
(If only the Emperor had seen the Huge gold dragon who came through here not thirty seconds ago! Too bad. Sucks to be you!)
If the PCs did collect the three random items, then the Emperor believes them and Wei ends up confessing everything — the missing ingredient, the lack of longevity potions, the Emperor’s eminent death — in front of the entire audience of the Imperial Opera.
The Emperor will then invite the PCs to a private audience where he pays them hush money in exchange for promising “not to speak of what they have learned about Dragon’s Blessing and his eventual death.” Because if they were to, for example, tell an entire opera house full of people about that, it would be bad.
And on that final note of abject stupidity, this adventure mercifully comes to an end.
Grade: F