Matt Mercer, Aabria Iyengar, and Brennan Lee Mulligan — all of whom have run canonical actual plays in the world of Exandria — sat down together for a roundtable discussion of their GMing techniques.
There’s a lot of GMing talent in that room and a lot of great GMing advice in the video. I wanted to kind of dig that advice out and make it accessible, so I rewatched the video and took some notes. Then I thought it might be valuable to polish up those notes and share them here. In practice, that’s turned into a little bit of a ramble as I try to both capture what they were saying, while also sharing my own thoughts on what it means.
Where necessary I’ve used [square brackets] to indicate my original thoughts.
GROKKING A SETTING
I’ve done my own video on coming to grips with a published setting, so I found these thoughts interesting.
Matt: As I learned to GM, I would just create new settings because I was too scared to dive into established settings like Forgotten Realms or Greyhawk. So I understand there can be a reticence or anxiety about not wanting to “ruin” the setting or run it incorrectly.
Brennan then talked about how their experience running Exandria was fundamentally different from a GM running it at home, because anything that they say during the actual play becomes official canon.
Aabria: Try it when the guy who made the world is at your table.
Matt: The good news is that for the majority of you, it will not be livestreamed to the internet. So you can fuck it up as much as you want.
Aabria: Nobody 100%’s the lore. (…) Give yourself a little bit of grace.
There are a couple practical tips here:
- Take a break and go look stuff up when you need to.
- Set your campaign in a corner of the setting where you can’t “break” anything.
But the really big idea is:
Matt: Establish in Session 0 that this is your version of the setting. If you really want to be hardcore into the canon you can, but the intent with writing the [setting books] is to make information that you can use. That’s meant to be helpful. That you can take and use as much as you want to the letter, or break it apart and remake it however you want.
If you give yourself permission to own the setting and make your own version of it, the problem (and anxiety) kind of just goes away: Once it’s yours, any “mistakes” you make are actually just the truth of your setting.
Mercer explicitly rejects the auteur theory of creation, particularly in the context of roleplaying games: Exandria was “born from accident” and developed collectively. Even in his own group, it’s not something that belongs exclusively to him.
[Establishing this attitude in Session 0 also frees the players from this burden. It’s okay to shoot Darth Vader. You won’t have broken anything. You’ll have created something new.]
SESSION 0 & CHARACTER PLANNING
“I have a class. And spells. And magical gear. And literally no desires and no attachments.” Buddy, that’s enlightenment. I don’t know what to tell you. You’re actually done. You beat the game.
Brennan Lee Mulligan
Session 0 fulfills several functions:
- It establishes safety tools (lines & veils).
- It’s an amuse-bouche that clears the palette from your previous campaign.
- It sets tone for the campaign.
For an actual play, having an off-camera Session 0 is important because it gives the players space to explore ideas without feeling committed to them.
But the core discussion revolves around character creation. For a long-term campaign, you’re going to be spending dozens, hundreds, or thousands of hours with the characters. So you want to spend the time to get the characters right.
- But also don’t be afraid to sunset characters who aren’t working. Allow players to retool their characters or even retire them and bring in a new character.
Session 0 character creation can be even more important for short campaigns, though, because you won’t have the time to explore and gradually develop the characters (and their relationships) through play.
AT THE TABLE: Do character creation at the table. This allows players to bounce ideas off each other and create pre-existing relationships between their characters. The result is an overt history shared by the group. [You can see an example of this in practice in Dragon Heist: Creating the Characters.]
SUB-GROUPS: You can enhance this by having one-on-one or small group sessions with subsets of the full group. (This can also be done virtually or by e-mail between sessions.) This allows for the creation of secret histories known only to
[This is desirable because (a) enigma drives interest and (b) dramatic revelations are fun. If you’re wondering what’s really going with someone else’s PC, the interest generated will immerse you into that relationship. And it’s fun to be the center of attention for a dramatic reveal; that’s an experience that doesn’t have to be limited to the GM.
This notably, for me, illustrates a central truth: An RPG is an act of narrative creation, and I don’t (necessarily) mean that in the sense of storytelling. I mean that the game is simultaneously the creation of an event AND the spoken narration/description of that event. Furthermore, players in an RPG are simultaneously creators and audience; they are both participants in the creation of the game’s narrative and also the audience for that narrative. (The rise of televised actual play obviously begins to shift this dynamic, but it obviously remains largely true.)
Furthermore, there is a tension between the mantle of Creator and the mantle of Audience. We’ll come back to this.]
KEY ELEMENTS: [I’m creating some jargon from the discussion here.]
- Momentum are attachments. Friends, enemies, debts, etc.
- Trajectory are the character’s initial goals.
- Motivation is the character’s “why.” What is it that they want?
So if you have a player who isn’t providing back story, you need to ask them: Where’s your momentum coming from? What is driving you? What do you want to achieve? [Because the question goes both ways: These things come from back story, but figuring these out will also inform your back story.] Where you are from informs where you’re going.
It’s not about the amount of character backstory. “You don’t need a forty page back story to do this.” You just need enough backstory for these key elements to be in place and for the character to “click” into place.
Nothing wrong with forty pages of back story if that’s what the player wants or needs! Aabria Iyengar has a tip, though: Five minutes before the session, ask everyone, “What’s your back story?” Because no matter the length, in that moment the player will focus in on what’s most essential for them.
Tip: Backstory also tells you where the players’ focus is. As Brennan puts it (paraphrasing), “No clerics? Guess I won’t bother developing the gods, then.”
GAME MASTER AS GREEK CHORUS
Matt Mercer also notes that, “Back story is an invitation to the GM; not an expectation.”
But it’s a potent invitation because the easiest way to prep is to ask, “What do you think you’re going to be doing [as a character]?” And then prep that. (As opposed to saying, “This is what you’re going to do,” and then trying to figure out how to motivate the PCs to do that.)
Brennan characterizes back story as “plot hooks you’ll bite every time.” He contrasts the mysterious necromancer in the corner who the players can freely ignore as opposed to, “Your uncle, who you swore to kill, is here.”
This really sets up the idea of the GM as the chorus of a Greek play: The chorus does not drive the plot forward. It exists to establish the scene, reflect and comment upon the actions of the characters, and also to provoke and inspire their action. In just this way, an RPG campaign is driven by the players and their characters, while the GM creates opportunity and context for them to do so.
Matt: Part of the preparation (…) is getting to know enough about the world and the kind of story that you’re going to tell, so that when you start, you can kinda let all that preparation go and just ride with the player’s actions; their agency. And have that bag at the ready. At that point a lot of your preparation should be modular. You should know which things are important to tell the story, what bits of information you feel would be the most impactful for the players to discover, to uncover, to take to heart and use to drive them towards a goal, to fulfill that heroic fantasy, or that horror narrative, whatever it is that you’re using to tell.
[This is what I refer to as active play. You create these modular bits so that you can play freely with them at the table.]
RAILS vs. OBSTACLES
What I’m looking for when I’m a player is full immersion. I don’t want the experience of being a storyteller when I’m a PC. And that’s a little bit of a different thing. A lot of indie games want a flat hierarchy at the table where everybody is a storyteller. I don’t want that as a player. When I’m a player, I want to be living in a story, immersed into a character that is not, to their knowledge, living in a story. As Evan Kelmp says, “I am not a character.” I don’t want to play a character that’s thinking about their fucking narrative arc. I want to play a character who wants to save the world as quickly and efficiently as possible. But I, as the player, want the arc. So me and my character exist at odds.
Brennan Lee Mulligan
[Here we return to the tension between player as Creator and player as Audience. This tension is not a bad thing. It drives the central creative act of a roleplaying game in a way almost entirely unique to it as a medium, and when you get the balance right it creates a feedback loop of excitement.
And this type of tension is not, it should be noted, a strictly dramatist concern, although Brennan puts it in these terms. If you think in gamist terms: You, as a player, have a desire for victory. But you simultaneously don’t want that victory to be trivial.]
It’s the GM’s role at the table to resolve this tension; to unify the player’s desire and the character’s desire.
Brennan: So what does it mean if I want to provide that experience to the player? [Characters] are like water. They are going down the hill as fast as they can, seeking the path of least resistance. But the player wants anything other than a straight line. So my job as the “rails” is irrigating a path down that slope that lets the water always have taken the fastest route towards its goal, but at the end of it, the shape is the most convoluted and pleasing. You achieved the shape of a story while you were trying your hardest to avoid it.
The “rails” that Brennan is describing here are not railroading. They are obstacles. It’s the GM’s role to put obstacles between the PCs and what they want. The obstacles that Brennan is talking about are primarily derived from dramatic sensibility, but — as we’ve already discussed — the same equally applies to gamism or simulationism: The level-appropriate opponents who create challenge are placed between the PCs and their goal so that the PCs have to overcome them. Goals are not trivially achievable because the world would not feel real if they were.
Brennan also inverts this metaphor: The “rails” are ultimately designed by the players. They emerge from the character’s backstory. They are the hooks you’ll bite at every time; the uncle you swore to kill showing up to cause problems.
RANDOM TIPS AND INSIGHTS
OTHELLO TOKENS: Use the plastic discs from an Othello game set as generic monster tokens. You can use wet-erase markers on the white side of the token to identify the monster or indicate current hit point totals. [You can also flip the token to the black side to clearly indicate a corpse. It feels like corpses should be difficult terrain, but we so often lose track of them narratively.]
WHERE DO THE RELICS COME FROM? There are specific tropes in D&D. When you’re doing world-building for D&D, you want to identify those tropes and back specific explanations for them into the world, so that those tropes flow organically from the world and are a natural part of it.
[This can apply broadly to almost any setting creation. For example, let’s say you wanted to create a planet-hopping space opera. The essential trope here is that you need to be able to get from one planet to another very quickly: Cheap FTL is going to give you one setting. A solar system with dozens of terraformed planets is going to give you another. Stargates give another. Cross-planar journeys through what our ancestors called the elf-lands gives another.]
NO TIME FOR SESSION 0? If you’re running a one-shot, for example. You can replace some of that work by giving the PCs private moments at the beginning of the scenario. [And also framing scenes with smaller sub-groupings before bringing everyone together.]
Sometimes you can also use e-mail or text messages to ask questions before the session starts.
ACCEPTING OFFERS: The triad here talks about how, “Aabria is a great GM from the player’s chair,” by which they mean that she can see the storytelling beats a GM is setting up and will line herself up to hit the incoming pitch. These players recognize that you’re singing a note because you want to harmonize; and, vice versa, they sing a note because they’re hoping you’ll harmonize.
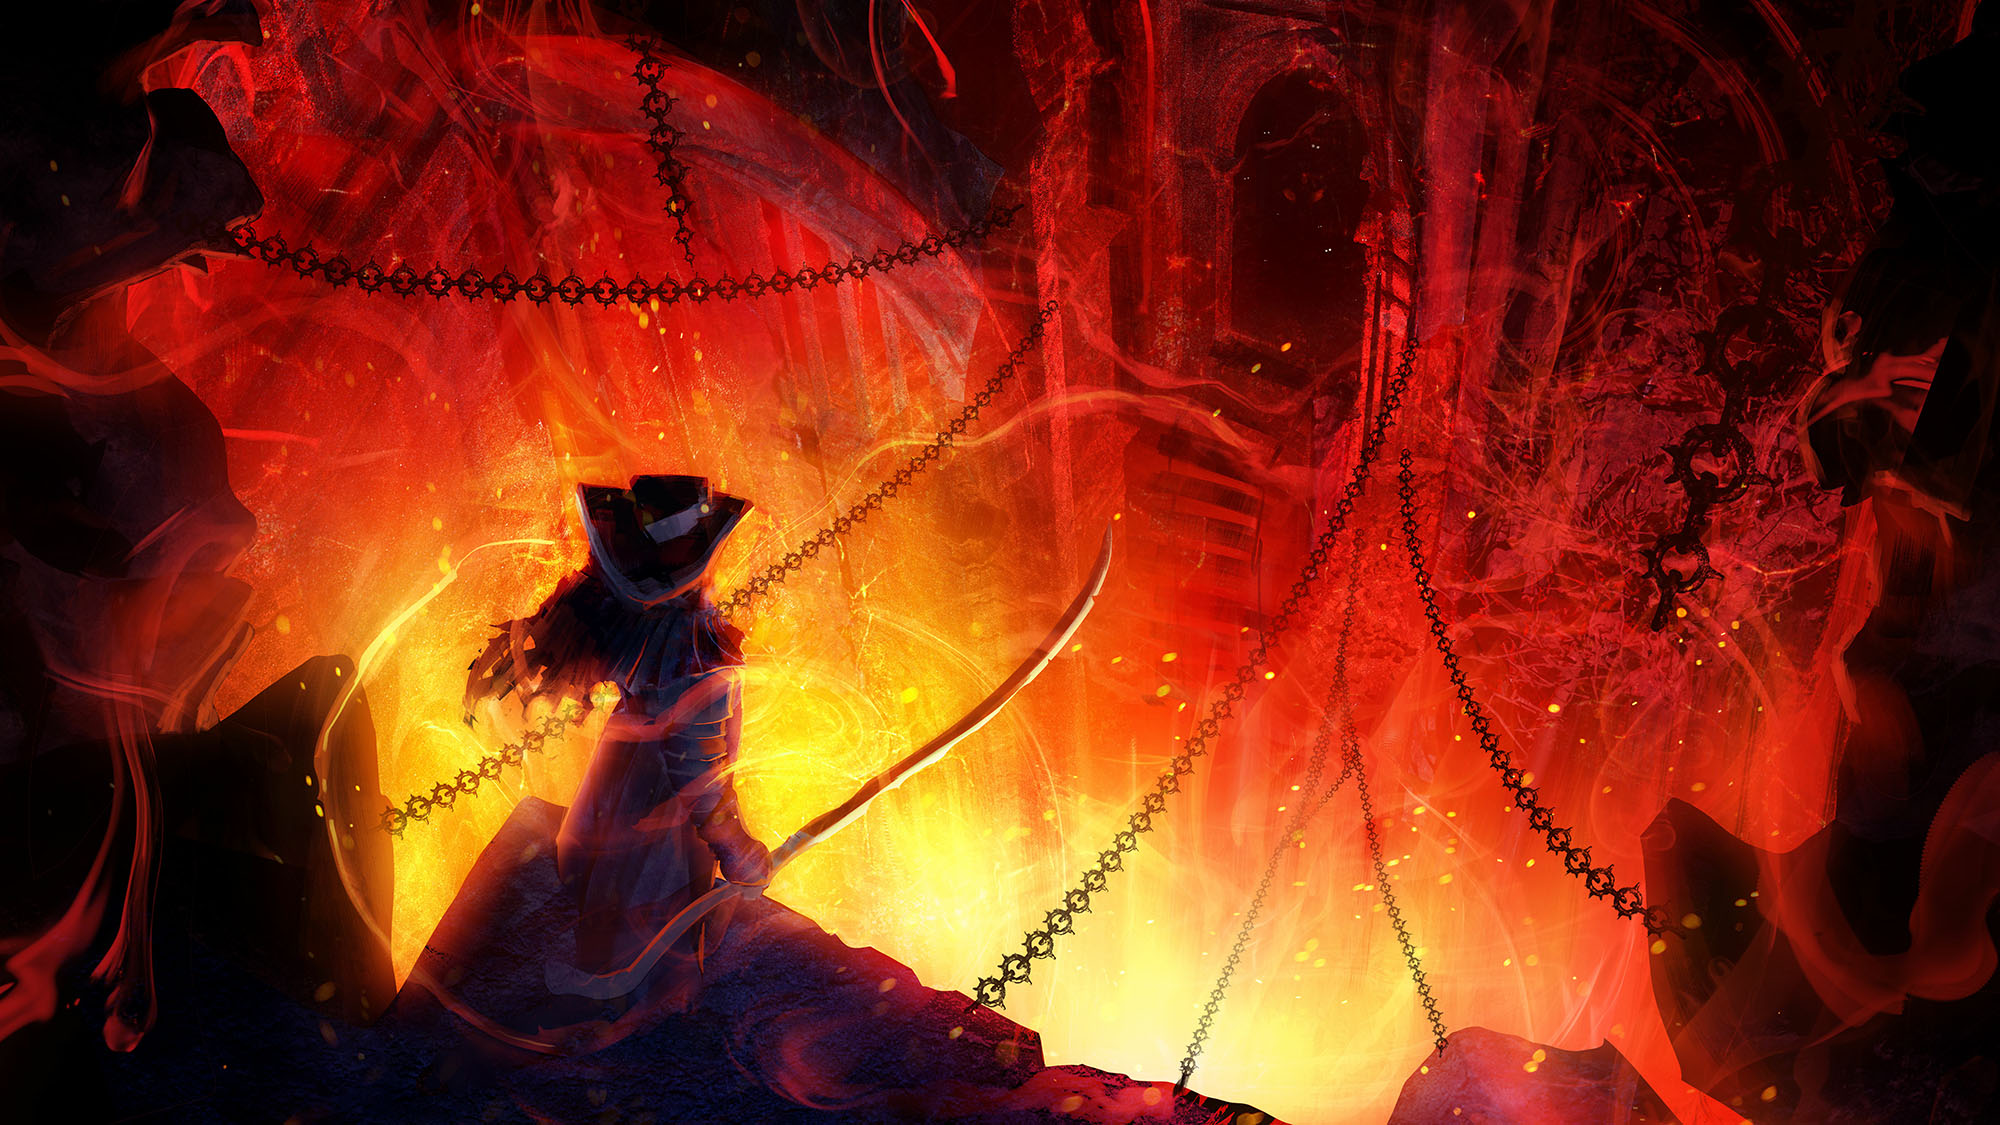
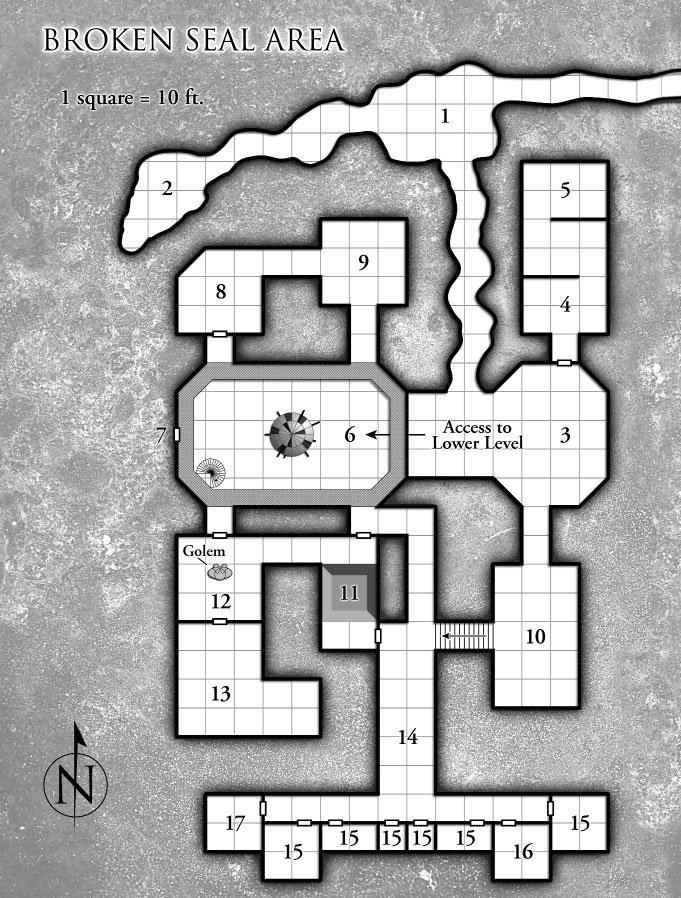
BATTLEMAPS AS IMPROV SEED. Highly detailed battlemaps can lock players into a particular visualization of the battlefield, but this can be useful if it encourages them to interact with the battlefield in creative ways. The example is given of a player seeing chains on the map and then grabbing them in-character.
…BUT YOU DON’T HAVE A BATTLEMAP: When playing theater of the mind, make it a conscious habit to establish three details of the battlefield. You don’t have to have a plan for how they’re going to be used; just make sure there’s scenery there and you’ll find that circumstance and creativity will make use of it.
And, Feng Shui-style, it can be useful to explicitly give players explicit permission to infer and/or ask about the presence of detail.
AABRIA’S SIGNATURE MOVE: “And here’s what you don’t see.” A cinematic technique in which the GM describes a scene that none of the PCs are present to witness. This can be very powerful.
Brennan: And my head popped off my body, spun around in a circle, and said, “You can do that?!” And then settled back onto my shoulders… Talk about inviting the audience in.
Brennan’s quote here is particularly interesting in light of his earlier discussion regarding the fact that he wants to remain in character. How can this be if he’s so completely blown away by a technique feeding him information that his character has no access to?
Because, once again, the player is both Creator and Audience.
CONCLUSION
If you have time, make sure to check out the full video! There’s a lot of fun stuff — anecdotes, random observations, etc. — that aren’t captured in these notes.