SESSION 30B: GOLEMS & GHOULS
September 20th, 2008
The 16th Day of Kadal in the 790th Year of the Seyrunian Dynasty
The rest of the group returned to the Banewarrens. They had not yet finished exploring the farthest reaches of the complex and, since they had nothing better to do while guarding the door, they decided to finish their sweep.
Opening the last of the unopened doors leading out of the generator room, they looked into a wide hall leading to another of the rune-encrusted and warded doors. In the center of the hall, a 12-foot-tall statue of a helmed warrior, made out of interlocking metal plates, stood like a vigilant guard. Patches of rust could be seen on it here and there.
Fearing that it might be a golem or, failing that, some other sort of trap, Tee entered the hall cautiously. Unfortunately, her caution was in vain. Scarcely had she crossed the threshold before the statue suddenly leapt into motion, charging down the length of the hall and slamming its heavy iron fists into her chest.
Tee was thrown back by the ferocious blow. Her head smashed against the wall and she slid to the ground, slumping into unconsciousness.
In some ways, however, this proved fortunate for her. No sooner had the iron golem delivered its tremendous blow than it was seized with a violent vibration which shuddered through its iron plates. A moment later a pulse of magical force burst from it – catching Agnarr in mid-stride as he rushed towards it with his sword drawn and throwing him backwards with a muscle-rending jolt.
And then it simply fell apart. From the seams of its broken form a strange substance poured like thick syrup, glowing with a strange blue light that seemed to sear the retina.
Dominic, with a rush of concern, dashed to Tee’s side. But she hadn’t been badly hurt. In fact, he was able to rouse her easily.
Agnarr had scrambled back to his feet and backed cautiously away from the oozing heap of misjointed metal. Tee, in frustration, gave the heap a spiteful kick and—
It exploded in a hail of semi-molten metal. Shards of the former golem embedded themselves deeply into the walls of the chamber.
Tee spent the next several minutes with Dominic prying shards of metal from her arms and legs.
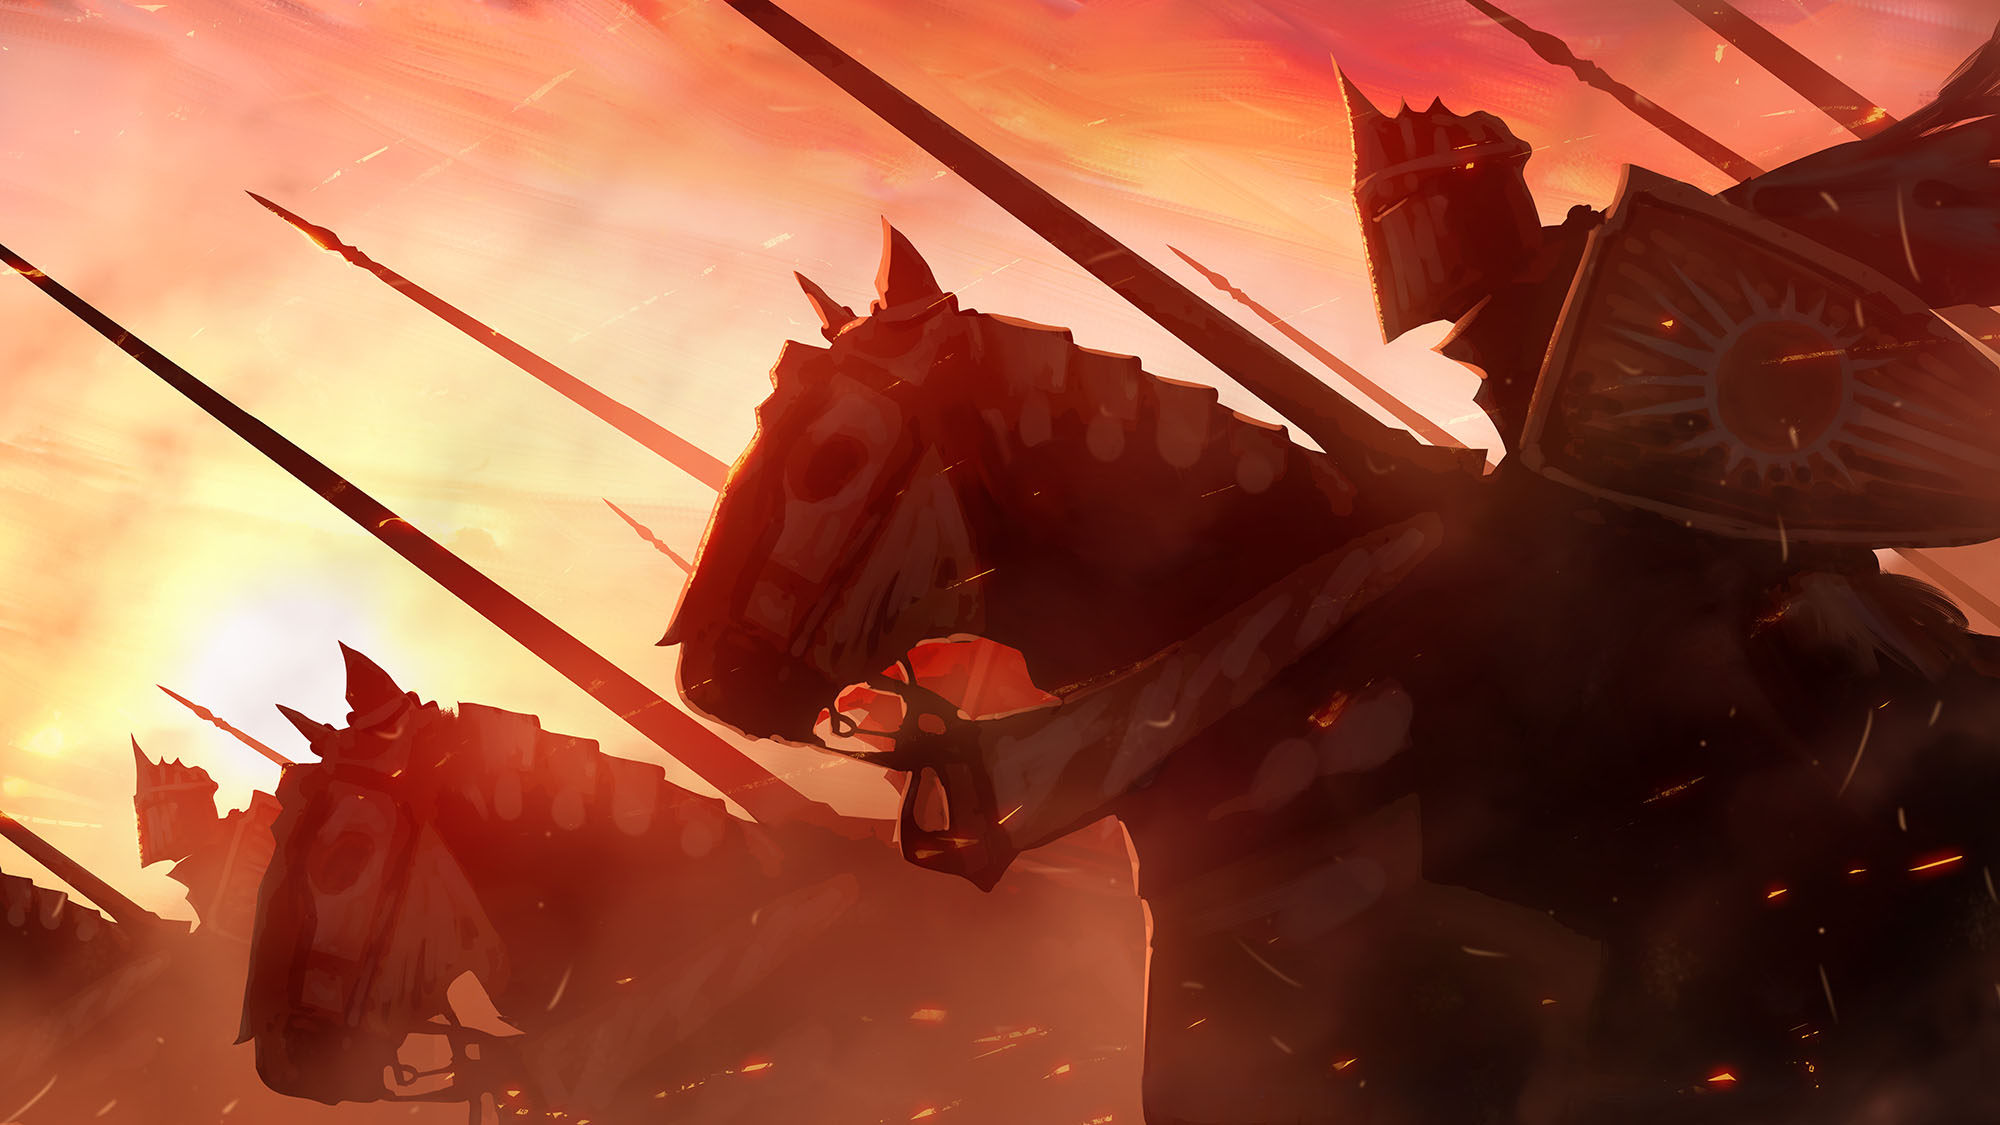
THE TALE OF A TRAITOR KNIGHT
“What?” Tor gaped.
“It’s true. Kabel and several other traitorous knights attacked the Cathedral. They were driven back and the Godskeep was shut against them.”
“What happened to Kabel? Was he killed?”
“No. He and several of the other traitors managed to escape. Sir Gemmell is pursuing them now.”
The knights loyal to Rehobath and Sir Gemmell were wearing red sashes to identify themselves. (“Red for the novarch’s robes,” the knight explained.) Kalerecent took one and Tor, keeping his private reservations to himself, did as well.
Kalerecent was uncertain what they should do: The Godskeep had been ordered shut until Sir Gemmell’s return, which meant that Rasnir’s body couldn’t be brought into the chapel. “Nor do I want him to lay here on this common field where his blood might mix with the blood of traitors.”
Tor explained that Rehobath himself was interested in the Banewarrens. He felt that they should report directly to him.
But when they tried to reach him, they found themselves stymied by the bureaucracy of the Cathedral. They were eventually escorted to a small antechamber within the Cathedral by one of the priests and told to wait.
They did so patiently and, in due time, Brother Heth Neferul arrived. Tor and Kalerecent quickly told their tales of the Banewarrens. When Heth was satisfied, he asked them to wait again and turned to leave.
“A moment, please,” Tor said.
Heth turned back to him. “Yes?”
Tor chose his words carefully. “We were told of Sir Kabel’s betrayal. I have reason to believe that he may have been… compelled in this treachery by the recent chaotic events that have been happening throughout Ptolus.”
“You believe he may not have been in his right mind?”
“It’s a possibility,” Tor said. “I have found Kabel to be a loyal and honorable man. There would need to be some reason for him to do what he has done.”
“I see.” Heth nodded. “I will mention this to Sir Gemmell.”
He turned and left them alone.
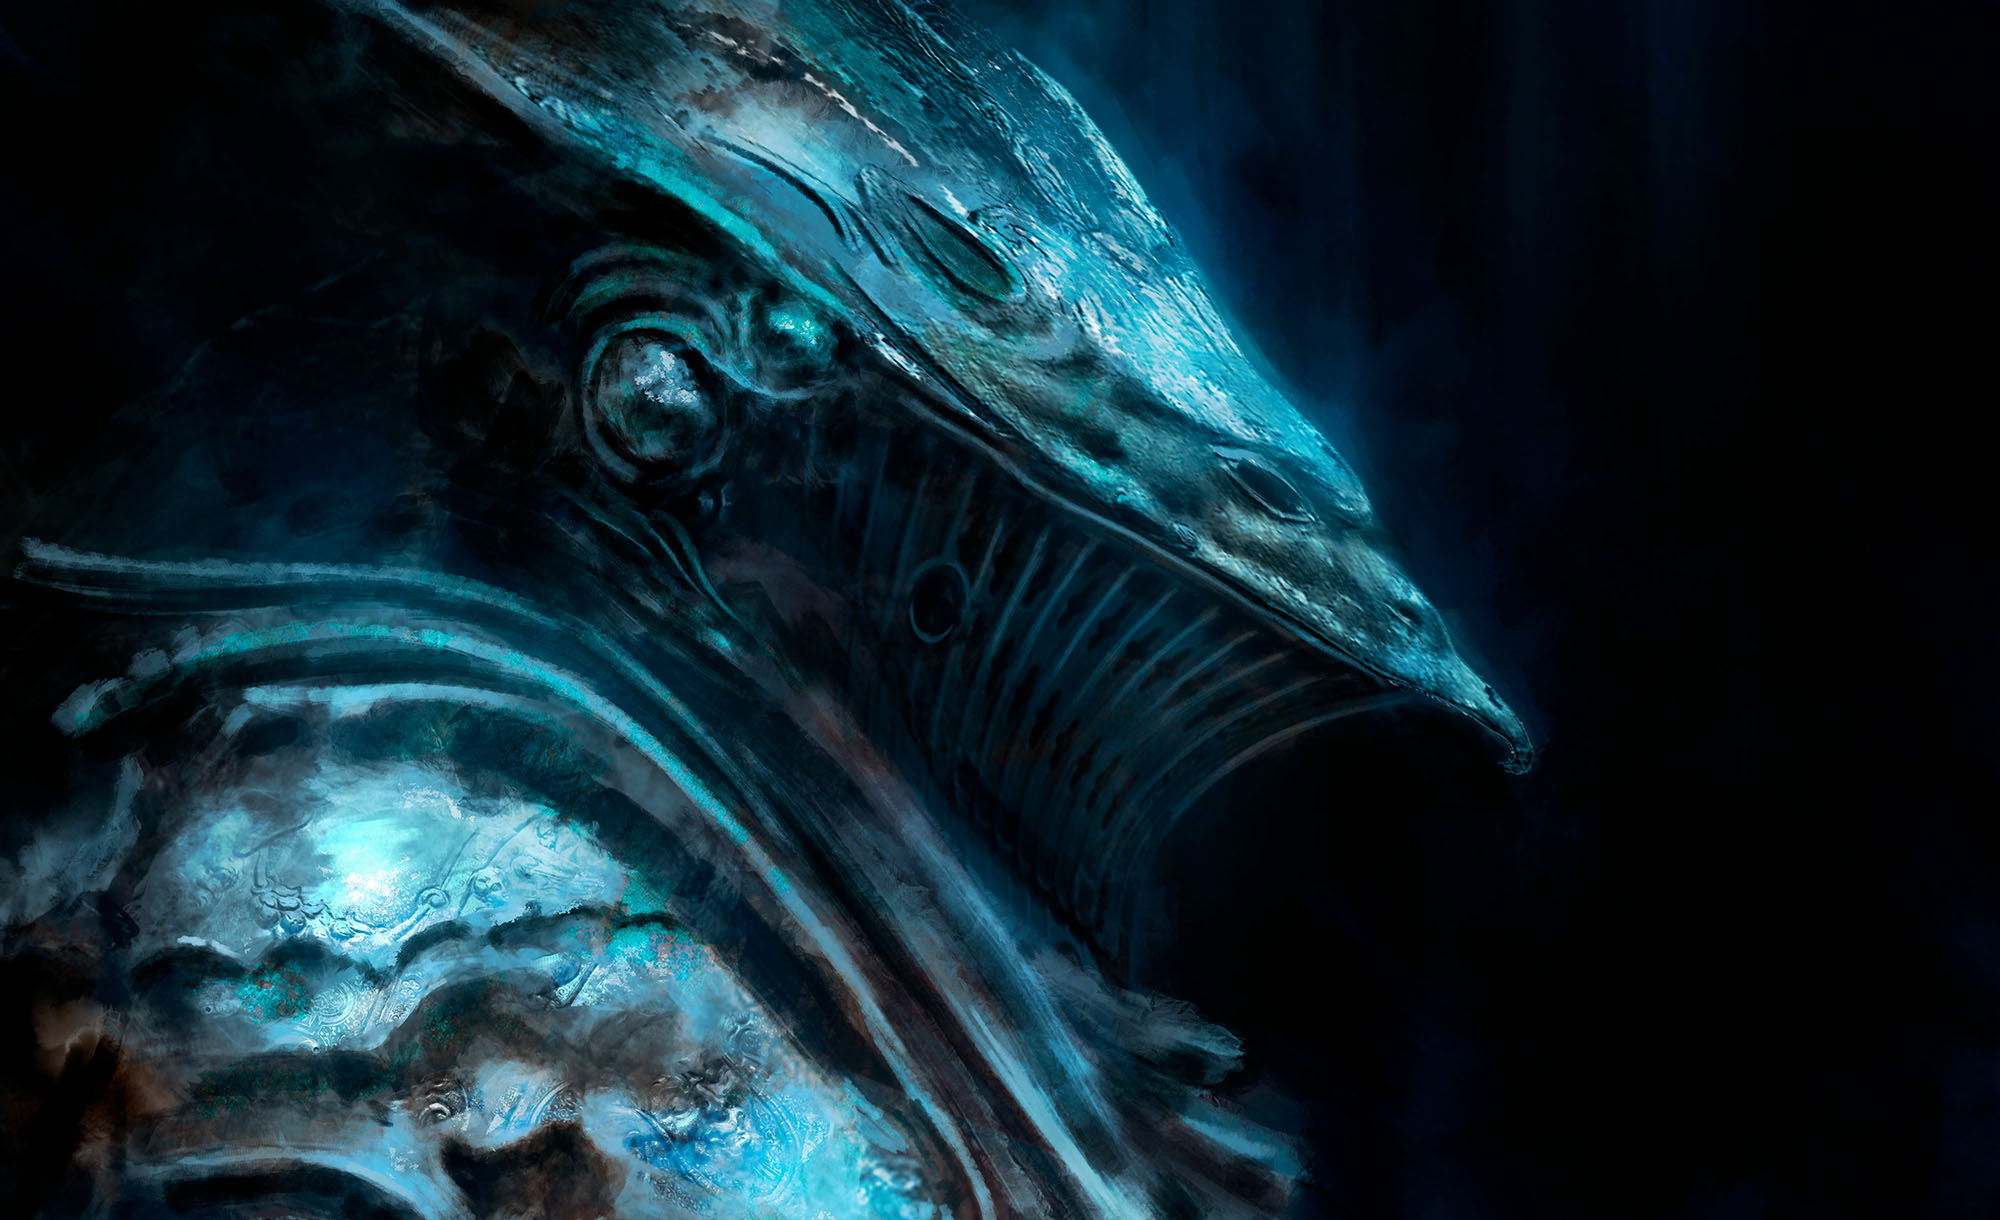
THE FLESH-FEASTING GHOULS
Tee broke the seal on the door that the malfunctioning golem had been guarding. Then she stepped back and waved Agnarr into position.
Agnarr opened the door. Beyond it he saw a long chamber of dust-ridden stone. Near the center of the chamber, also covered in thick, choking dust, crouched four corpse-like ghouls, their skin blackened with bruises of dead, coagulated blood. At the sudden motion of the door in their ancient prison, the ghouls turned with creaking suddenness – staring hungrily with their black, pulsing eyes; their dry, parched mouths hanging open to reveal countless, needle-like teeth.
The moment hung for an instant, and then the ghouls burst into motion with horrible speed – their ancient limbs casting up clouds of dust as they bounded towards the open door.
Agnarr slammed it in their faces.
They took a moment to gather themselves. Agnarr could hear the ghouls snuffling around on the opposite side of the door, but he waited until he had met the eyes of his companions and made sure that they were ready.
Then he smashed the door open again. The heavy iron caved in the skull of one of the ghouls. As Agnarr leapt into their midst, he could see one of them peeling flesh from its own arm and chewing on it.
“They’re eating themselves?!” Agnarr could hear Elestra’s horrified gasp from behind him, but he paid it little heed as he hacked his way through the ghouls.
For a moment it seemed as if Agnarr would dispatch them all – his flaming blade tore easily through their frail frames. But then the last of them leapt suddenly upon him and got its teeth into him.
The thing’s poison rushed into the barbarian’s veins. Agnarr felt his joints lock almost instantly and he fell with a heavy thud to the floor. The ghoul was upon him in an instant, tearing gouges of flesh out of his back and feasting upon them.
The ghoul was so lost in its blood-lust that it scarcely seemed to notice when Dominic caved in its skull with his mace.
Dominic managed to get Agnarr back on his feet and used his holy powers to purge any remnants of disease from the wounds on his back.
They decided that it would be better to wait for Tor to return before continuing their explorations. There had been a moment of true fear when they had seen Agnarr felled. Having Tor’s blade would make them all feel safer.
They retreated back to the room that Kalerecent had been holed up in, thinking it to be fairly defensible, and settled down to wait.
THE AFFAIRS OF THE CHURCH
Brother Heth Neferul returned with Rehobath, Sister Mara, and Brother Thad.
Thad quickly crossed to Tor and shook his hand enthusiastically. “Master Tor! Such an honor to see you again! Whenever I think of the important work you’re doing… And to travel with the Chosen of Vehthyl! It must be such an hon—“
“Brother Thad.” Rehobath’s cold voice sliced through the young priest’s ebullience. “Sir Kalerecent and Master Tor. I am glad to see you both. Brother Neferul has told me all that you have told him. I am sorry to be so brief with you, but – as you know – there are other affairs demanding my time.”
“Yes, of course,” Tor said.
“Brother Thad believes he may be of some help,” Heth said.
Thad nodded eagerly. “Yes. Of course. While the known lore of the Banewarrens is quite limited – even within the Archives of the Church – and divinations have proven quite limited, now that you have access to the actual contents of at least part of the Banewarrens its possible that certain rituals might prove useful.”
He pulled a scroll from his robes. “This scroll describes an arcane ritual. If Master Ranthir were to perform it in front of the sealed door, it should reveal its secrets. It might even reveal how such a door could be opened.”
“Do we want to open the door?” Tor asked.
“It’s more important than ever that we recover the Sword of Crissa,” Rehobath said. “The troubles of today reveal the deep schism within our faith. With the Sword in our hand we would have a powerful symbol to unify those who have lost faith in the Gods.”
“I’m still worried by these reports of the others seeking to gain access to the Banewarrens,” Sister Mara said. “I think we need to use the Order of the Dawn to secure the entrance.”
“That’s a mistake,” Heth said. “We don’t want to draw undue attention to the site. Besides, Master Tor and his friends have already taken care of those responsible.”
“There may be others.”
“There may be,” Rehobath said. “But in light of our… recent troubles, I think it would be unwise to divide the strength of our Order until certain dangers have been properly dealt with.”
“I will return to that place and stand guard,” Kalerecent said. “I swore an oath by the side of my squire that I would not rest until that evil had been laid to rest. I ask only that I be given an hour to stand vigil by the side of Rasnir’s body. It waits not far from here.”
Rehobath nodded. “So it shall be. And I shall see to it that leave is given for Rasnir’s body to rest in the chapel of the Godskeep.”
Kalerecent knelt and kissed the ring of the novarch.
When the church leaders had left, Tor returned with Kalerecent to the carriage where they had left Rasnir’s body. They carried it to the chapel in the Godskeep and Tor left Kalerecent there, praying over Rasnir’s body.
Running the Campaign: Spray Your Bullets – Campaign Journal: Session 30C
In the Shadow of the Spire: Index