
Do you want to build a four-foot-high Mrathrach Tower for your Ptolus campaign?
Of course you do.
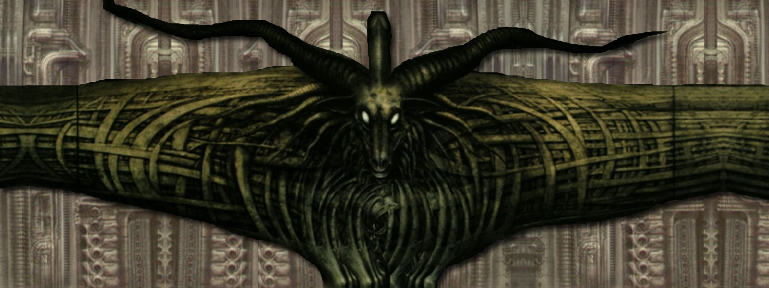
Below you’ll find a graphics package. This package uses resources shared by users of the old Okay You’re Turn forums on Monte Cook’s website, most notably those created by Eric of Ptolus, but I significantly remixed these into the form you’ll find here.
In addition to the graphics, you will also need to purchase supplies:
(1) Foamboard that is at least 20” x 20”. You’ll need 10 pieces, one for each level of floor. I recommend getting black foamboard, which will significantly enhance the visual quality of the finished piece.
(2) A concrete form with a 10” diameter. The one I’m linking here should work (unless the dimensions have changed in the years since I purchased it). For reference, the dimensions you’re looking for are:
- Inner Diameter: 10”
- Thickness: 3/8”
- Outer Circumference: 32.6”
(3) Glue for attaching the printed graphics to the foamboard and concrete form.
(4) Approximately 4” high ladders for connecting the tower levels. (The ones I used are no longer available for sale, but you can probably make something like this work.)
FLOOR DISCS
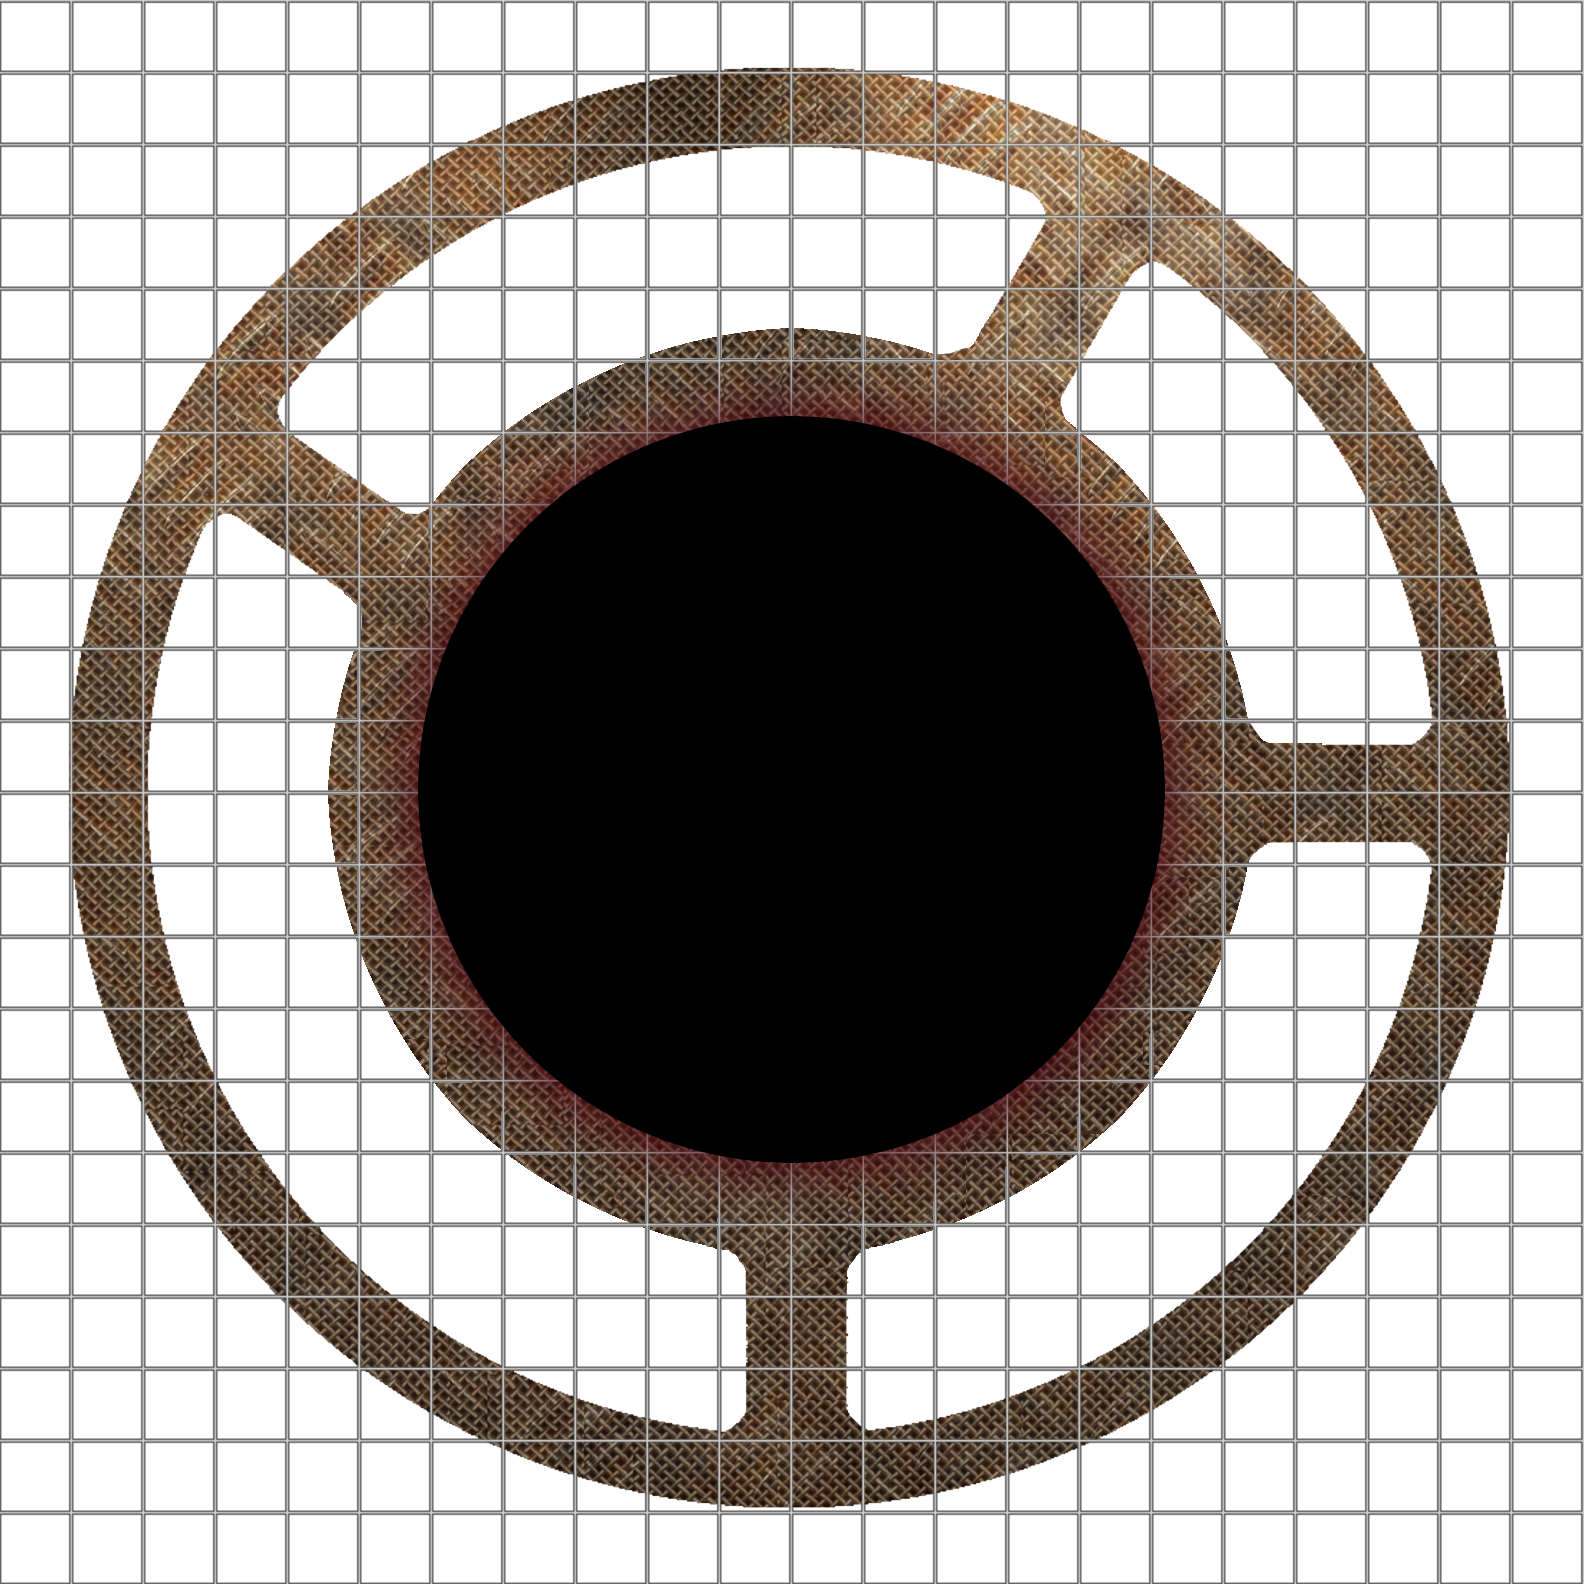
All nine levels of floor are identical. The graphics package contains the following floor files:
- A 3-page PDF which has been pre-tiled for printing on letter paper. The pages deliberately overlap in order to make assembly easier.
- The original Photoshop (PSD) file.
- An alternative 24-inch PSD file (which I abandoned because I wasn’t able to find foamboard wide enough to accommodate it).
To assemble the floor discs:
- Print nine copies of the floor graphics.
- Glue them to the foamboard and wait for them to dry.
- Cut them out. For stability, do NOT cut out the inner circle (in black above).
The foamboard gives enough rigidity to support your miniatures.
LEVELS
Each level of the Mrathrach Tower has a PDF file (for printing) and a PSD file (the original graphics). The PDF files are once again prepared for printing on letter paper.
To assemble the levels:
- Print a copy of each layer strip. (Note that layers 3 and 6 as well as layers 4 and 8 are identical, so make sure to print out a copy of each.)
- Cut out each layer strip.
- Cut ten 4”-tall circular sections from the concrete form. (Do NOT divide the form evenly into ten sections. The layer strips won’t fit.)
- Glue each layer strip to one of the circular sections. Each layer strip includes a red border which is designed to fold over the top and bottom of the section for a clean finish.
- From your tenth piece of black foamboard, cut out a circular “cap” for the top of Level 1. Attach the cap to the top of Level 1. (You do NOT need a cap for each circular section. Just Level 1.)
You may want to label each circular section by writing its level number on the INSIDE of the section. This may make it easier to assemble the tower.
ASSEMBLING THE TOWER
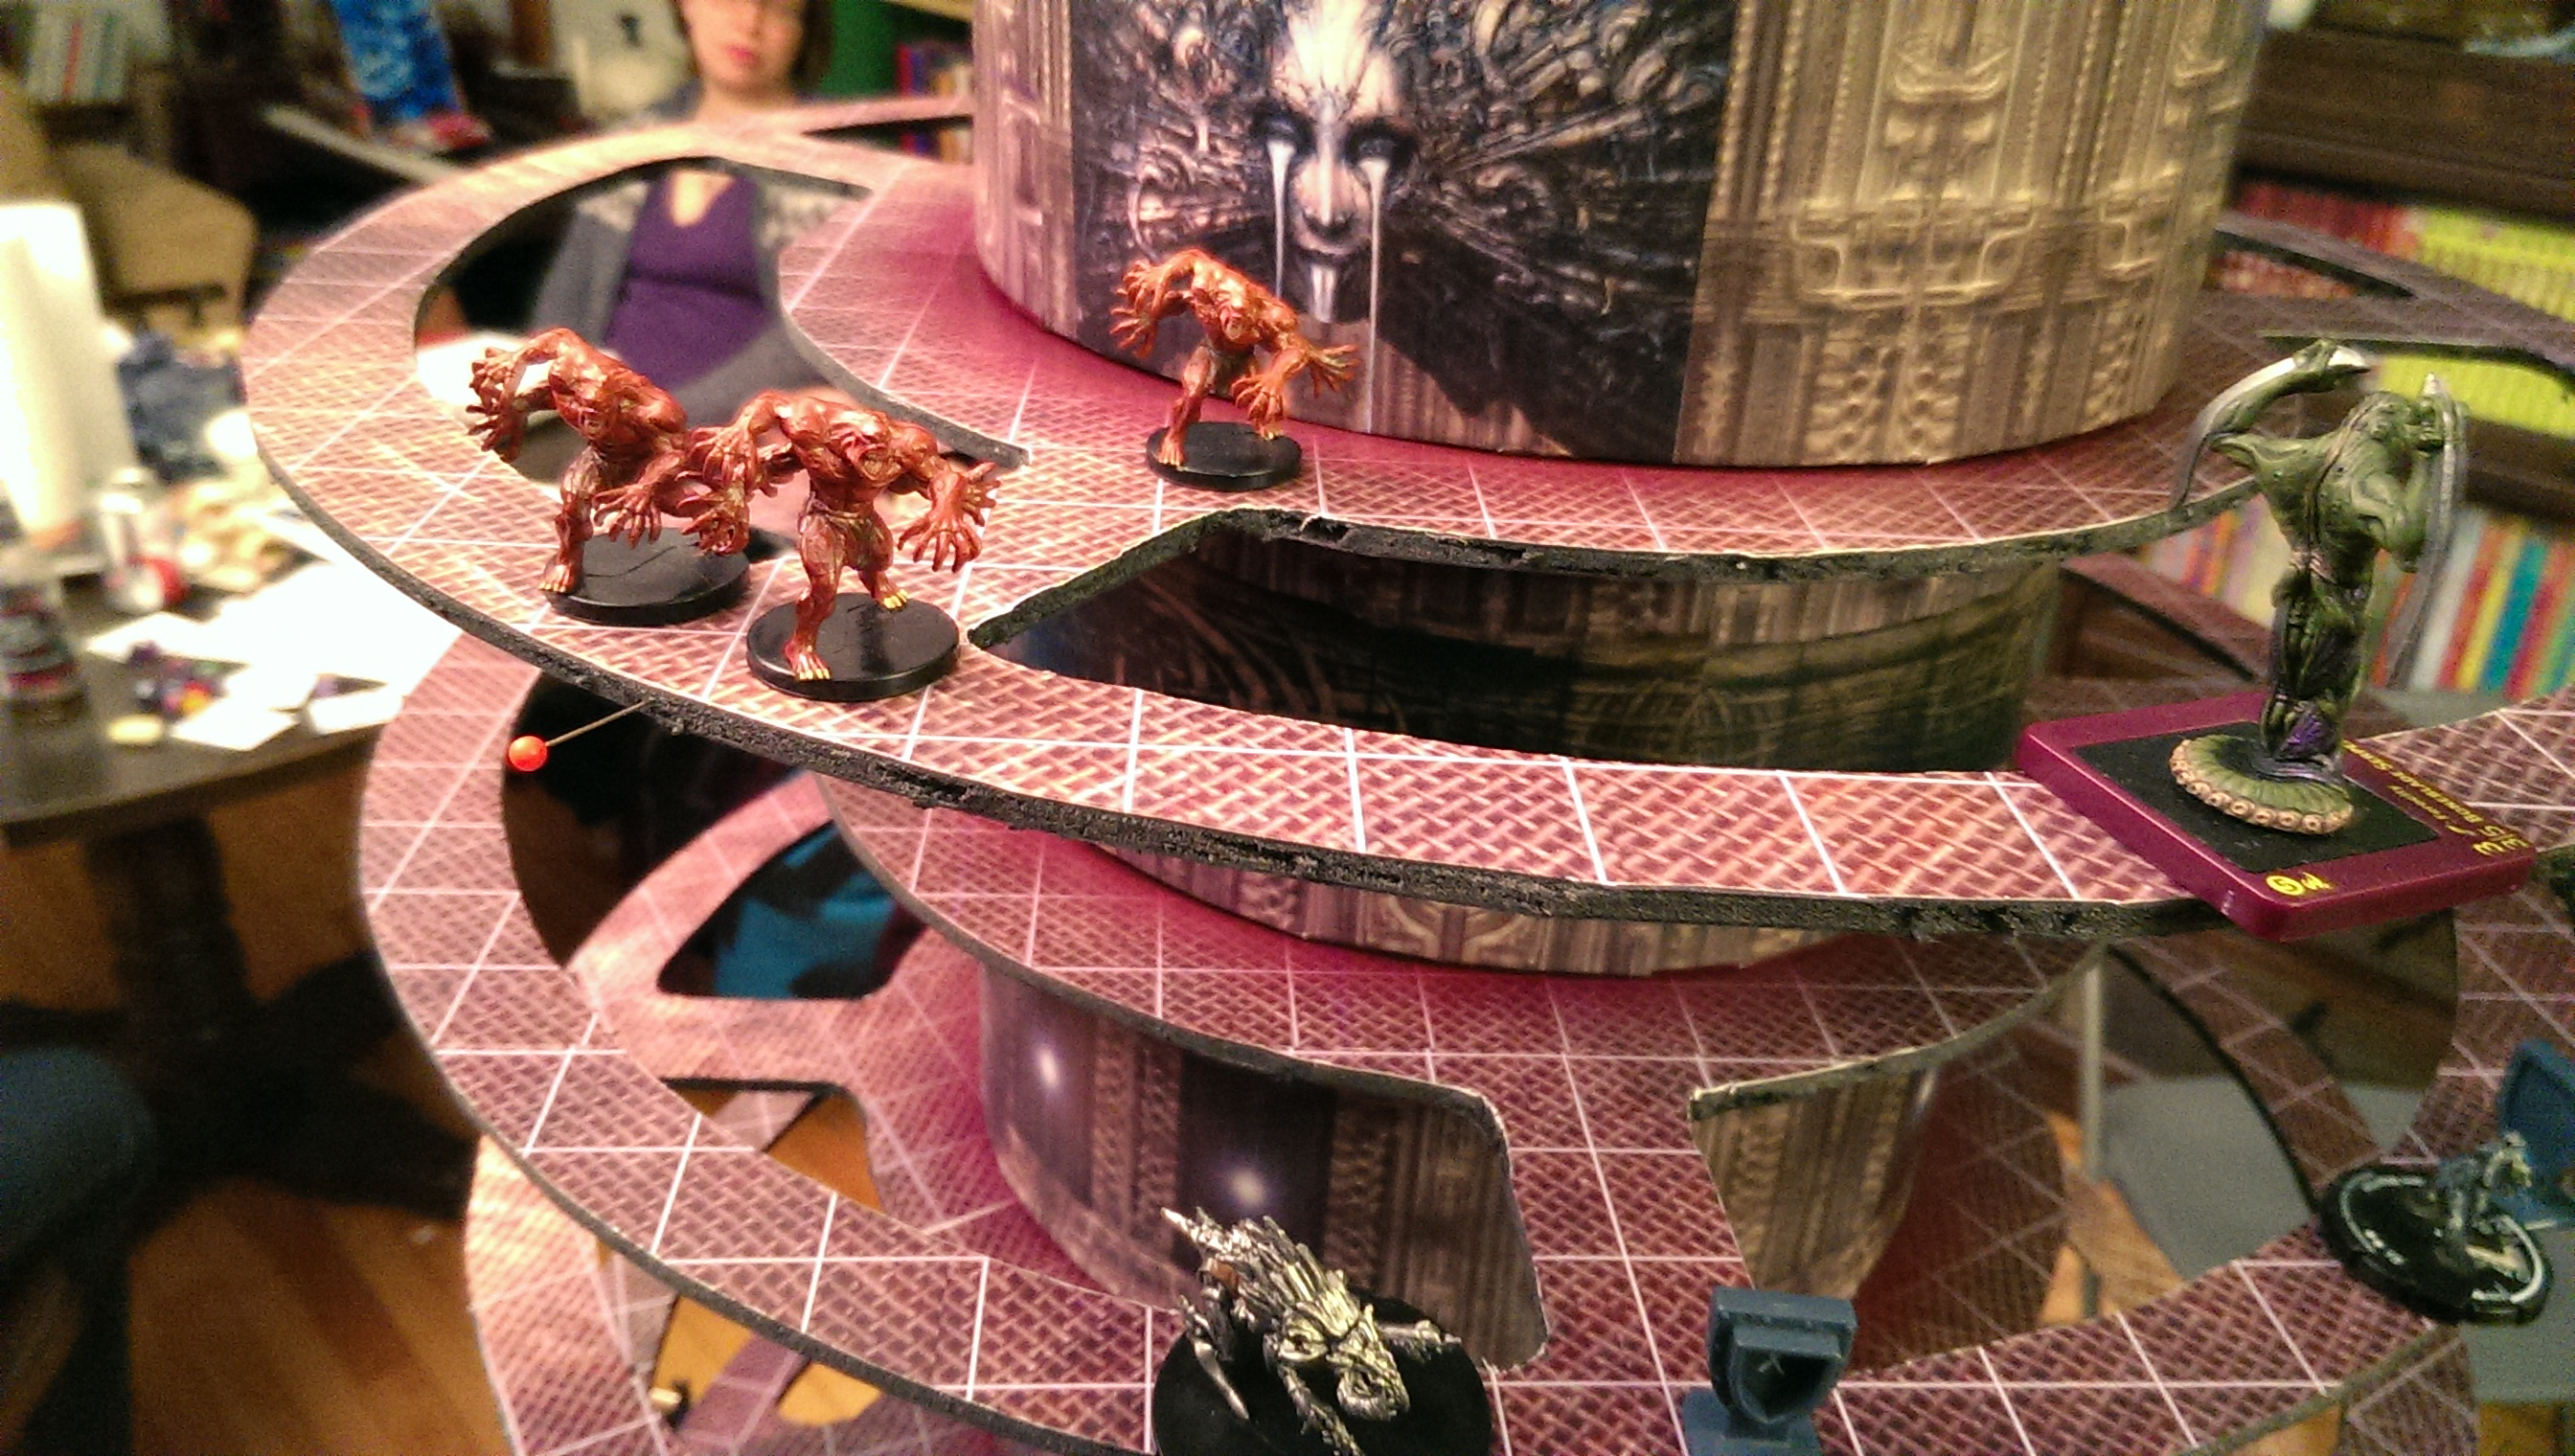
You should now have:
- 9 floors
- 10 levels
To assemble the tower:
- Place Level 10 on the floor or tabletop.
- Place a floor disc on top of the Level 10 cylinder.
- Place Level 9 on top of the floor disc, lining it up so that it appears continuous with Level 10.
- Place a second floor disc on top of Level 9, rotating it so that it doesn’t line up with the floor level below.
- Continue this process all the way to the top of the tower.
Ladders: Attach one or two ladders to each level.
The method that I found worked well was to insert two pins or needles into the edge of a floor piece and then hang the ladder from them. I found that varying their positions on each level, but having one or two places on the tower where they lined up so that you could ascend or descend two levels in the same place was both aesthetically pleasing and created great gameplay.
Cavern Connections: The Mrathrach Tower has been erected in a tall, vertical cavern with intersecting cavern levels. You can indicate the locations of these cavern entrances (on Levels 1, 3, 4, 7, and 8) with flag pins. (These caverns can then be mapped on a nearby table.)
Level 10 Cavern: The base of the tower rests on the floor of the cavern, with a passage leading to the Rhodintor Nests. You could prepare these maps separately and print them out. I just set the Tower on top of a Chessex battlemat and sketched in the relevant caverns.
Permanent Assembly: You could hypothetically use tape or glue to permanently attach the floors and levels together. I, personally, found it easier to simply stack the tower. It’s large enough to remain stable while stacked, and it’s much easier to disassemble and store between sessions.


