Go to Part 1
EXTERIOR
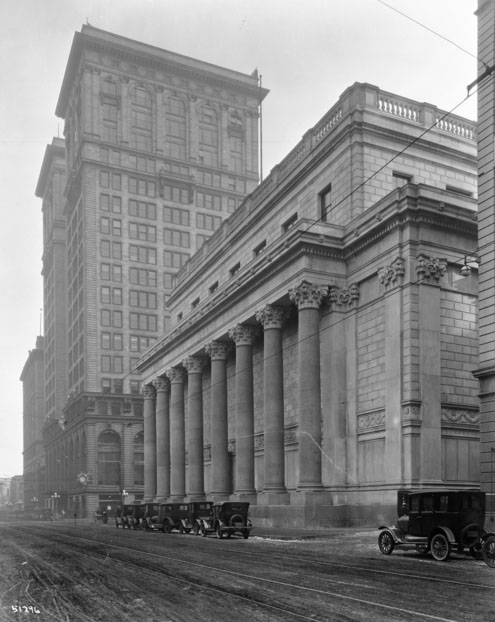
Architecture: The Minneapolis Federal Reserve is designed in neo-classical style, with pilasters and a colonnade supporting an upper frieze. The Corinthian composite capitals are topped with volutes decorated with acanthus leaves.
- There’s an upper parapet, from which the upper windows (requiring Locksmith, but leading to the Executive Offices and Office Floor) could be accessed.
Occult / Art History: Acanthus leaves are a symbol of immortality and resurrection in Greco-Phoenician art. Curiously, in Christian symbolism its meaning is inverted, representing sin, punishment, and death.
ENTRANCES
MAIN ENTRANCE: The main entrance is up a short flight of stairs. The doors are embossed metal, over a dozen feet high, and weigh nine tons. (They’re counterweighted so that a person can open them. They’re kept open during the day. At night they’re barred from the inside.)
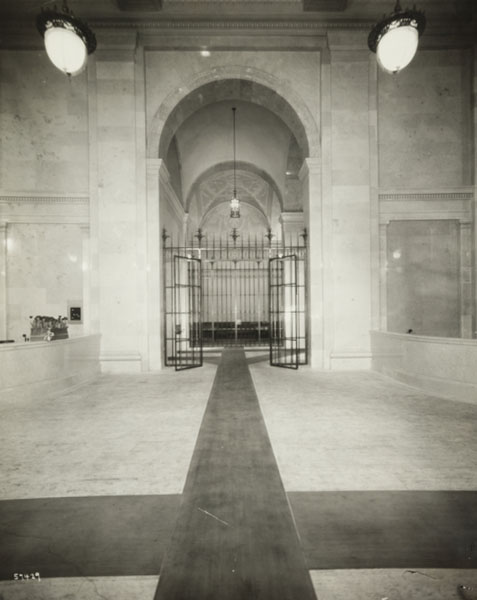
This entrance leads through a doubly-barred foyer and, from there, into the Entrance Lobby.
Day & Night: 2 Fed Security Officers
DELIVERY ENTRANCE: The construction crews working on finishing the interior of the building are using the delivery area to stage their work. At night, the heavy steel security doors are locked and there’s a Fed Security Officer on duty.
The Delivery Entrance provides access to the Counting Rooms & Archives.
INTERIOR
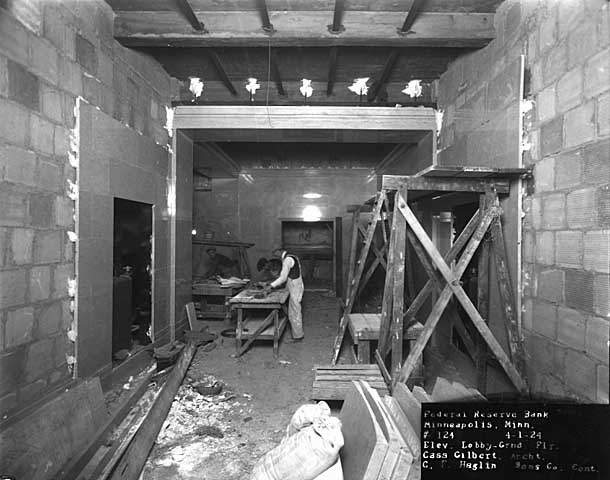
CONSTRUCTION ZONES: There are still numerous areas of the Federal Reserve Building that are under construction. During the day, construction crews are active throughout these areas.
ELEVATOR LOBBIES: Each level of the Federal Reserve Building has an elevator lobby with six elevators. They provide immediate access to the Main Lobby, Banking Room, Archives, and Office Floor. They do NOT go to the Vault or Counting Rooms.
- Director’s Private Elevator: One elevator goes to Barca’s office, although this requires the use of a special security key. (Carried by Barca and also the security shift leader.) This elevator shaft also provides access to the Tophet (but this can only be activated from Barca’s office, see below).
ENTRANCE LOBBY
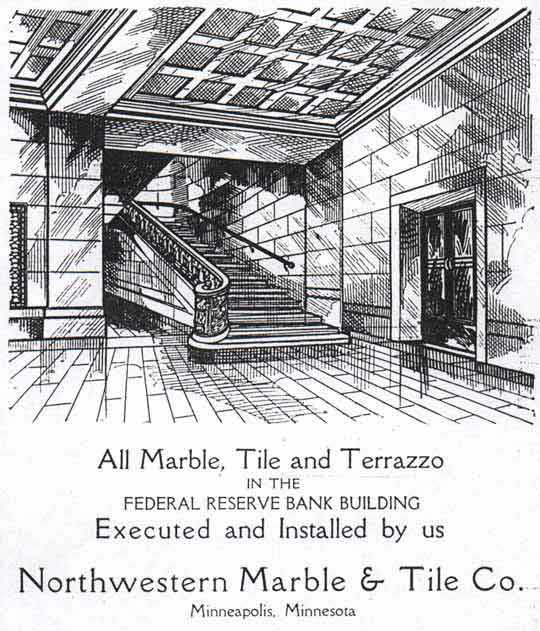
ENTRANCE LOBBY: A breathtaking chamber tiled in white marble with a bronze ceiling. A grand marble staircase with a massive and intricately cast bronze railing curls up to the Banking Room on the second level. A set of double mahogany doors leads to the elevator lobby.
BANKING LOBBY
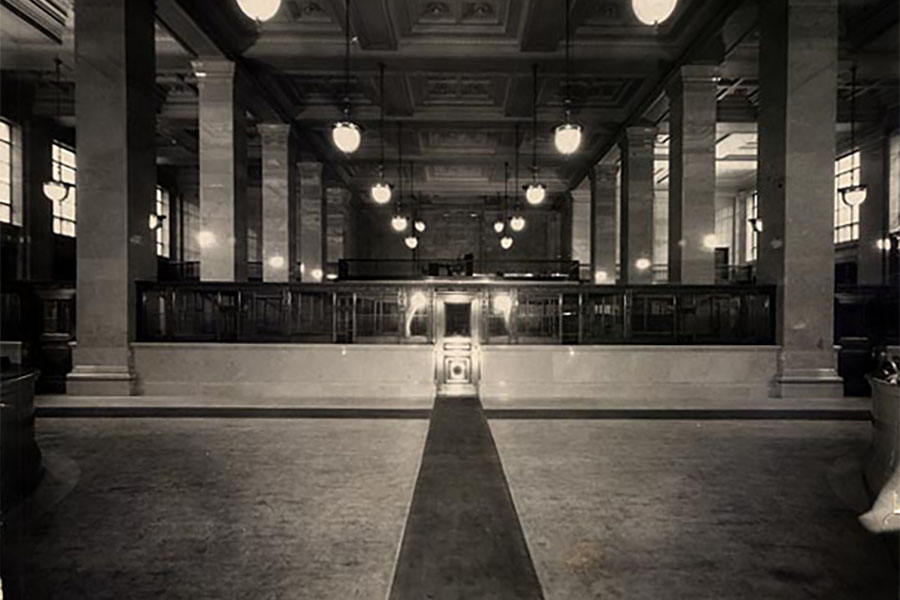
A gargantuan chamber; the ceiling supported by huge marble pillars. The floor is polished terrazzo. There are imposing marble desks around the perimeter, including a security station. The center of the room is filled with bankers doing business from within steel-barred cages. Red carpets run
- Day: 4 Fed Security Officers
- Occult: The red carpets are arranged
- Vault Access: The banking cages contain access to the Counting Rooms on the lower level (and, from there, to the Vault).
- Elevator Lobby: At one end of the Banking Room.
- Grand Stairs: To Entrance Lobby.
- Stairs: To Archives & Office Floor.
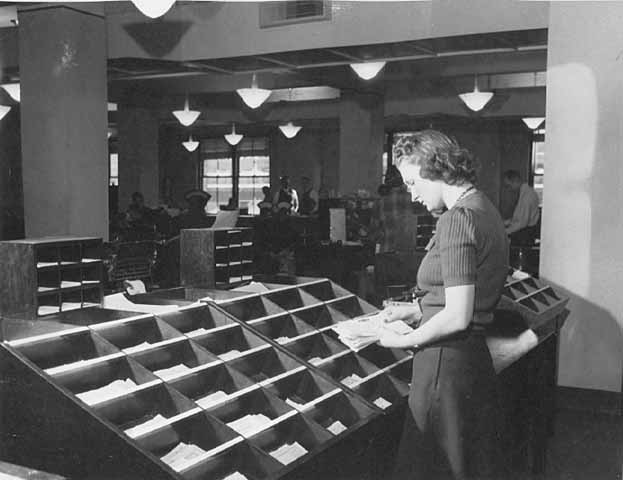
COUNTING ROOMS
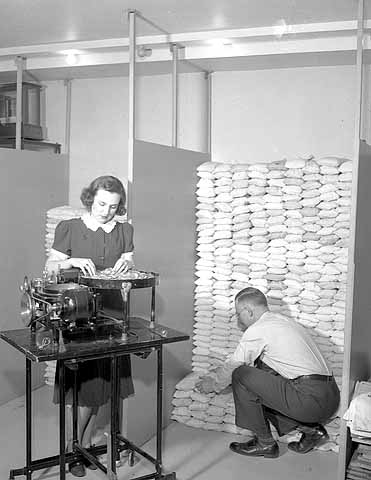
On the lower level, there are multiple rooms dedicated to counting cash (both outgoing and incoming). The machinery for automatically counting coins has recently been installed, along with tallying calculators. There are also large supplies of canvas sacks and currency straps, but no actual cash.
- Leaving: There are stairs leading up from the Counting Room to the Banking Floor. A large corridor leads to the Delivery Entrance.
- Vault Access: You have to pass through the Counting Rooms to reach the Vault.
VAULT
The Vault is a vast, multi-chambered space in its own right. Although the heavy vault door is locked, the Vault itself is empty.
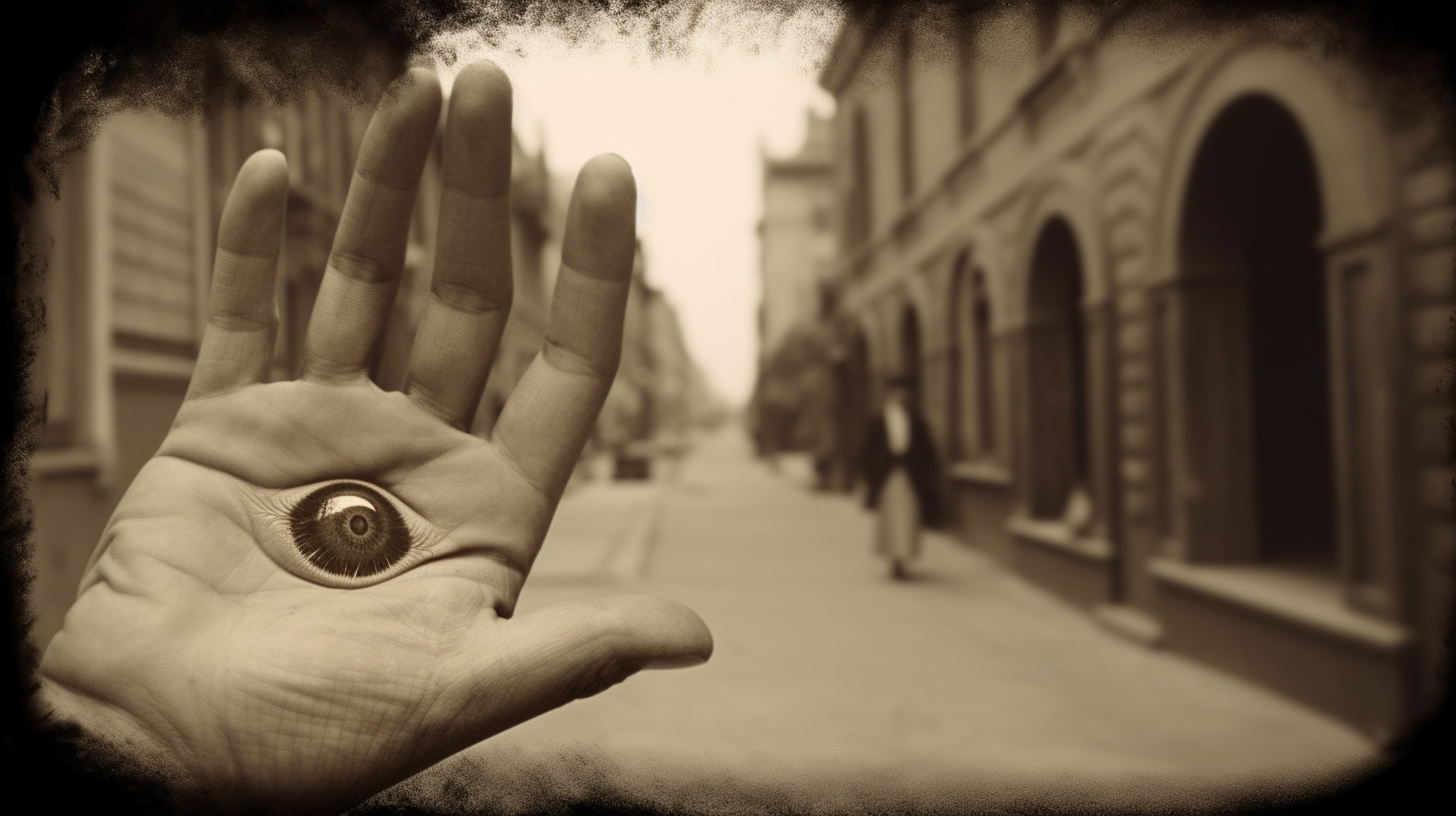
Tophet Entrance: The floor of the innermost chamber of the Vault is decorated with a giant Eye of Horus. This pupil of the Eye can be rotated and then slid to the side, revealing a staircase leading down to the Tophet.
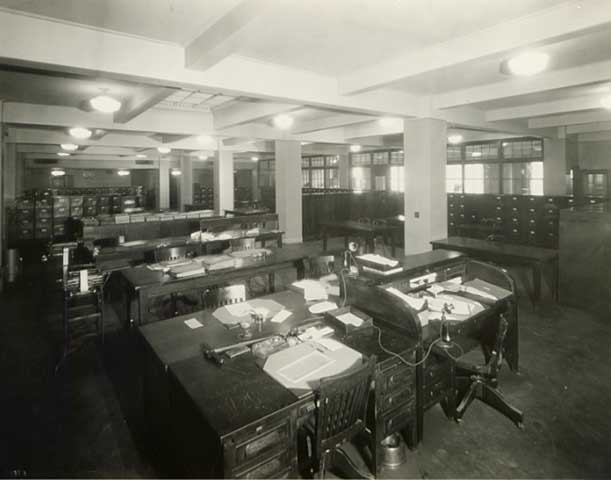
ARCHIVES
The Archives of the Minneapolis Federal Reserve have begun to be transferred from the New York Life Building, but they have not yet begun to be unpacked. So there are empty shelves and filing cabinets, along with a lot of crates neatly stacked here and ready for move-in day.
Mail Room: Mail is also sorted in this area, potentially allowing investigators to figure out which offices in the building are currently occupied.
- Elevator Lobby: Can be accessed here.
- Stairs: Lead up to the Office Floor / Executive Offices.
OFFICE FLOOR / EXECUTIVE OFFICES
These occupy the upper floors of the Federal Reserve Building. Desks and other furniture have been moved in, but only the Executive Offices are occupied (by cultists).
- Elevator Lobby: Accessible here.
- Stairs: Lead down to Archives and the Banking Floor.
- Barca’s Office: Barca’s office is located among the Executive Offices.
BARCA’S OFFICE
The luxurious office you’d expect from the Director of the Minneapolis Federal Reserve. Lush, blood-colored carpet. A huge desk of dark oak.
Architecture / Bureaucracy: Barca has the true plans of the Vault, including the Tophet chamber, in his desk. This includes both the Vault access (fully detailed) and the Private Elevator can access the Tophet (though not exactly how) and broad details of facility (although not the brass pressure chamber, which was constructed separately). Physics notes that there’s some truly bizarre equipment installed in the walls of the globular chamber, although its ultimate purpose is not clear from the blueprints.
Private Elevator: A short back hallway leads from Barca’s office to his private elevator. Calling the elevator requires a special key, which is carried by Barca and also the security shift leader, or Lockpicking.
Secret Elevator: A secret panel next to the elevator contains a switch. If flipped, the private elevator will descend directly to the Tophet.
THE TOPHET
Entry: Both the stairs from the Vault and the secret elevator from Barca’s Office descend into a small entry chamber. A large brass incense bowl depends from the ceiling on thick ropes of silk. (It’s not currently lit unless a ritual is planned for this same night.)
Cell: A small cell is built into the wall of the Entry. (The children are transferred here shortly before the ritual.)
- There’s a stack of neatly folded children’s clothes (used) in the corner of the cell.
Laboratory: A door out of the entry chamber leads to a small chemistry laboratory. This is where the Tophet serum is prepared (see “The Ritual,” below). The investigators can find vials, etc. consistent with the Tophet serum they’ve encountered elsewhere.
Gantry: Another exit leads to a short gantry ending in a pressurized door leading into the Tophet Chamber. The door can only be opened from this side (uh-oh) and a set of controls at the end of the gantry will allow it to be extended out into the Tophet Chamber (providing access to the pressure vessel in the center of the chamber, see below).
THE TOPHET CHAMBER
The Tophet Chamber is a huge, spherical chamber. The inner walls are minutely etched with strange geometric patterns and runes. In the center of the chamber is a Brass Sphere, which appears to simply float in place.
- Physics: The sphere would appear to be held in place by some form of powerful electromagnetic field projected from the walls… which is odd, though, because brass isn’t magnetic. So there must be something more complicated going on with the Sphere.
- Runes – Archaeology / Occult: These appear to be Phoenician runes.
The Brass Sphere: The sphere is a pressure vessel made from brass. Its surface is minutely etched (in a fashion similar to an electrical board; although the PCs won’t be able to draw that comparison). On the top of the sphere is a pressure hatch that seals seamlessly with the brass.
- Chemistry: The etching seems similar to acid-etching, but isn’t. It’s too minutely detailed.
- Chemistry 1 / Physics 1: Examining the sphere with any kind of magnification (or a point spend) reveals a fractal nature (although the character lacks the terminology for this) — a never-ending, spiraling pattern in which the edges of the etching are also marked by even more detailed etching.
- Hatch: Can only be opened from the outside (uh-oh).
Inside the Sphere: The inside of the Sphere is similarly etched, just like the outside.
The Ritual:
- The gantry is extended and a child is placed naked inside the Sphere.
- The Sphere is sealed, the gantry withdrawn, and the pressure door sealed, isolating the chamber.
- The Sphere is electrically powered, reducing sacrificial victims to alchemically charged ash. (This ash could be described as Tanit “spores,” although the analogy only goes so far.)
- The cultists immediately process the ash into active Tophet serum using the facility onsite. (This is time sensitive, as the “spores” can’t survive long without being preserved within the serum.)
STAFF & SECURITY
FED STAFF MEMBERS: Athletics 3, Credit Rating 3, Driving 2, Fleeing 4, Health 2, Scuffling 2, Weapons 2
Weapons: -2 (fists), -1 (improvised weapon)
FED SECURITY OFFICER: Athletics 5, Health 6, Scuffling 6, Sense Trouble 6, Weapons 3
Alertness Modifier: +1
Weapons: -1 (truncheon), +1 (pistol), -2 (fists)
TANIT CULTISTS: Athletics 5, Firearms 4, Scuffling 6, Weapons 5, Health 8
Alertness Modifier: +1 (three eyes are better than two)
Stealth Modifier: 0
Weapons: dagger (0), fists (-2), small caliber pistols (-1)
Stability Loss: +0, if seeing the eye
JOHN BARCA
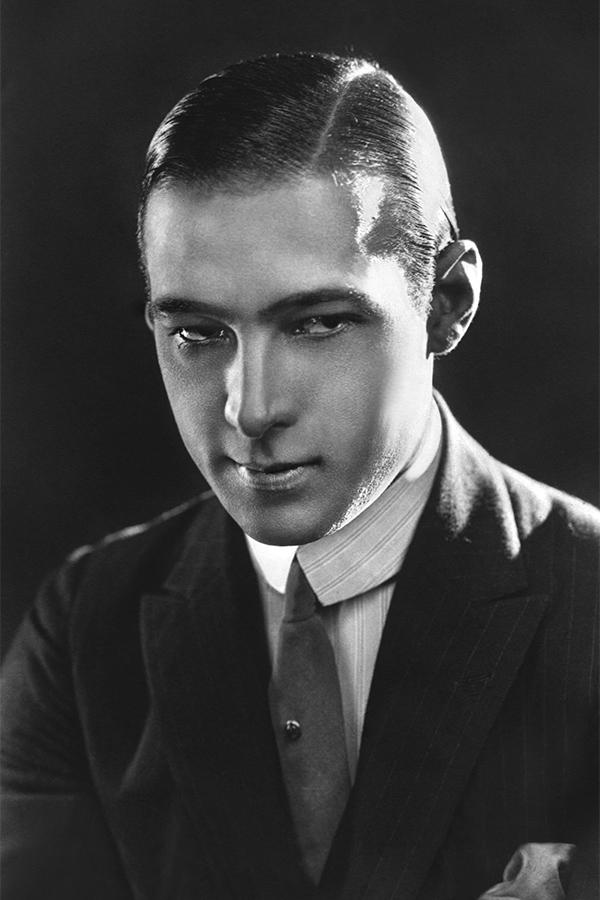
APPEARANCE
- Prop: Photo of John Barca
ROLEPLAYING NOTES
- Behind a thin veneer of sanity is an obsessed lunatic under the thrall of Tanit.
- Convinced he’s doing the best thing for all.
- Obsessive, confident, dismissive.
BACKGROUND
- Barca is a Yale graduate (and member of Skull & Bones). (It’s an open question whether or not he was infected at Yale or at some later date. If at Yale, it seems likely that all of Skull & Bones is Tanit-infested.)
- He was appointed by President Warren Harding to serve on the Federal Reserve Board in Washington in May 1921.
- In May 1923, he resigned to return briefly to private business in St. Paul. Within a few months, however, he was appointed to a joint leadership role at the Minneapolis Federal Reserve.
- He’s the second chairman of the Mineapolis Federal Reserve, advancing into the position after the death of John Rich last year.
CLUES
- Following Barca: Will lead them to the Minneapolis Federal Reserve.
- Library Use – Barca: Easily reveals Barca’s position as President of the Federal Reserve Bank of Minneapolis.
- Prop: Minneapolis Federal Reserve Business Cards
JOHN BARCA: Athletics 6, Driving 6, Firearms 7, Sense Trouble 10, Fleeing 4, Scuffling 5, Weapons 8, Health 10
Alertness Modifier: +2 (paranoid)
Stealth Modifier: +1 (sneaky)
Weapons: Dagger (+0), Pistol (+0), Fists (-2)
Stability Loss: +0, if seeing the eye
Hypnosis of the Hand: Pupil twists and distorts into a curlicue. Stability test (difficulty 4, no loss): On failure, hand has established a hypnotic state. On second failure, they can issue a hypnotic command that must be followed.
Go to Proactive Nodes