IN THE SHADOW OF THE SPIRE
SESSION 33D: THE HELL HOUND AT THE DOOR
December 28th, 2008
The 18th Day of Kadal in the 790th Year of the Seyrunian Dynasty
They headed out the opposite door and found themselves in another hall with doors to both their left and right. Arbitrarily choosing the door to the left, Tee picked the lock. Agnarr kicked it open.
The room beyond was extremely untidy, with a fetid smell that seemed to peremeate everything. The simple furnishings were crude and ill-kept. A weasel-faced man lying on the far bed jerked awake as the door crashed open.
Agnarr hesitated for a moment, uncertain whether the man might be a prisoner or not (the door, after all, had been locked and the room stank). But then he noticed that there was a sword laying on the bed and the man had a dragon pistol strapped to his side.
Agnarr charged with Tee on his heels. They hoped to silence the man before he could say anything, but he dove adroitly off the bed and rolled to his feet, firing his dragon pistol. He started shouting for help.
Tor and Dominic, still in the hall, turned and headed for the door at the far end of the hall, throwing their weight against it.
Tee, meanwhile, circled to the side of the weasel-faced man. Her blade darted here and there, keeping the man’s blade completely engaged while Agnarr came up from the other side and delivered the killing blow.
Someone threw themselves against the door Dominic and Tor were propping themselves against. It barely budged. They glanced at each and made a quick, unspoken decision. Dominic stepped away and Tor, timing things perfectly, yanked the door open at precisely the right moment.
A young elf woman – ebon-skinned like Shilukar – came stumbling through, thrown off-balance by the sudden disappearance of the door she had been planning to throw herself against.
Dominic and Tor were quick to take advantage – the former’s mace crushing her upper arm and Tor’s sword cutting deep into her thigh. She stumbled further down the hall, shouting over her shoulder. “Theral! There are six of them! Grealdan’s dead!”
Dominic looked through the open door and spotted Theral – the Brother of Venom that Tee had seen discovering Reggaloch’s body – beginning to cast a spell. He promptly slammed the door shut.
Almost simultaneously, with a powerful sweep of his sword, Tor caught the dark elf woman in the side of the face – his sword cut through one cheek, passed through her mouth, and out the other side. Her severed jaw fell to the floor and her body followed after it.
They took a moment to collect themselves and then threw open the door again.
HELL HOUND AT THE DOOR
A hell hound was at the door!
Like the ones that had attacked them at Pythoness House, the hound’s skin was cooled lava and its gaping mouth was a lake of fire that gouted a cone of flame down the length of the hall.
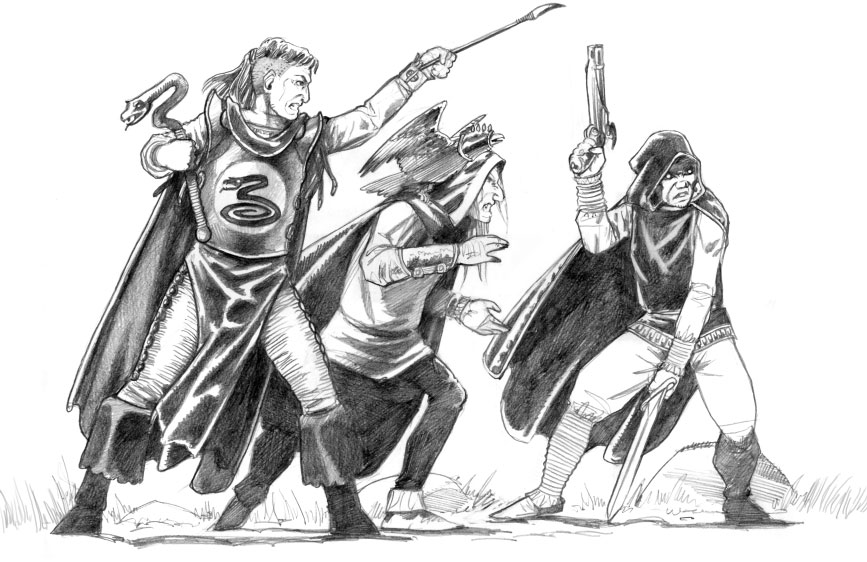
Beyond the hound was a massive chamber, its walls painted in horrific combinations of kaleidoscopic color. On the far side of the hall they could see a set of wide stairs leading down. To one side of the room stood Theral. At first there appeared to be six others on the other side of the room, but then they realized that there was only one man there – Vocaetun, the cultist with an ebon hand tattooed on the front of his neck – his form blurred and duplicated a half dozen times.
Tor and Agnarr squared off against the hell hound, rapidly reducing it to a pile of slag-like magma.
Theral, seeing the body of the dark elf woman and watching the fighters demolishing his hound, cursed and then shouted to Vocaetun. “Hold them here while I fetch the damn rats!”
Theral ran off down a side corridor. Vocaetun glared at his retreating back.
As the hell hound finally collapsed, Vocaetun waved a wand in Tor’s direction and then disappeared. Tor felt his eyes burning as they filled with acid.
Elestra leaped over the magma pile and headed towards the hall that Theral had dashed down. Rounding the corner she skidded to a stop.
“There’s a wall!”
“Don’t believe it!” Tee shouted, remembering the illusionary wall that Uranik had spoken of.
But Elestra hesitated. She didn’t want to throw herself into the unknown without the others to back her up.
Then Tee screamed.
Vocaetun had reappeared and hit her with an acidic curse that turned her own tears to caustic acid, having somehow circled around in the meditative chamber behind them. But none of them could see that – not even Tee, who was now clawing at her burning eyes.
Ranthir, seeing Tee’s reaction, knew that it must have come from behind them. “Over here! Tee’s being attacked!”
The others closed in on Vocaetun, but between the mirrored images dancing around his figure, the blurring displacement that seemed to cheat their vision, the blinding attacks from his wand, and the tight quarters, things quickly got confused and cramped.
Vocaetun mounted a fighting retreat back across the meditative chambers into the hall on the far side and then through a secret door into the kaleidoscopic hall. He had been hurt and was clearly beginning to panic. Once he was through the secret door, he broke into a pell-mell run across the hall – heading towards the stairs on the far side.
Running the Campaign: NPC Spellbooks – Campaign Journal: Session 33E
In the Shadow of the Spire: Index