NODE 8: MINNEAPOLIS FEDERAL RESERVE
(502 Marquette Ave., Minneapolis, MN)
BACKGROUND:
- 1913: Federal Reserve Act signed by Woodrow Wilson.
- 1914: Federal Reserve Bank of Minneapolis incorporated May 18th, directors elected over the summer.
- October 1914: John H. Rich is appointed the first Minneapolis Federal Reserve Agent.
- January 1915: Offices established at New York Life Building (2nd Ave. South & 5th Street). Vault space for cash rented from nearby banks.
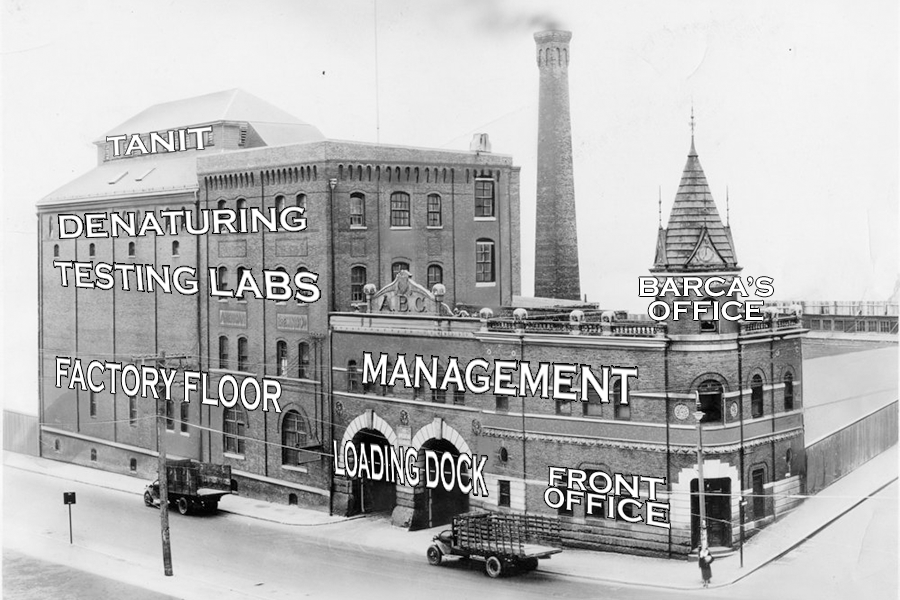
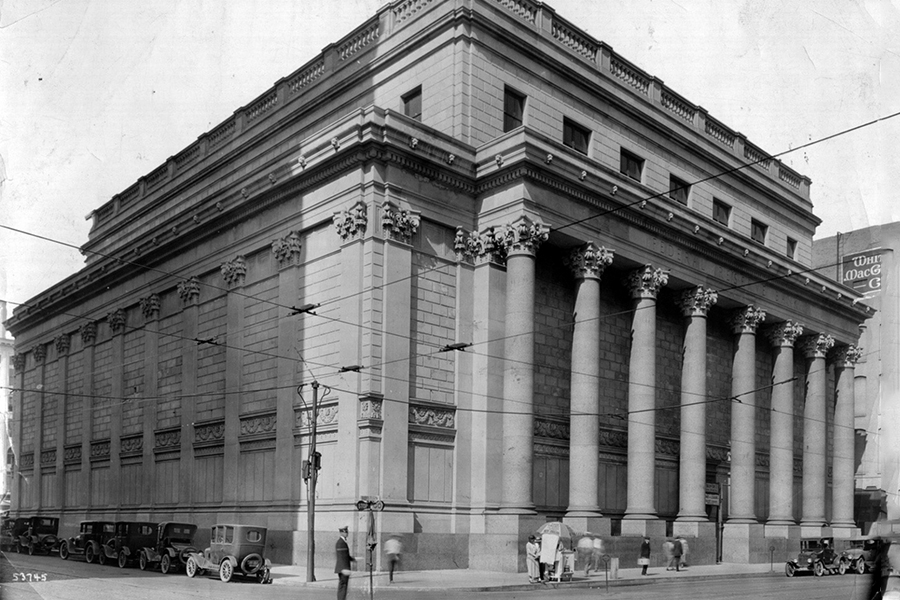
- 1921: Federal Reserve had outgrown its current offices. Site purchased at 5th Street & Marquette. Excavation of the site begins by the end of the year.
- During construction of the new building. John H. Rich dies and is replaced by John Barca. By this time, all nine directors of the Minneapolis Federal Reserve are Tanit cultists.
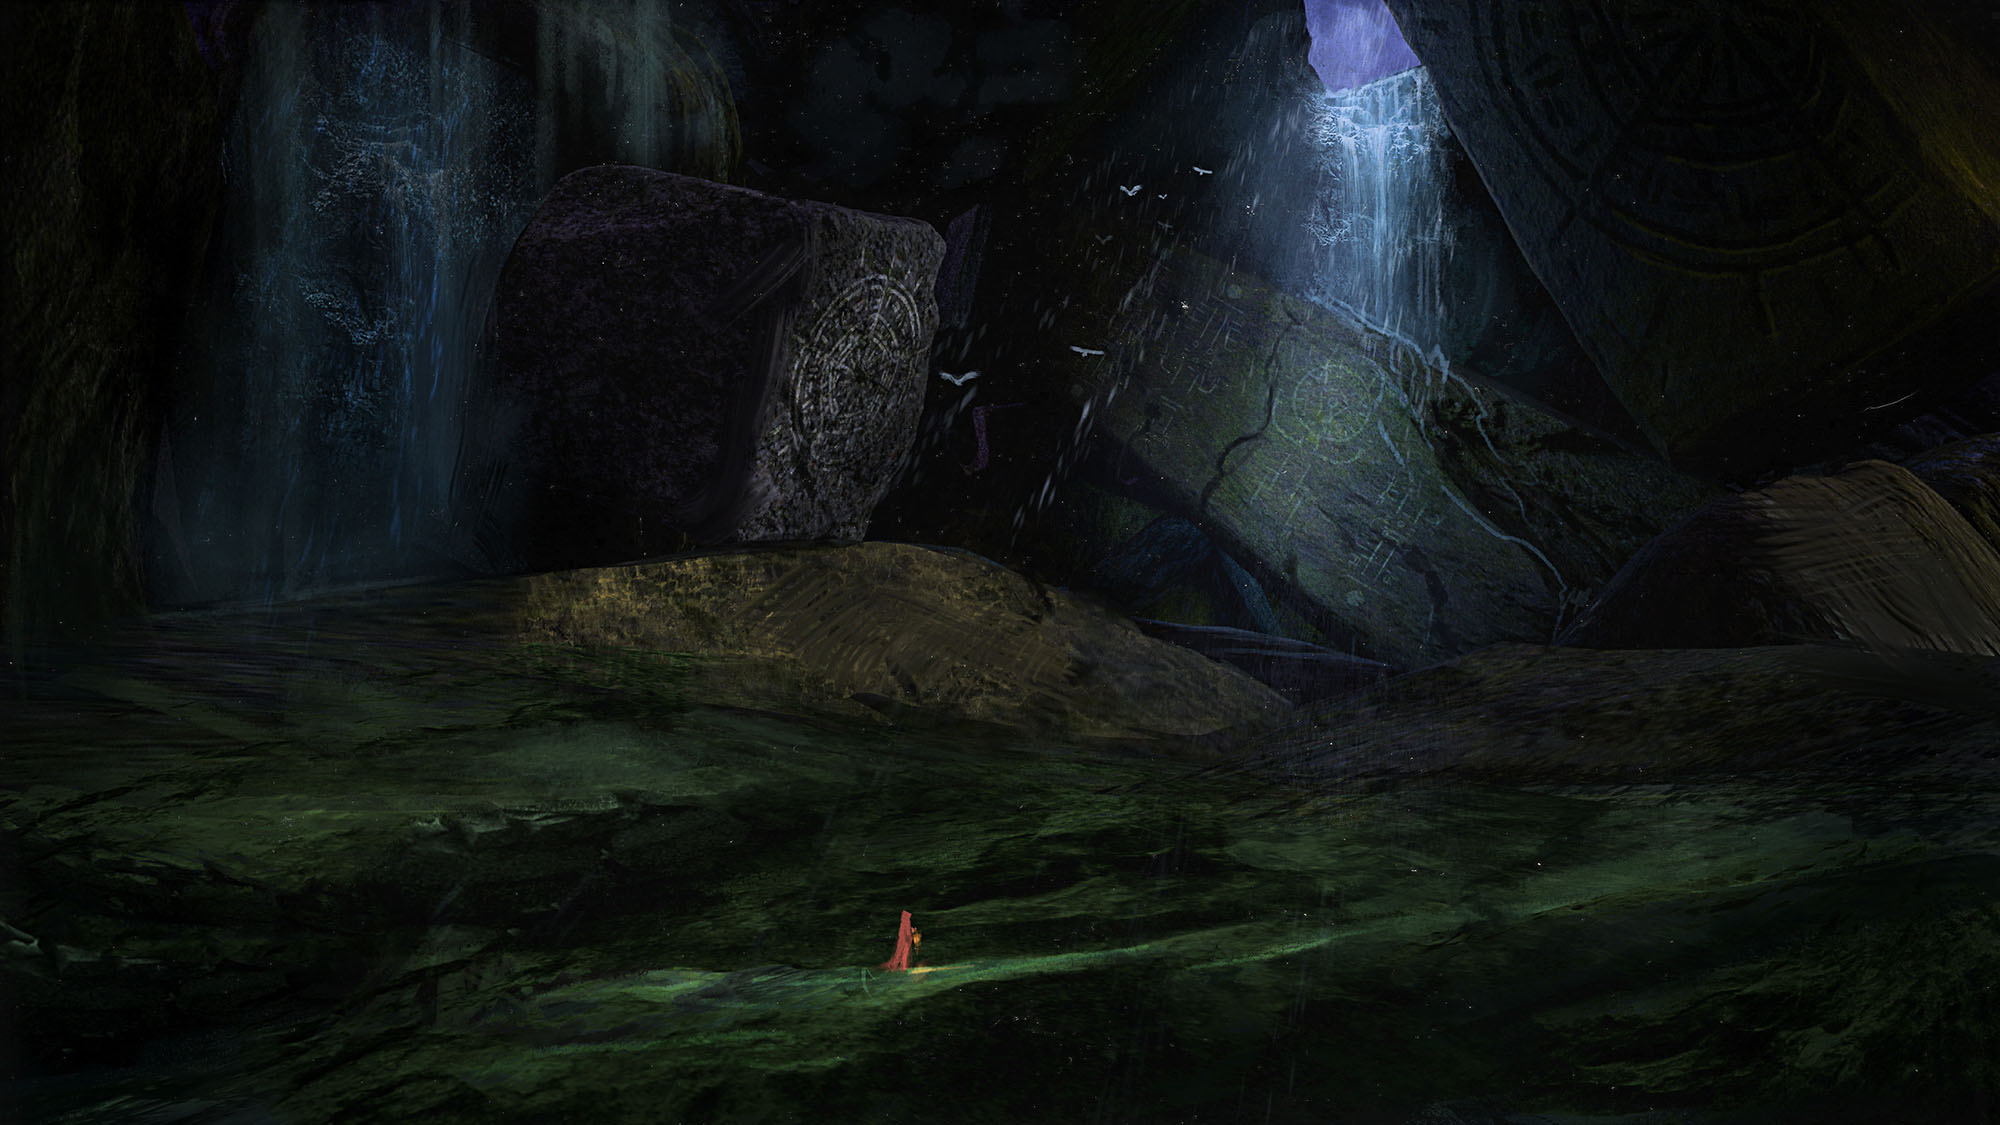
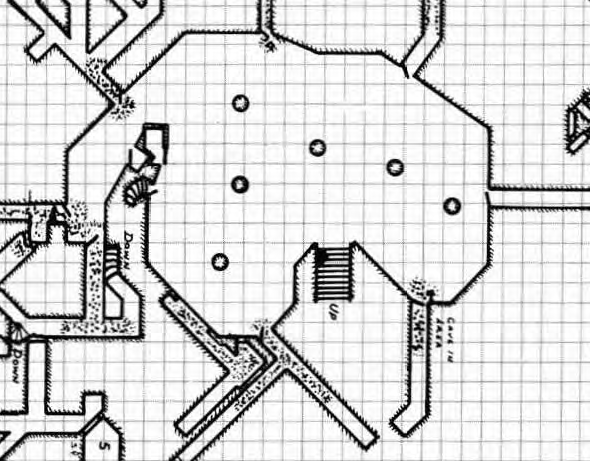
- Designed by Cass Gilbert to feature classical architecture, the new building was also designed to include a secret Tophet sanctuary beneath the vault in which child sacrifices could be used to create tophet serum.
- 1923: Cornerstone of the new Federal Reserve Building is laid. (The cornerstone contains a Tanit reliquary, part of a series of ceremonies which sanctify the building as a holy site.)
- 1924: Primary construction is completed. John Barca and the cultists begin using the Tophet sanctuary create Tanit serum. Officially, the board of directors and various other officers (all cultists) begun using the offices.
- February 1st, 1925: Historically, the new Federal Reserve Building is occupied. The New York Life Building offices are shut down and vault deposits are centralized in the new building’s state-of-the-art vault.
WHAT THE FED OFFICIALLY DOES
- Economists: Collect and analyze data from across the Midwest to help the federal government monitor the economy and set interest rates.
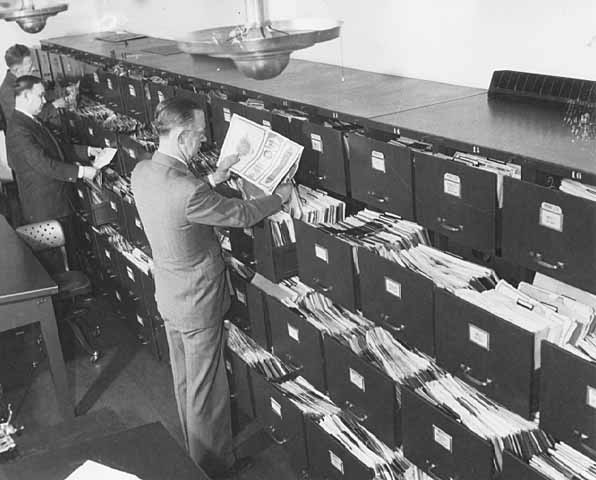
- Cash Reserve: The Federal Reserve Bank is a bank for banks. When the banks need bank notes or coin, they request them from the Federal Reserve. That cash reserve (consisting of millions of U.S. dollars and other currency instruments) are stored in the Fed’s vaults.
INFILTRATION
Make an Appointment: Whether with John Barca or another member of the Fed staff. Although these are all cultists, official business is being conducted as a cover for their activities.
Charity Event: Dolls for Family Welfare is a charity which, as the name suggests, involves selling dolls to raise funds for charity. On Saturdays through the end of the year, they set up in the lobby of the building, also offering people the opportunity to do a short tour. The small crowds and/or tours offer the opportunity to perhaps slip away into the deeper recesses of the building. (Prop: Dolls for Family Welfare)
Fake Delivery: There are frequent deliveries to the building. These include periodicals and other material for the Archives (which are currently in the process of being transferred from the New York Life Building) and also construction material for the crews still working on finishing the interior features and décor.
Breaking In: If the vault were operational (and full of cash), this would be virtually impossible due to the extreme security measures that would be in place. Fortunately, this is not the case and only a minimal security team is onsite (see below).
Search Warrant & Police Raid: The PCs are working with Fred Watson, so it’s quite plausible that they’ll go to the police with the evidence they have. If they do so, make sure the PCs get an invite to be on the team serving the search warrants and expect a bloody shoot out between cops and cultists. (Fred taking a bullet seems dramatically awesome.) Alternatively, if you want to keep the ball in the PCs’ court, then “jurisdictional issues” can be invoked between the federal government and local law enforcement that will delay the law enforcement response by days or possibly even weeks.
NEW YORK LIFE BUILDING
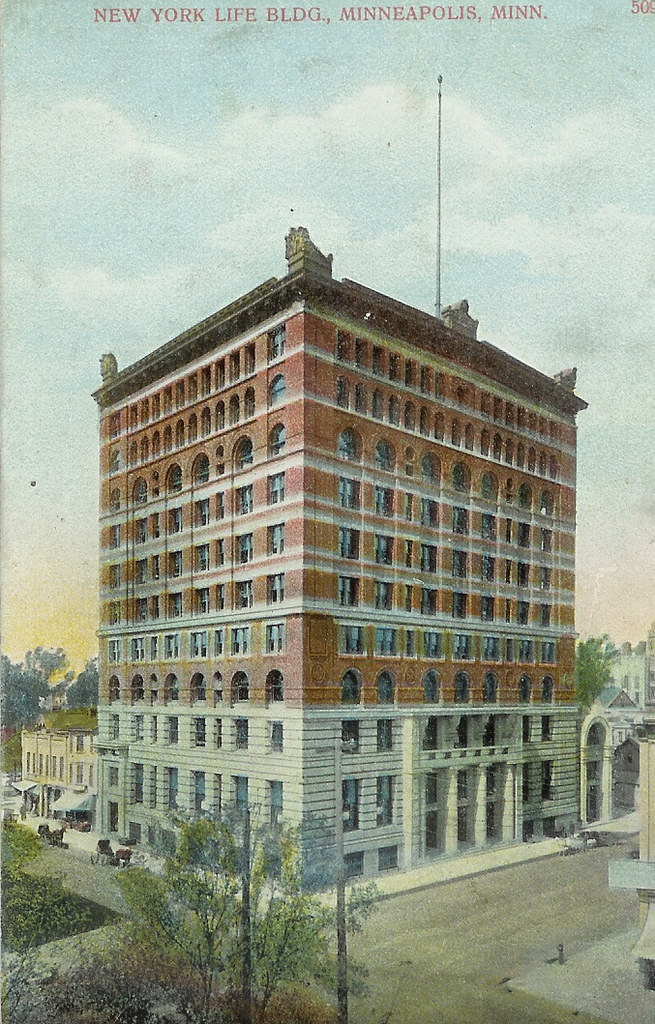
Core Clue: John Barca spends little or no time at the old offices, conducting all of his business out of the offices in the new Federal Reserve Building. (Basically any investigation into the Fed’s activities at the New York Life Building should lead to some variation of, “This is all just business as usual… but the new building is weird / upper management is being very secretive about it / I keep trying to get transferred over there and apparently only people on a special list are allowed / etc.”)
New York Life Building:10-storey building with lower stories of St. Cloud granite and the upper stories of pressed brick. Built in 1890.
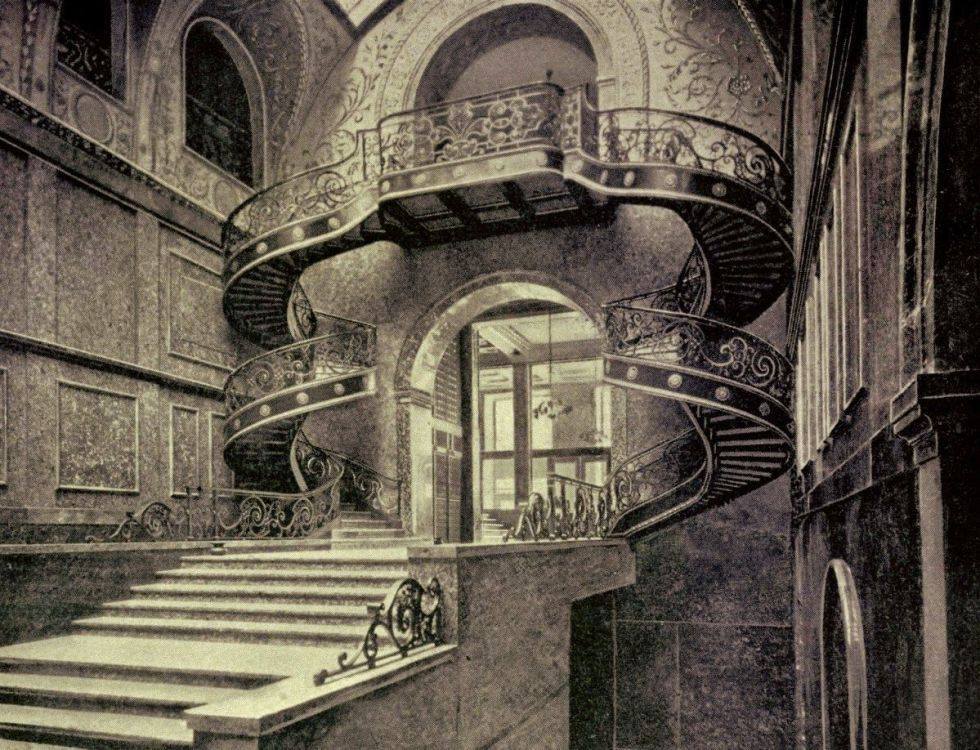
- Lobby: The lobby is simply incredible, featuring a pair of floating, double-helix staircases.
- Federal Reserve first rented offices in 1915. They currently occupy two floors.
- Building contains 250 offices.
- Other tenants include: The National Mutual Life Association, Walter L. Badger Real Estate and Loans, the Tontine Savings Association, Hennepin Commission Co. (a grain and stock company), the Gale Agency (representing various stock companies), and multiple attorneys (including Cross, Hicks, Carleton, & Cross; Weed Munro, Geo. Harold Smith; Edward C. Gale & Walter C. Tiffany; Alvord C. Egelston & George H. White; Booth & Douglas).
RESEARCH
History: Easily pull up the public history of the Federal Reserve and, specifically, the Minneapolis Federal Reserve as described above.
Art History – Newspaper Morgues: Local reporting features photographs of art being moved into the new Federal Reserve Building. Art History indicates that this includes rare examples of Carthaginian sculpture.
Bureaucracy: Obtain copies of the architectural plans for the new Federal Reserve Building.
- Architecture: It appears that an unusual steel alloy was used in the construction of the building; reputedly for tensile strength, although it’s unclear why that would be necessary. (Sourcing this alchemically infused steel could lead to another Tanit cultist operation at your discretion.)
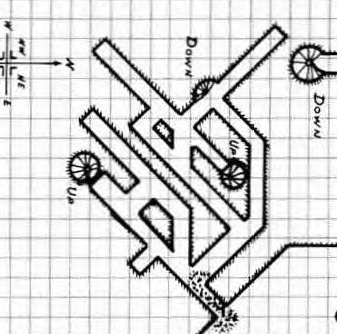
- Architecture: Studying the public plans makes it’s clear that there’s something missing from them — a void directly underneath the Vault for which there are structural supports, but no indication of what’s actually there.
- Architecture 1: There’s also something weird about one of the elevator shafts. It’s designed for a greater height of operation than the other shafts, but there’s no visible reason for it.
- GM Note: Copies of the full, uncensored plans can be found in Barca’s office. At your discretion, copies might also be on file with the construction company (or, alternatively, they’ve been mysteriously destroyed). Cass Gilbert, the architect, would almost certainly have kept personal copies, but he now lives (and keeps his offices) in New York City.
Oral History / Intimidation – Construction Company: Talking to workers can probably shake free whispers about a “secret” area of the site that only certain workers were allowed into.
- Those workers (who were actually Tanit cultists) have all left the company and vanished. The person responsible for hiring them, Carl Mason, left the construction company and, strangely, now works as an economic analyst for the Minneapolis Federal Reserve.
The Cass Gilbert Rabbit Hole: Pursuing Cass Gilbert, the architect who designed the Minneapolis Federal Reserve, on the assumption that he must be part of the conspiracy can turn into a huge rabbit hole. For example:
- He designed the Minnesota Capitol Building (completed in 1905).
- He designed the Woolworth Building in New York City (currently the tallest building in the world). And does that mean that F.W. Woolworth, the founder of the F.W. Woolworth Company, is a Tanit cultist? Are his nationwide five-and-dime stores acting as operational centers for cult cells?
- He is currently designing the U.S. Supreme Court Building (which will be completed in 1935). If they’ve infiltrated the Federal Reserve, how deep has the cult penetrated the U.S. government?
- Where is he now? On a trip to England with his family, where he’s to be granted an audience with the British Royal Family. Can the PCs stop the British Empire from being suborned?
Or, alternatively, this really is just a rabbit hole: Cass Gilbert was just hired to do a job, modifying the building to include the sub-vault space at the instruction of John Barca after the death of John H. Rich. (You could even have him conveniently visiting family in Minnesota — he was raised here — and available for questioning, revealing Barca as the source for the sub-vault modifications.)
IN THE AREA
Streetcars: Streetcar lines run on all sides of the Federal Reserve Building.
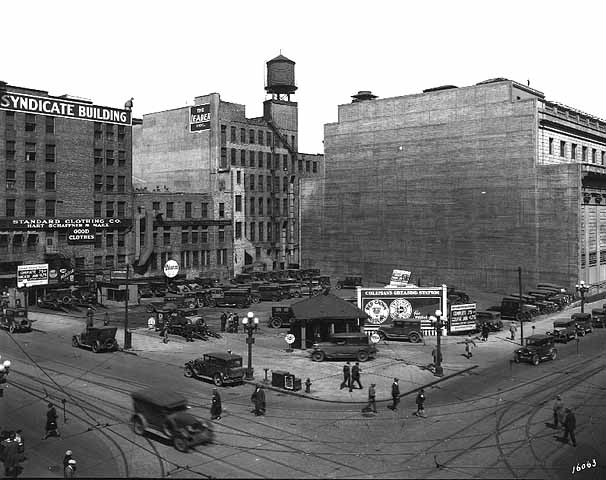
Coleman’s Greasing Station: Located directly behind the Federal Reserve Building. (It’s like a service station / gas station.)
Syndicate Building: Built by a syndicate (thus the name) in 1883, the Syndicate Building contains a quarter-million feet of retail space. Assume the investigators can buy almost anything they want here.