![]()
SPOILERS FOR PTOLUS: BANEWARRENS
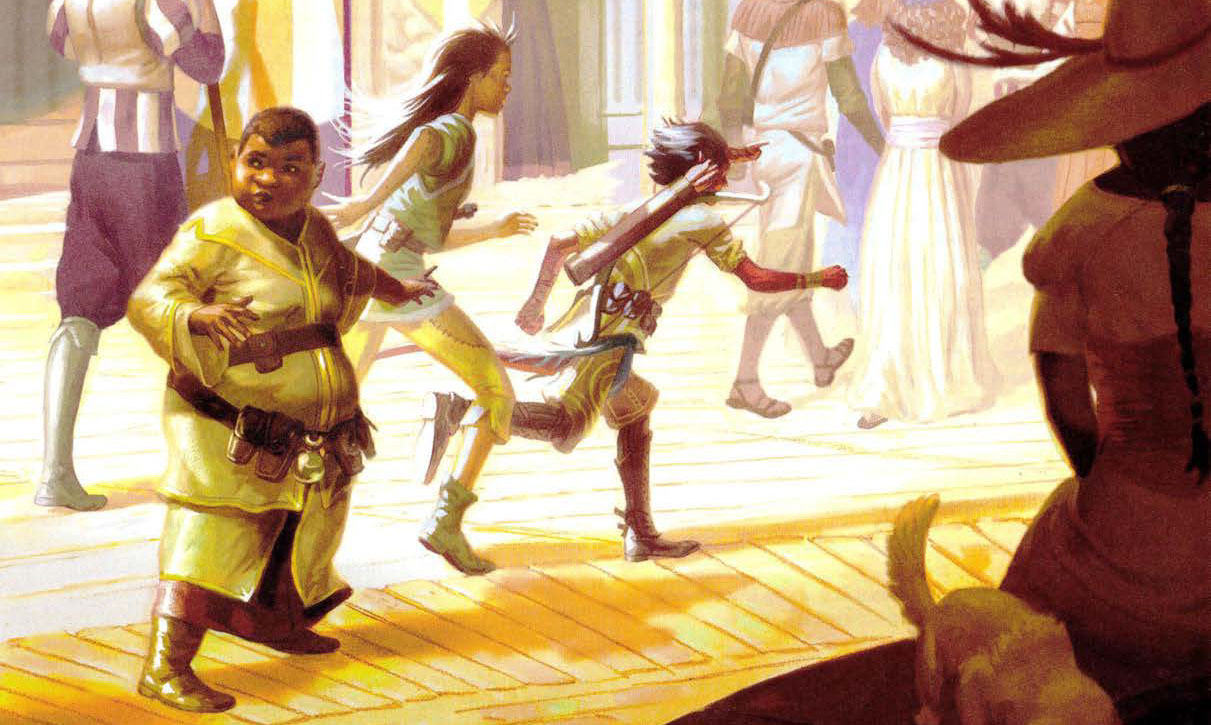
In Monte Cook’s Ptolus, the Vladaams are one of the noble families who rule the city. They feature prominently in the Banewarrens campaign, where they hold the Banewarrens Key in their vault (see Chapter 4 of the campaign book).
In my own Ptolus: In the Shadow of the Spire campaign, the PCs became increasingly interested in the Vladaams. In response, I developed The Vladaam Affair, a node-based mini-campaign of massively interlinked scenarios that fully describe the arcano-criminal network of the family.
You can easily incorporate The Vladaam Affair into your own run of the Banewarrens by keeping Navanna Vladaam’s involvement in those events at a high pitch. Because the Vladaams are a major faction in the city, it would, in fact, be relatively easy to incorporate this material into almost any mid-tier campaign set in Ptolus. (There are also, for example, connections to the Night of Dissolution campaign to be found here.)
These notes were developed for use in my Ptolus: In the Shadow of the Spire campaign. They’ve been adapted to 5E for use with the newly adapted release of the Ptolus sourcebook and campaigns.
My own version of Ptolus was integrated into my campaign world, where it was excised from the Empire of Tarsis and instead incorporated into a merchant empire. References to my campaign world have been stripped out to make this material easier to use for a standard Ptolus campaign (or more easily cross-converted to your own variant of the city).
The one exception is the use of the term deot, which is used to describe the total holdings and the vassal “citizens” of a noble house. The Vladaam Affair is more or less the description of the Vladaam deot, and so I found it convenient to leave references to the deot intact. The concept of the deot can be pretty easily added to a standard Ptolus campaign, or it’s easy enough to just ignore the term while running the adventure.
Even if you’re not running a Ptolus campaign, you may find The Vladaam Affair useful for any arcano-criminal conspiracy in your setting.
GETTING STARTED: INFINITE SCENARIO HOOKS
The Vladaam Affair doesn’t have an initial node (i.e., a specific scenario hook from which the rest of the scenario flows). It doesn’t even really have specific entry nodes. The deot’s design is much more organic than that, with the Vladaams affairs all being intermeshed with each other. No matter where the PCs get involved with the Vladaams, they’ll find a path of clues and leads that will lead them through the family’s entire criminal network.
Generally speaking, there are a couple ways to get the ball rolling.
Gather Information: The Vladaam Affair was originally designed for PCs who were already interested in House Vladaam and were looking to investigate their affairs. There are obviously many ways this could happen, including the Vladaam’s involvement in the Banewarrens. Once it does, you can use the information tables in Part 4 to feed the PCs information about one or more of the Vladaam’s ventures.
Scenario Hook: Alternatively, or in addition to the method above, simply pick any one of the Vladaam’s ventures and create a scenario hook pointing the PCs in that direction. At this point, the PCs may not even realize that Vladaams are involved until they start digging deeper.
- While dealing with cultists, the PCs encounter an evil mage. Investigation reveals that she was a member of the Red Company of Magi (Part 13).
- A slave escapes from a Vladaam warehouse (Part 16) and begs the PCs to help her.
- The PCs are investigating gang activity, and one of the members leads them to a curse den (Part 8).
And so forth. A few surprising scenario hooks never hurt anybody. For more on this technique, check out Juggling Scenario Hooks.
TABLE OF CONTENTS
Part 1: House Vladaam
Part 2: The Vladaam Family
Part 3: Clue List
Part 4: Gathering Information
THE DEOT OF HOUSE VLADAAM
Part 5: The Vladaam Estate
Part 6: Abandoned Temple of the Great Mother
Part 7: Alchemical Labs
Part 8:Curse Dens
Part 9: Fleet of Iron Sails
Part 10: Guild – Dreadwood Grove
Part 11: Guild – Founders’ Workshop
Part 12: Guild – Goldsmiths
Part 13: Guild – Red Company of Magi
Part 14: Guild – Surveyor’s Headquarters
Part 15: Oldtown Apartments
Part 16: Vladaam Slave Trade
Part 17: Undead Shipping Warehouse
Part 18: Vladaam Drug Running
ADDENDUMS
Alchemical Lorebooks
Chaos Lorebooks
Dragonscales
The Spells of Arkath
5E Chaositech
5E Drugs
Numenera, the Cypher System, No Thank You, Evil!, Invisible Sun, and their respective logos are trademarks of Monte Cook Games, LLC in the U.S.A. and other countries. All Monte Cook Games characters and character names, and the distinctive likenesses thereof, are trademarks of Monte Cook Games, LLC. Content derived from Monte Cook Games publications is © 2013-2022 Monte Cook Games, LLC.