
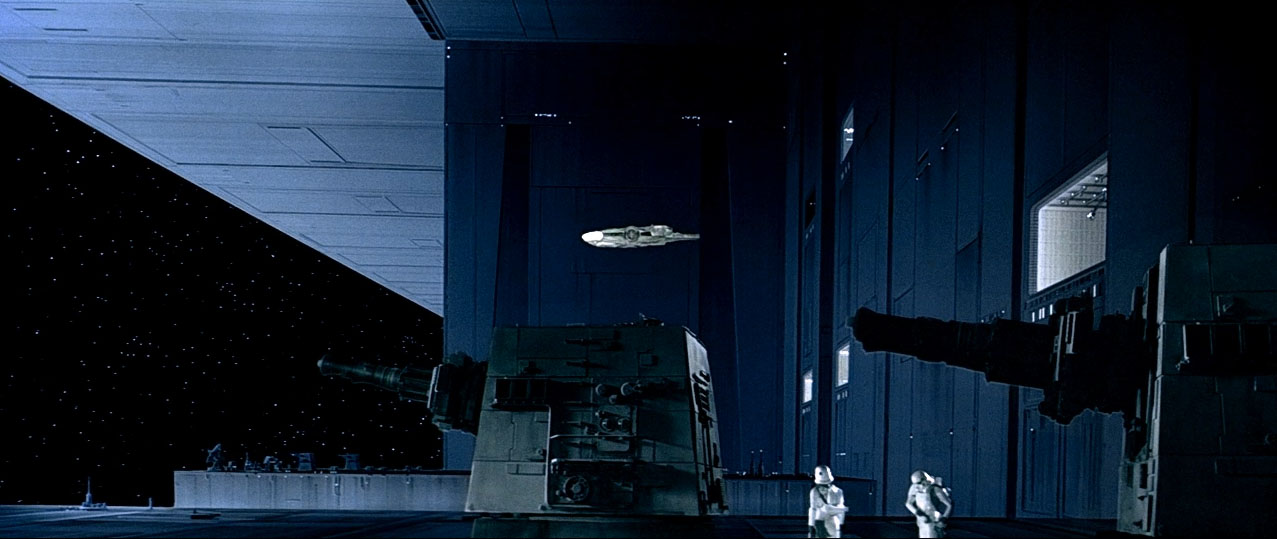
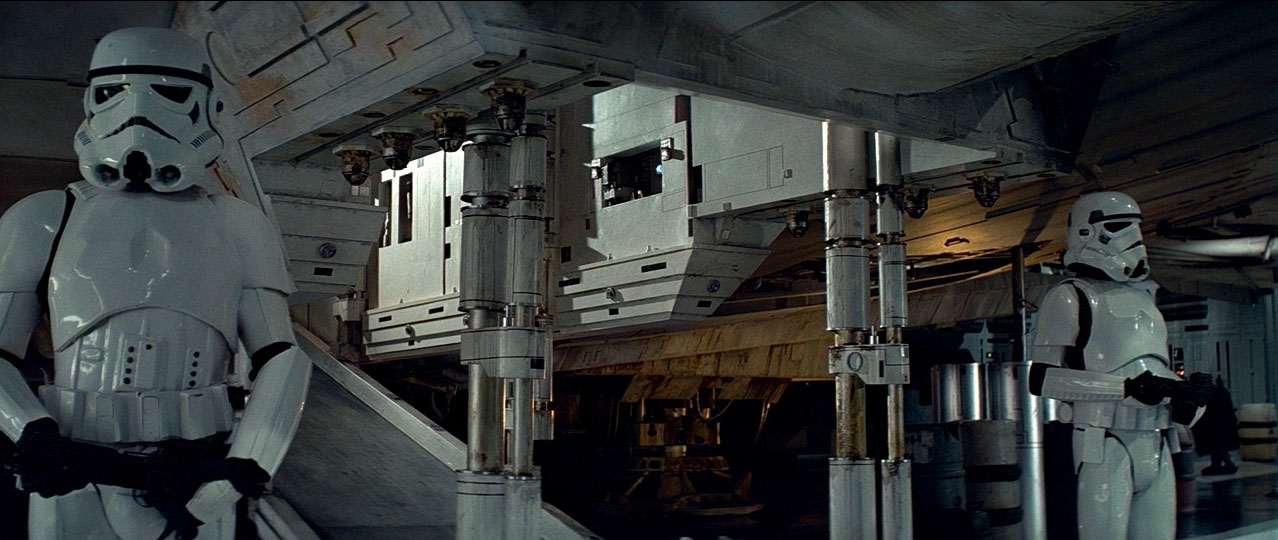
Our first scenario structure challenge is the Death Star sequence from the original Star Wars. More generally, this is an exemplar of a “space station infiltration” mission, but we’ll be using the Death Star as a useful parallel (while acknowledging the limitations of this).
What makes the Death Star scenario tick?
(I’m just going to assume here that everyone is familiar with Star Wars. If you’re not familiar with it, do yourself a favor and immediately track down a copy of the original, unaltered version and watch it ASAP.)
- The PCs have to gain access to the Death Star. (In the case of the movie, they got captured by its tractor beam and hid in the smugglers’ compartments.)
- There was a primary obstacle they had to overcome in order to get out. (The tractor beam needed to be disabled.)
- There was an objective they wanted to accomplish. (Rescue the princess.)
- There was a grab bag of situational obstacles that needed to be overcome, bypassed, or otherwise resolved in order for the PCs to overcome the obstacle and/or achieve the objective.
When it comes to the situational obstacles, note that there’s only a handful of them: Stormtroopers, Imperial officers, the security protecting the Death Star’s computer network, magnetically sealed doors, and Darth Vader. Rather than introducing entirely new elements, the lesser obstacles get mixed and remixed constantly: Stormtroopers scanning the ship. Stormtroopers guarding the ship. Stormtroopers attacking them in the brig. Stormtroopers chasing them through the corridors. Stormtroopers guarding the ship again.
RAID SCENARIOS
Let’s digress for a moment and talk about raid-type scenarios in general.
 John Tynes’ Three Days to Kill module is my personal touchstone for this. It certainly wasn’t the first raid-type module ever published, but it was the one which, for me, made the concept really gel definitively (primarily because Tynes boils it down to an essential core and clearly spells out exactly why he designed the scenario the way that he did; in other words, he breaks down the scenario structure for the GM).
Basically, there are three parts to a basic raid scenario (which Tynes describes as a “Tom Clancy-style special ops mission”):
First, it largely functions using the same room-and-key design of a location-crawl.
Second, the target location is designed in such a way that the PCs can grok the entire floorplan and some (or all) of its defensive measures. (You’ll note that this is distinct from a typical dungeoncrawl, where it is virtually impossible and usually antithetical to the desired gameplay for the PCs to be able to predetermine the entire floorplan.)
Third, the target location should generally feature lots of potential entry points (allowing the PCs to select their approach and make meaningful tactical decisions about how to carry out the raid).
Fourth, the defensive forces should be designed to respond as an active opposition force.
Over the years I’ve refined this structure to include adversary rosters in order to make it easier to key patrol patterns and also to make the defensive forces more dynamic in actual play.
The intended form of play is that the PCs will (1) learn about the target location, (2) have time to plan their raid, and then (3) execute their raid against active opposition.
THE DEATH STAR RAID
Once you understand the basic raid structure, the potential trap for a Death Star-style raid is trying to map out the entire space station. That’s valuable for smaller raid scenarios (particularly if you prep it in a way that the blueprint can literally be presented to the PCs so that they can use it during planning), but a space station is just too big for that to be convenient. (Even a space station much, much, much smaller than the Death Star.)
So in planning out a raid on the Death Star, you’ll need to figure out how to design the raid on a slightly more abstract level. Let’s look back at our list of four elements which makes the Death Star sequence tick:
1. Generally speaking, do NOT determine how the PCs will gain access to the station. Instead, take a step back, think about all the ways people can enter the station, and then figure out how those entrances have been secured. Sketch those out briefly. As with any other raid scenario, it’s now up to the players to (a) learn about them and (b) figure out how to bypass them.
2 & 3. Figure out 1-3 objectives that the PCs want on the space station and/or primary obstacles they need to overcome to escape the station once they’re onboard it. (The players may have already determined at least some of this for you when they made the decision to raid the space station in the first place: Why are they there?)
4. Prep your grab bag of 4-6 situational obstacles that can complicate the PCs’ efforts to reach and achieve the objectives/primary obstacle. Include 1-2 big, notable bad guys (Darth Vader, Tarkin). Include some interchangeable mooks (stormtroopers, officers). Include some passive security features (computer network, magnetically sealed doors).
Finally, briefly sketch the general layout of the station. As noted, this shouldn’t be a hyper-detailed map: You want to know the major features of the space station (docks, brig, bridge, engineering cores, Stormtrooper barracks, etc.) and you probably want to have a general sense of where they are in relation to each other (brig is on the upper levels, docks on the lower levels, etc.).
A flowchart structure can work well for this, giving enough structure for the PCs to make meaningful choices without getting bogged down in an unnecessary superfluity of detail.
SITUATIONAL OBSTACLES
As you’re developing this flowchart, try to include at least 1-2 locations between the entrances and the various objectives/primary obstacles. These are the locations where the PCs can encounter some of the situational obstacles. For example, in order to get from the docks (where the PCs enter the Death Star) to the brig (where the princess is being held) you need to pass through the central elevator shafts (giving Imperial officers or other personnel a chance to spot you).
You can sketch out what situational obstacles are found in each location, if you like:
DOCKS
- 2 stormtroopers in the docking bay itself
- 2 imperial officers overseeing the docking bay from the control room
- Magnetically sealed door on the control room
THE DEATH STAR RAID IN PLAY
And that’s basically it. At this point, you’ve got enough material that your players should be able to engage with it and you can respond dynamically whenever they do.
Don’t feel trapped by your prep. Remember, that what you’ve been designing are tools: If they’re in the brig and they blow their Bluff check, send in some stormtrooper squads. If they feel trapped, don’t think they can fight their way out, and they say, “There must be another way out of here! Can we get out through the vents?” think for a moment and then say, “Sure. That works. You can blast a hole in the wall over there and drop down onto the garbage disposal level.” You didn’t prep a garbage disposal level, but it makes sense that a space station would have one, right?
The garbage disposal room they drop into feels like a significant location, though, so let’s add a situational obstacle. Stormtrooper guards? Hmm… No. They just got away from stormtroopers up above, and who would bother guarding garbage? Let’s throw a magnetically sealed door here and… compacting walls? Yeah, that sounds good.
BEYOND THE DEATH STAR
Obviously this basic structure can be used for more than just space stations: Any raid targeting a sufficiently large facility can be set up this way.
As an exercise, you can break down the raid on CIA headquarters in Mission: Impossible and design it as a scenario. The objective is obvious (the NOC list kept in the vault). What are the potential entrances to the facility? What is the primary obstacle(s) that prevent them from leaving once they’re in? What are the situational obstacles that the GM can use to complicate their mission (if they choose to accept it)?
EXAMPLE DEATH STAR RAID
Remixing Avernus: Zariel’s Flying Fortress


Good stuff, and great series. I’m hoping for a cheat sheet of sorts, maybe at the end of the series. Thanks!
These are great. More, please!
Hey, the module Kidnap the Archpriest (https://coinsandscrolls.blogspot.com/2018/02/osr-kidnap-archpriest-megapost.html) by Skerples of Coins and Scrolls just got a print version in the last day or so. It’s designed to be exactly this sort of thing. It’s a great example of a “raid module” in RPG format instead of movie format, I think.
Bravo! This is fantastic!
My instinct is, like many others as you have suggested, is to try and map out the entire facility… Set explicit guards, defences, layout and so forth for every single room until I have the ‘complete’ system.
As you concluded in your initial article – The tendency is to use a Dungeon shaped peg for a Raid shaped hole.
Upon reflection, it can also be rewarding to think of some or all of the obstacle/goal sub-locations as being mini-raids in their own right. Staying with the example of the Death Star, the PCs need to figure out how to get into the docking bay control room — THAT you can map out as a small-scale raid, right? Same thing with the brig.
Note how the need to both get IN and get OUT can naturally lead to reincorporating material: Getting OUT of the docks is one raid; getting back INTO the docks to reach the Falcon is another raid in the same location.
So that last line got me thinking, and in the spirit of the Scenario Structure Challenge I’m going to post these thoughts…
Getting In and Getting Out seem like really significant, separate phases of the raid – the goal is even different (there’s a specific goal to work towards while getting in, but while getting out the goal changes to the less specific but more personal goal of “escape”).
In the movie, the Getting In portion (let’s call it “Infiltration”), basically goes off without a hitch. Things go wrong when rescuing the princess, and from there the Getting Out portion (lets call it “Extraction”) is quite action packed. I think this structure is pretty common, and has a good chance of naturally happening if the Objective is well guarded. Even if it goes off without a hitch, there are often other complications keeping the PCs from walking out of the enemy base like they came in (tractor beams and the like).
It seems like it might be worth it to think of raid structure in terms of Infiltration and Extraction, at least while running the mission if not while prepping it (I think it has value there too for organizational purposes, but prepping a good toolbox should cover *most* Extraction needs.)
Nothing mindblowing here, but I think it’s potentially useful.
Good thoughts, Nathan. Something else that I only touched on extremely briefly is the possibility of multiple goals that need to be accomplished within the same raid. Deciding whether to do those simultaneously or sequentially can be a really interesting strategic/tactical question for the PCs.
You can also think about vectors when it comes to overcoming obstacles, too: You need to do X, Y, and Z before the safe will open, for example.
Just wrapped up a session using this structure for Bel’s Forge in a DiA campaign using the Alexandrian Remix. The party were sneaking in to free Gargauth from the shield with a forge stolen from Celestia and had some outdated blueprints (side view showing the layout).
Made a few reasonable entrances (loading bay, garbage disposal and an elevator haft from the volcano’s crater, which also served as a focal point for the whole complex.
Situational obstacles were patrols of Barbed/Bearded devils, toxic waste in garbage disposal level, Glyphs of Warding in the air ducts and doors with arcane locks.
Though they mostly teleported around with dimension door, the players loved the tense sneaking about. Getting out ended up being very different from getting in since they hadn’t included not being killed in the deal with Gargauth. They lost two characters but flung Gargauth into the Astral Plane with a Bag of Holding + Portable Hole.
Great structure, will be using it for Zariel’s Flying Fortress too.
[…] a potential enemy-base to raid or rob […]