Angela: I saw twelve goblins and at least six ogres.
Courtney: I don’t want to fight them in a big open room. If they surround us, we’re toast.
Shayne: Yeah, it would be a lot better to funnel them into a tighter space.
Courtney: Okay, what if we go back to the heliotrope hall and then ring your cowbell? They should hear that and come to investigate.
Shayne: That’s good. Okay, we’ll do that. What happens when I ring the bell?
GM: …nothing.
An “encounter” in an RPG can mean a lot of different things. To keep things simple, we’re going to start by just talking about combat encounters, which we’ll define roughly as “one or more bad guys that the PCs fight.” Furthermore, let’s consider the simplest possible combat encounter:
- 4 goblins
That’s it. That’s the encounter.
We know nothing about where these goblins are or how they might be encountered during the scenario, but this also means that we have almost infinite flexibility in how this encounter could be used.
Of course, we’ll often want to add more details and specificity to this encounter. For example, we might ask ourselves where these goblins are located and key them to a specific room. We could go one step further and specify what they’re doing in that room. We could even take a fairly general activity (“the goblins are painting pictures”) and make it even more specific (“the first goblin is painting a princess being eaten by a dragon, the second goblin is painting a blade of grass dripping with blood, etc.”). And, of course, all of this specificity could be done in a different way: They’re painting different pictures. Or they’re doing something other than painting. Or they’re located in a completely different room.
A specific location, however, is not the only type of specificity we might bake into an encounter. For example, maybe these goblins have been sent to assassinate one of the PCs. Or they could be keyed to a random encounter table (which serve any one of a wide variety of functions in the scenario/campaign).
As you’re thinking about how specific a particular encounter should be, there are a few broader principles that are useful to keep in mind.
First, there’s a central tenet of Smart Prep: Focus your prep on stuff that you can’t improvised at the table. If, for example, you’d be comfortable improvising what, exactly, the goblin painters are painting, then you don’t need to spend time specifying those details in your notes. (Particularly since it may never come up in play, in which case you’ll have just wasted that prep time.)
Second, there’s the electric thrill of dynamic encounters. Whether you’re using random encounters, adversary rosters, proactive nodes, or some similar technique, having the bad guys dynamically react to the actions of the PCs is a fantastic way to make the world come to life, create incredibly deep gameplay, and emphasize that the players’ choices are the heart and soul of what makes RPGs a truly special medium. All of these techniques, however, require encounters that can be flexibly and easily used in many different ways: The goblins need to be able to move around the dungeon. Or send one of their members to raise the alarm. Or split up. Or be sent on a mission to hunt down the PCs.
Third, on a similar note, there’s active play in general: You want to prep toys that you can use to actively play with your players. Set piece encounters can be fun and effective in their own way, but you can’t play with them.
PRECIOUSNESS
What we’re driving at here is a difference between specificity (additional details) and preciousness. To proffer a definition: The fewer ways in which you can dynamically alter or use an encounter, the more precious its presentation and/or prep becomes.
Here’s a classic example of precious encounter design, from Keep on the Shadowfell:
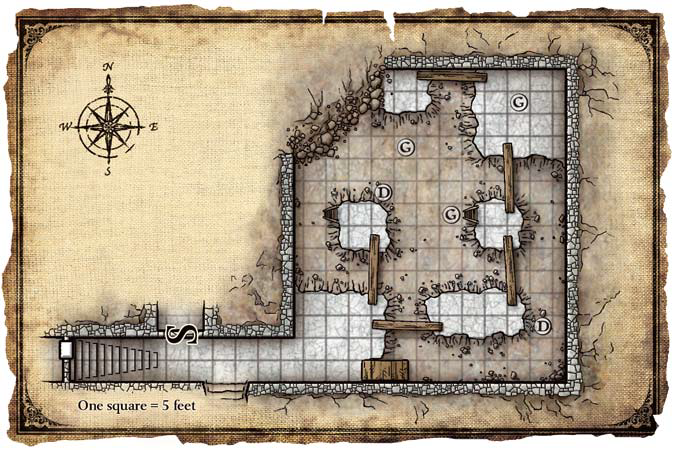
I won’t repeat the full text of the encounter here, but here’s a brief summary of how it was prepped:
- Goblin miners and their drake companions are placed in specific locations a specific room, as indicated on the map.
- The PCs need to arrive at the encounter from the staircase and their miniatures are placed on specific squares when the encounter begins.
- There’s a tiered Perception check made from the staircase, with prepped dialogue for the goblins depending on how well the PCs roll on the check.
- The goblin’s tactics, customized for this specific room and their starting locations, is detailed.
- Specific actions are scripted to the plans, ladders, and ramp.
What if the PCs make a bunch of noise approaching this room? Well, the goblins can’t leave this area or all that scripted content has to be thrown out. What if some of the other goblins in the dungeon retreat to this room? Once again, a bunch of scripted content has to be thrown out.
The encounter is precious because great value — in terms of prep and creativity — has been invested into details which are highly dependent on specific conditions and/or actions. And that value either shouldn’t be carelessly wasted or, at the very least, the GM will be unlikely to WANT to waste it by using the encounter in a different way.
We can begin to generalize here: Is the encounter tied a specific location? Does it have to be triggered in a specific way (e.g., the bad guys have to take the PCs unawares; or the PCs need to come through a specific door; or it needs to take place in a forest)? Does it require the PCs to lack specific abilities? Or have specific knowledge?
Not all specificity, you’ll note, is preciousness, because not all specificity limits the dynamic utility of the encounter. For example, we could imagine giving each of the goblins in this encounter a specific name. That prep may or may not prove useful in actual play, but it’s not dependent on the goblins being located in a specific room or meeting the PCs in a specific way.
PRECIOUS SYSTEMS
Another form of preciousness can come from the mechanical balance of tactics-based RPGs, in which PCs can usually regain most or all of their resources before every fight. This design removes the strategic play of resource-depletion over the course of multiple encounters, which also means that weaker encounters can never contribute to the challenge of the game.
Such games, therefore, have a fairly narrow “sweet spot” each encounter needs to hit: Too weak, it’s pointless. Too strong, it’s TPK. This, in turn, usually eliminates dynamic encounter design: If an encounter is precisely balanced, you can’t have the bad guys call for reinforcements because that will tip the balance.
This, of course, is a form of preciousness: Your ability to dynamically alter an encounter or use it in different ways during play is limited by the tactics-based balance.
In my experience, encounters in these tactics-based RPGs tend to also become precious in other ways: If your encounter design is already being locked into a narrow paradigm, you might as well lean into it.
TOO PRECIOUS
On this note, therefore, it’s important to remember that preciousness is not inherently a bad thing. It’s not that you should NEVER have Little John guarding the log bridge against Robin Hood, but rather that being aware of how and when you’re making your encounters precious — and also if/when the system you’re using forces preciousness — is useful.
What you want to avoid, though, is making your encounters TOO precious, something which I sometimes refer to sardonically as My Precious Encounter™ design. Broadly speaking, this means double-checking whether the preciousness you’re baking into the encounter is actually necessary, or if you’re just crippling your own prep and giving yourself extra work for no reason.
OTHER PRECIOUS ENCOUNTERS
As I mentioned, we’ve been simplifying things by focusing on combat encounters, but you can find preciousness in other types of encounters, too.
In fact, just locking an encounter into being a “combat encounter” is a form of preciousness: After all, couldn’t we negotiate with the goblins? Or trick them? Or sneak past them? Or recruit them? Or convert them?
The reverse, of course, is also true. “This is the encounter where the PCs will negotiate with Sir William” (and the encounter is designed as such) is more precious than simply prepping Sir William as an NPC whose scenes could play out in myriad ways.
And, again, this isn’t inherently a problem: The principles of smart prep, in fact, encourage preciousness. (At least, up to a certain point.) There are plenty of situations in which you can have a very high confidence in how an encounter will play out at the table and you should be prepping it accordingly.
Even in these circumstances, however, I think you will find it useful to keep one eye — if not your primary focus — on the broader utility of what you’re prepping. In other words, make precious only that which brings value.
Your toys should not become so precious to you that you can no longer play with them: Take them off the shelf, take them out of the box, and see what you can create!


