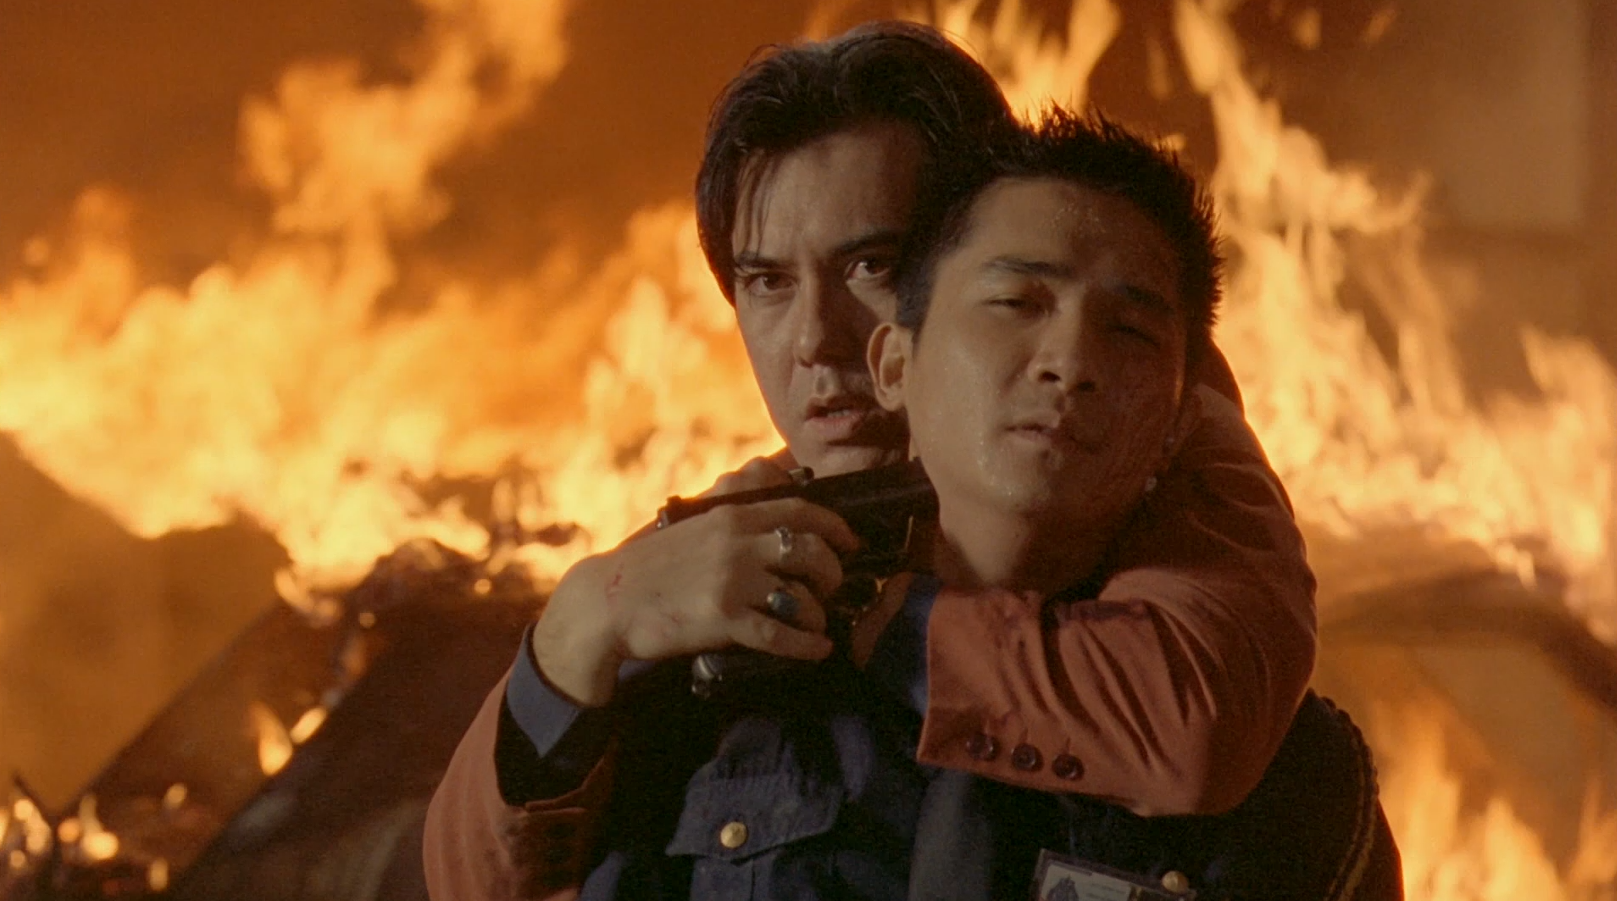
In the final act of John Woo’s Hard Boiled, the bad guys have taken over a hospital. Realizing that the cops are closing in on them, they prevent an evacuation of the hospital and take the patients hostage. Now the heroes need to figure out how to rescue the hostages and get them out of the hospital before it explodes!
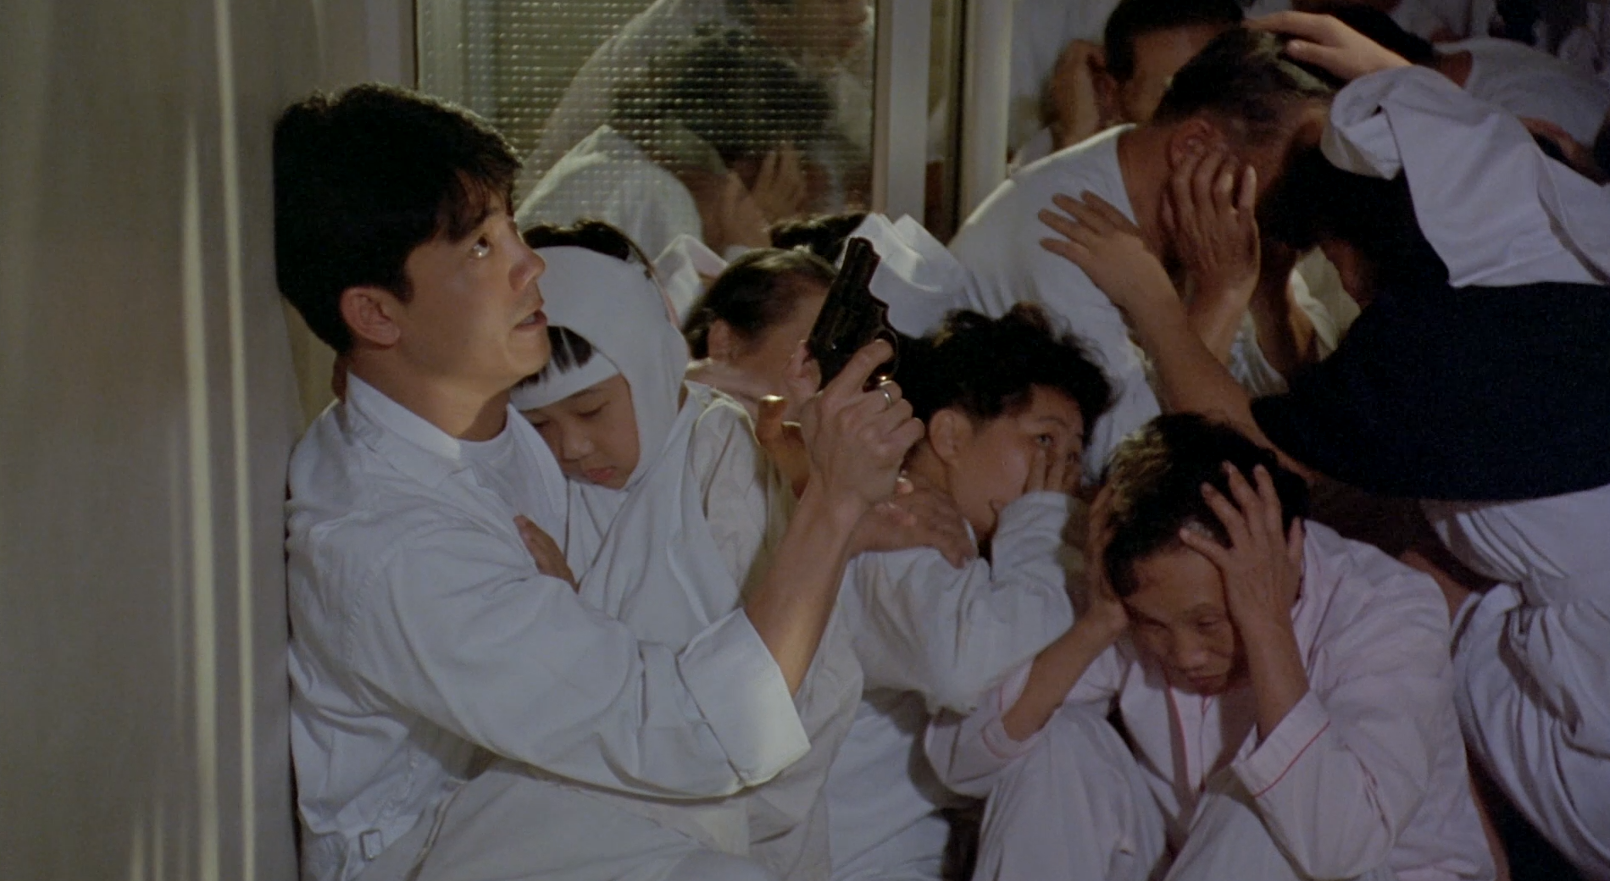
In the film, the bad guys remotely lock the doors and send out roving bands of gun-toting thugs. The patients try to make their way to the exits, but many get rounded up by the bad guys or get pinned down in various hiding spots around the hospital.
Let’s break down the elements we see on screen.
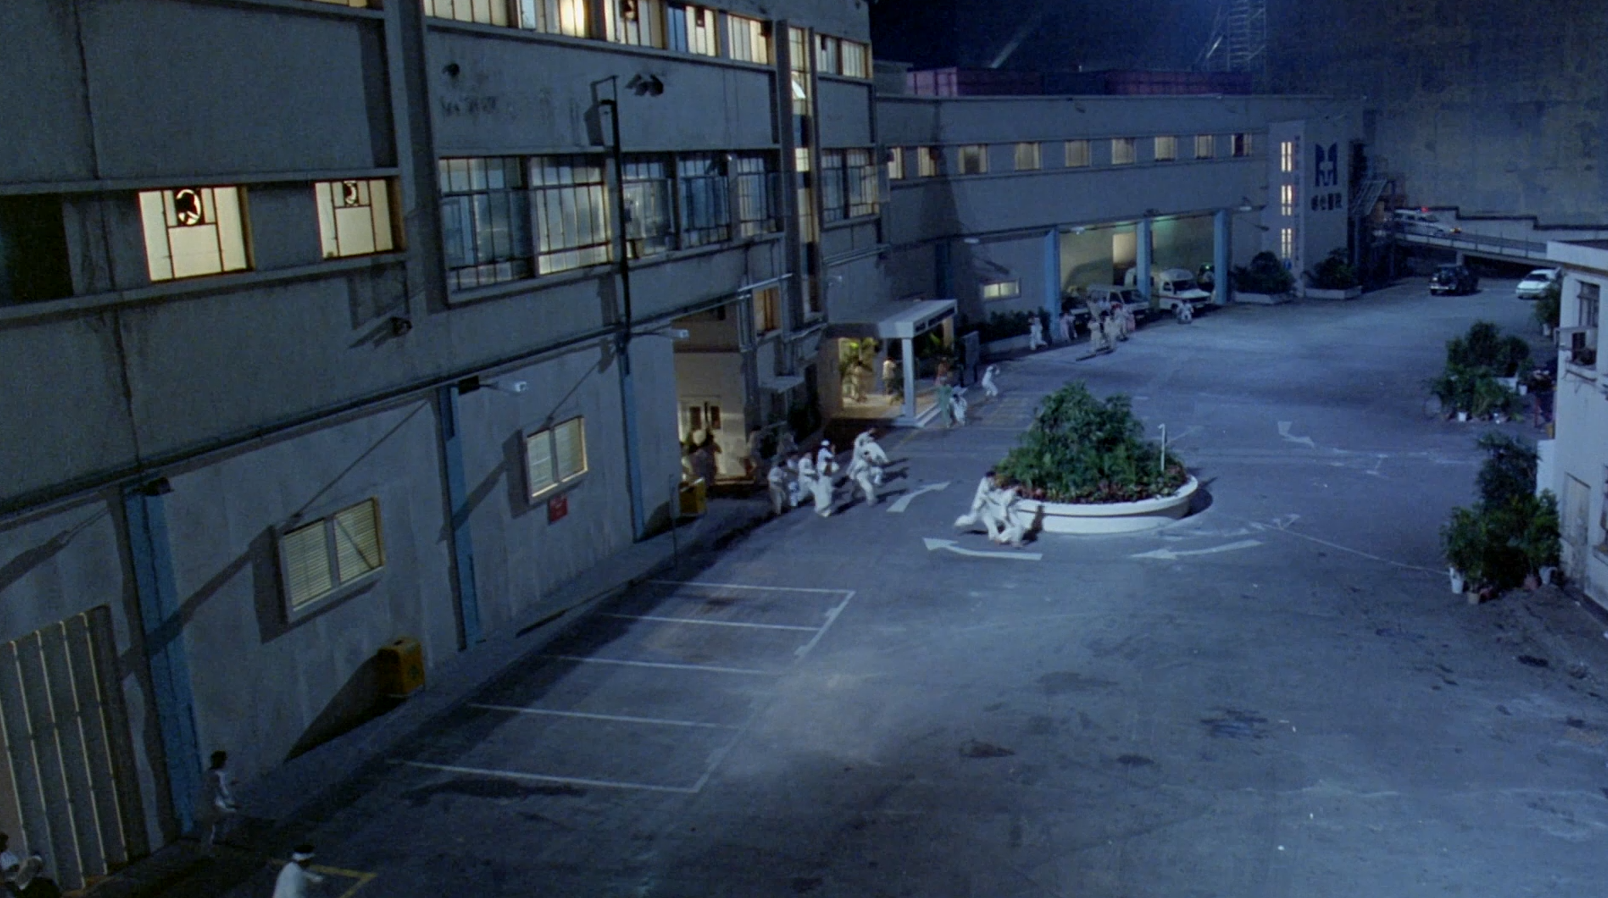
- The hospital has many distinct areas — lobby, surgery, security office, nursery, stairwells, morgue, recovery rooms, admissions, entryway, and the secret armory in the sub-basement.
- There are multiple groups of hostages, including a dozen or so babies in the nursery.
- There are bad guys holding the hostages, seeking more patients to take hostage, and/or hunting down the heroes.
- In addition to the bad guys, there are additional security measures including locked doors, security cameras, and explosives.
- There are police squads active in and around the building, who have created a perimeter around the building (creating a safe zone the hostages can escape to) and who can also help the heroes in freeing, protecting, and escorting the hostages.
HOSTAGE SITE
The action in Hard Boiled seems to flow pretty freely between different locations, so we could model the hospital as a sector crawl, with the PCs hopping from one action set piece to another.
In practice, though, the tactical concerns of a hostage rescue likely require something a little more concrete: For hostages to be pinned down, for example, they need to be blocked from reaching the exits. Conversely, the PCs will need to figure out how to reach the hostages and get them out.
So what we probably want is a pointcrawl — a flowchart-style map showing how the various areas connect to each other. In designing this, there are a few things we’ll want to keep in mind:
- We should know our entrances/exits to the site — doors, windows, etc. You’ll want multiple options here, but you’ll want to make sure that each one is either secured, difficult to use, or both.
- We’ll want deep areas in the hostage site — locations that are not directly connected to the exits.
- We’ll likely want chokepoints to create tactical challenges and opportunities. Multiple levels — like the three floors of the Hard Boiled hospital — can easily create natural chokepoints around the stairs and elevators used to move between the levels.
As a pointcrawl, remember that the areas you’re mapping are not necessarily individual rooms — they might be, but they can just as easily be multiple rooms or suites. (For example, “Surgery” could include multiple operating rooms and the prep areas around them.)
HOSTAGE TAKERS & SECURITY MEASURES
We’ll write up the bad guys in action groups and organize them into an adversary roster. This will keep them fluid and let them actively respond to what the PCs are doing.
Passive security measures can be keyed to the various locations on your site map. This includes the security cameras, secret doors, locked doors, and explosives seen in Hard Boiled, but there are lots of other options, like secured computer networks, motion detectors, or environmental hazards.
HOSTAGES
Finally, we have the hostage(s). I’m going to refer to them as hostage groups, but each “group” could actually be a single individual. Your scenario might have just one hostage group or, like Hard Boiled, there could be multiple hostage groups scattered throughout the site.
Determine whether each hostage group is secured or free. Most groups will likely be secured, meaning that they’re locked up and/or being guarded by an action group of bad guys. Free groups aren’t currently in the control of the bad guys, and may even be seeking to escape by themselves, but are more likely pinned down, cut off by bad guys between them and the exit, or simply in hiding.
Optionally, distinguish large hostage groups from smaller ones by giving each of them a size. The goal here is to provide a simple model for how difficult the group is to handle and maneuver — it’s easier to move five people quickly from one area to another than it is twenty. The exact form this takes might depend on the rule system you’re using, but here’s a simple structure:
- Small: 1
- Large: 2
- Unwieldy: 3+
Finally, create a hostage roster, which will work just like an adversary roster. I think we’ll want to keep these rosters separate from each other because it will be easier to manage them in play that way.
OTHER STATS
In addition to (or instead of) Size, you might give your hostage groups other stats. For example, maybe they have a Stealth modifier that will make it easier or harder for the PCs to slip them past the bad guys. Or the PCs might need to overcome a group’s Fear DC to convince them to take action.
OPTION: ALLIES
The other police officers in Hard Boiled can be modeled in a couple different ways.
First, they establish a cordon around the hospital. This is a common element in a lot of hostage rescue stories, and it effectively just contains the bad guys (and possibly the PCs!) to the hostage site. (Your bad guys, of course, may have some secret plan for bypassing this cordon when the time comes.)
In Hard Boiled, the bad guys keep assaulting the police cordon with machine guns and rocket launchers from the upper windows of the hospital. This, however, is essentially set dressing: It provides a lot of sound and fury (and cool explosions!), but never meaningfully threatens to destroy or break through the cordon. (If you wanted to model a meaningful assault on the cordon, of course, you could probably model that as a combat encounter.)
Other police officers in Hard Boiled, however, are taking action inside the hospital: They’re fighting bad guys and helping hostages escape. If we want to include something like this in our scenario, we’ll want to design some ally groups.
RUNNING THE HOSTAGE RESCUE
We’re going to run our hostage rescue using tactical turns. As a general guideline, on each tactical turn:
- PCs and adversary groups can each move one area. (Option: They can move two areas instead, but this also increases the range at which others can potentially detect them.)
- 5 rounds of combat can be resolved.
HANDLING HOSTAGES: Hostage groups can move from one area to an adjacent area in a number of tactical turns equal to their size.
Hostage groups can be attended to by one or more PCs. Attending to a hostage group should be beneficial, and there are a few options for this (any of all which could be true in your scenario):
- A hostage group MUST be attended in order to move. (Option: Not all action groups must be attended to move, but Hapless groups must be attended.)
- Attending to a larger hostage groups can reduce the time required to move by one tactical turn.
- Attending to a hostage group may give them unique access to evacuation routes. (In Hard Boiled, for example, tactical teams rappelling from the roof can evacuate hostages through upper floor windows.)
DETECTION: Bad guys have a chance of detecting PCs in neighboring areas. (Resolve this appropriately with Stealth checks or similar mechanics.) This distance might be increased by combat or other particularly loud activities.
Hostage groups can be potentially detected at a range equal to their size. (So if the PCs are trying to move a Large group through the hostage site, any bad guys within two areas of them on the pointmap could potentially notice them.)
ALLIES: An ally group can attend to a hostage group, helping the PCs to evacuate them from the hostage site. (Imagine dialogue like, “Get these people out of here! I’m going to help Rodriguez!” and “Go to the nursery! Help Teresa get the babies out!”)
Ally groups could also get into conflict with adversary groups:
- Clearing paths.
- Blocking bad guys from passing through an area.
- Protecting hostages.
You’ll want to think about how you want to resolve these conflicts. Some options include:
- Using your RPG’s full combat system. (If the PCs aren’t with the ally group, you might run this as a cut scene where the players are controlling the allies.)
- Setting up a countdown clock. (Unless you can reach the allies in 5 turns, they’ll be overrun by the bad guys!)
- A single check or die roll. (For example, roll 1d6. On a roll of 1 the allies win; 6 the bad guys win; 2-5 it’s a stalemate, check again next turn. Shift the weighting of this roll based on the relative strength of each side.)
An ally group might also have a special resource. (Like our rappelling tactical teams or medical expertise.)
HOSTAGE NEGOTIATIONS
Negotiating with a hostage-taker can be a pretty typical element in scenarios like these, but it’s outside the scope of this article. This is likely something I’ll tackle as a scene structure challenge in the future.
BEYOND HONG KONG
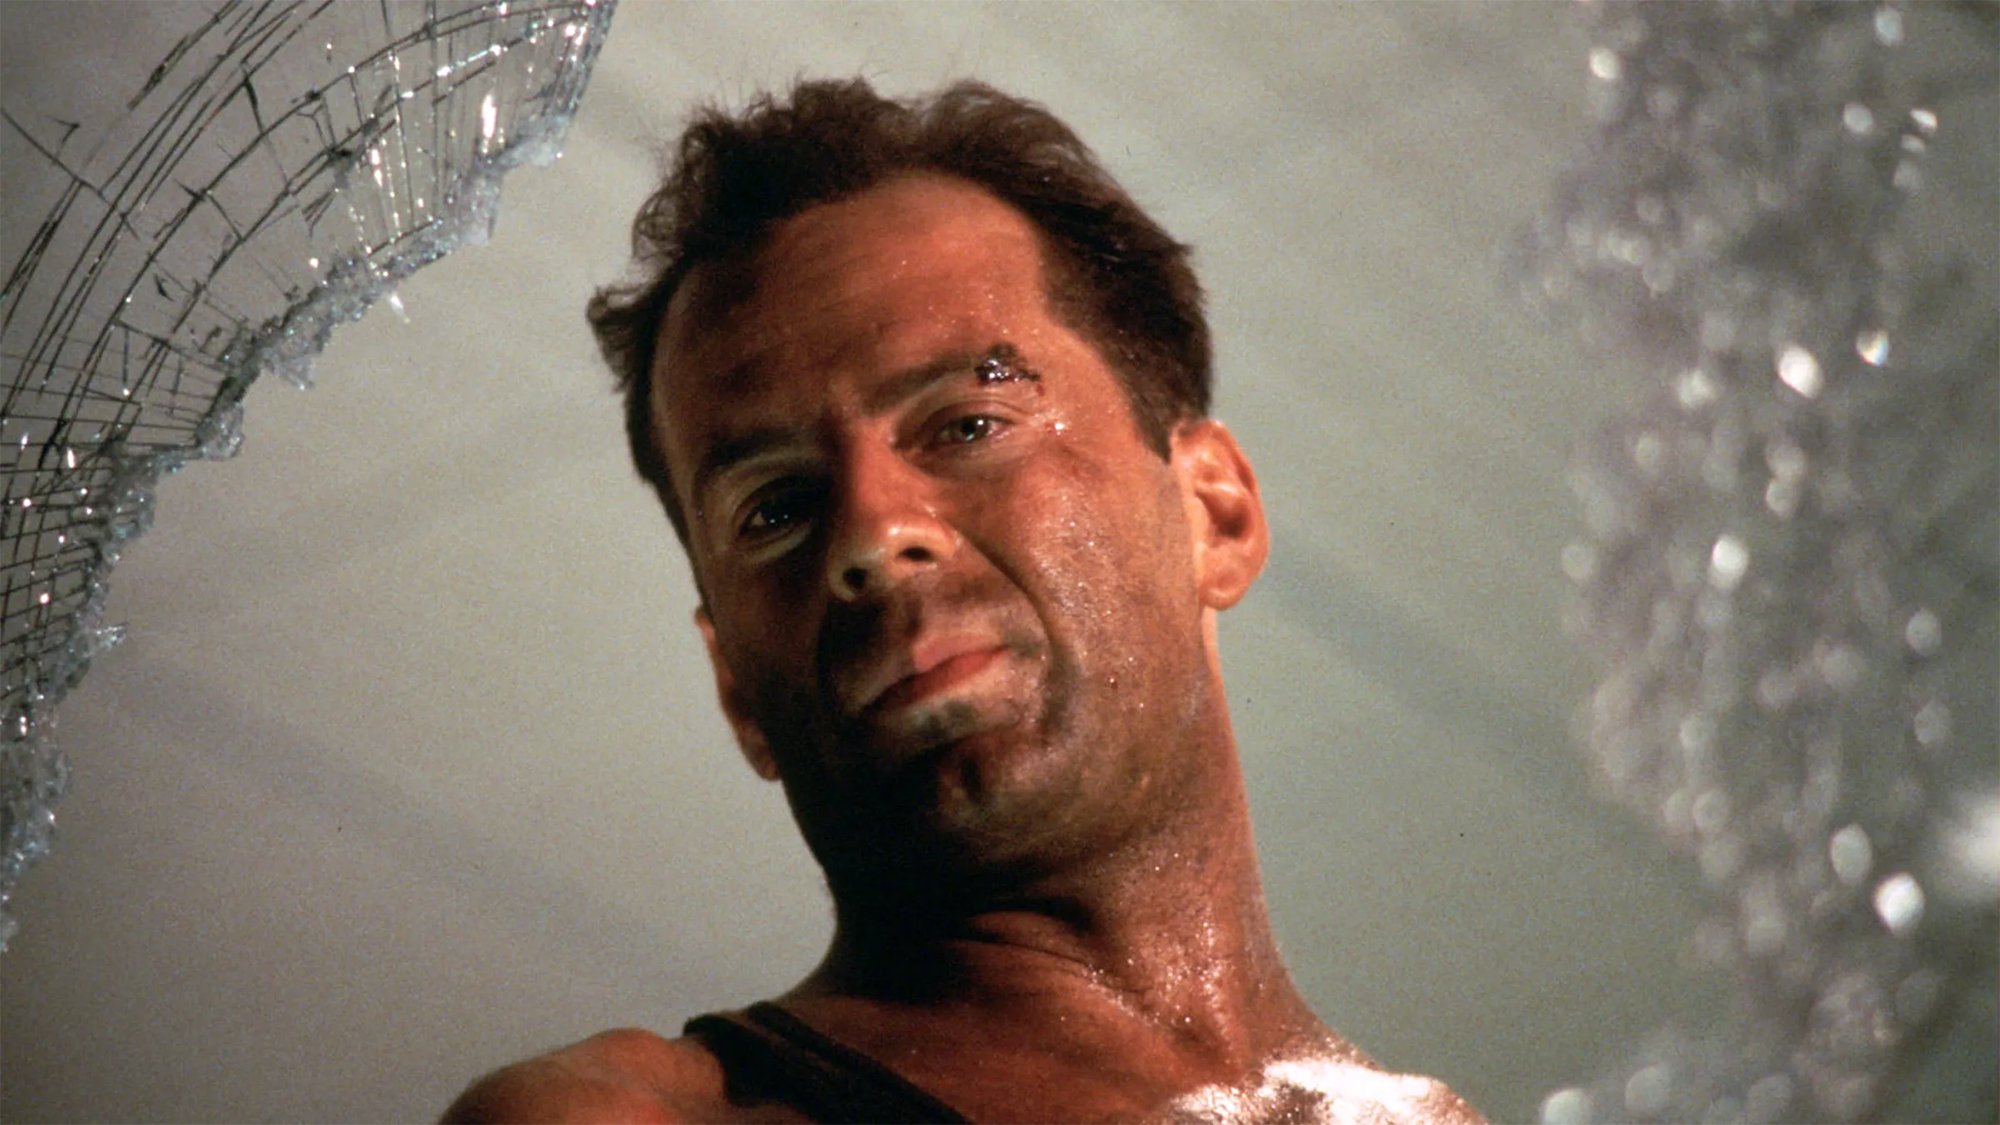
Die Hard is an interesting companion piece to Hard Boiled for a hostage rescue scenario. In some ways, the scale is smaller: The allied cops are limited to providing a cordon (instead of taking action inside the building), the hostages are generally kept in a single large group, and the bad guys are fewer in number (although more fleshed out as individual characters). On the other hand, the scale of the hostage site (a skyscraper) is much larger, and you might find techniques from a Death Star Raid useful here. Consider, too, John McClane’s use of air vents throughout the film: Would you want to add these to your pointmap? Or do the vents provide more flexible, open-ended shortcuts?

You could also think outside of the box a bit with something like Air Force One. Obviously the plane gives a very different hostage site on a much smaller scale. Here we also find that some of the hostages are very specific individuals rather than large groups.
Pushing things even further afield, what if the bad guys are zombies and the “hostages” are people trapped by the shambling horde? Would our scenario structure hold up here? What changes, if any, might we need to make?


