The Alexandrian

Posts tagged ‘d&d’

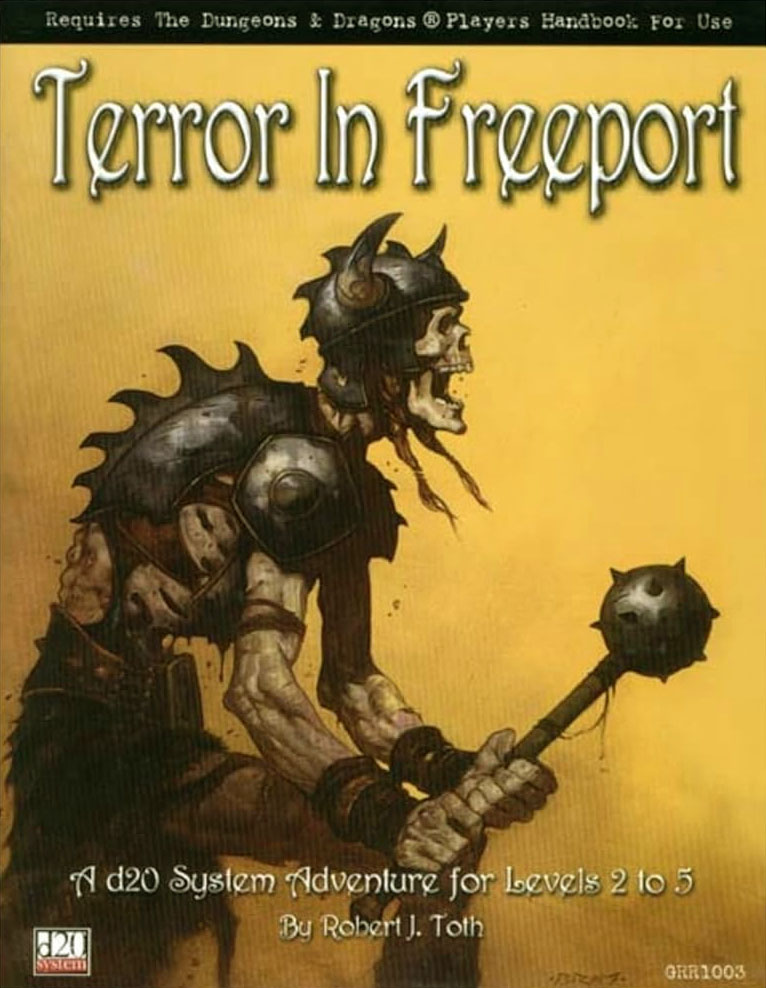
Terror in Freeport - Robert J. Toth (Green Ronin)

The sequel to Death in Freeport, Terror in Freeport brings the same strengths and weaknesses to the table.

Review Originally Published February 12th, 2001

Terror in Freeport picks up exactly where Death in Freeport left off (my review of the latter is available here) – which is only logical, since it’s a sequel.

In terms of its strengths and weaknesses, Terror is very similar to its predecessor: It’s picked up a few new flaws (weaker boxed text, repetition of material), but it’s also picked up a few new strengths (more adventure material, better lay-out).

PLOT

Warning: This review will contain spoilers for Terror in Freeport. Players who may end up playing in this module are encouraged to stop reading now. Proceed at your own risk.

A couple of months have passed since the events of Death in Freeport and the PCs are approached, once more, by Brother Egis: He’s sure that the serpent people are still active in Freeport, and has come to believe that someone is working behind the scenes to undo everything that the PCs have accomplished. The plot which begins to unravel from this simple seed is so delightfully convoluted that the author, Robert J. Toth, has included sidebars entitled “The Real Story” throughout the adventure to make it easier for the DM to keep track of everything that’s going on.

Things open with another round of investigation, starting with a secret residence that Milos (the main villain from Death in Freeport) kept under an assumed name. Investigating the rented room will not reveal anything (although if the PCs make some lucky search rolls they will uncover a set of documents which will be very important in setting up Madness in Freeport, see below). Shortly after they start investigating, however, they will attacked and – if they follow one of the would-be assassins successfully – he will lead them right back to the bricked up temple building from Death in Freeport.

The temple is supposedly being cleaned out by Councilor Verlaine, but if the PCs successfully investigate they’ll discover that the Temple is still inhabited by serpent people – who are transferring the contents of the Temple into the basement of Verlaine’s mansion! A series of subsequent investigations and diversions will make it appear that Verlaine is in league with the Brotherhood, but – in fact – he’s being set up by his boss, Sea Lord Drac – the ruler of Freeport.

The Brotherhood then attacks Egis’ Temple, some more craziness ensues, and the PCs triumph. Along the way they finally get to talk with Thuron, the head of the Temple – but at the end of the adventure it’s suddenly revealed that Thuron is one of the serpent people, too! Fortunately, he’s one of the good serpent people. (Made ya look!)

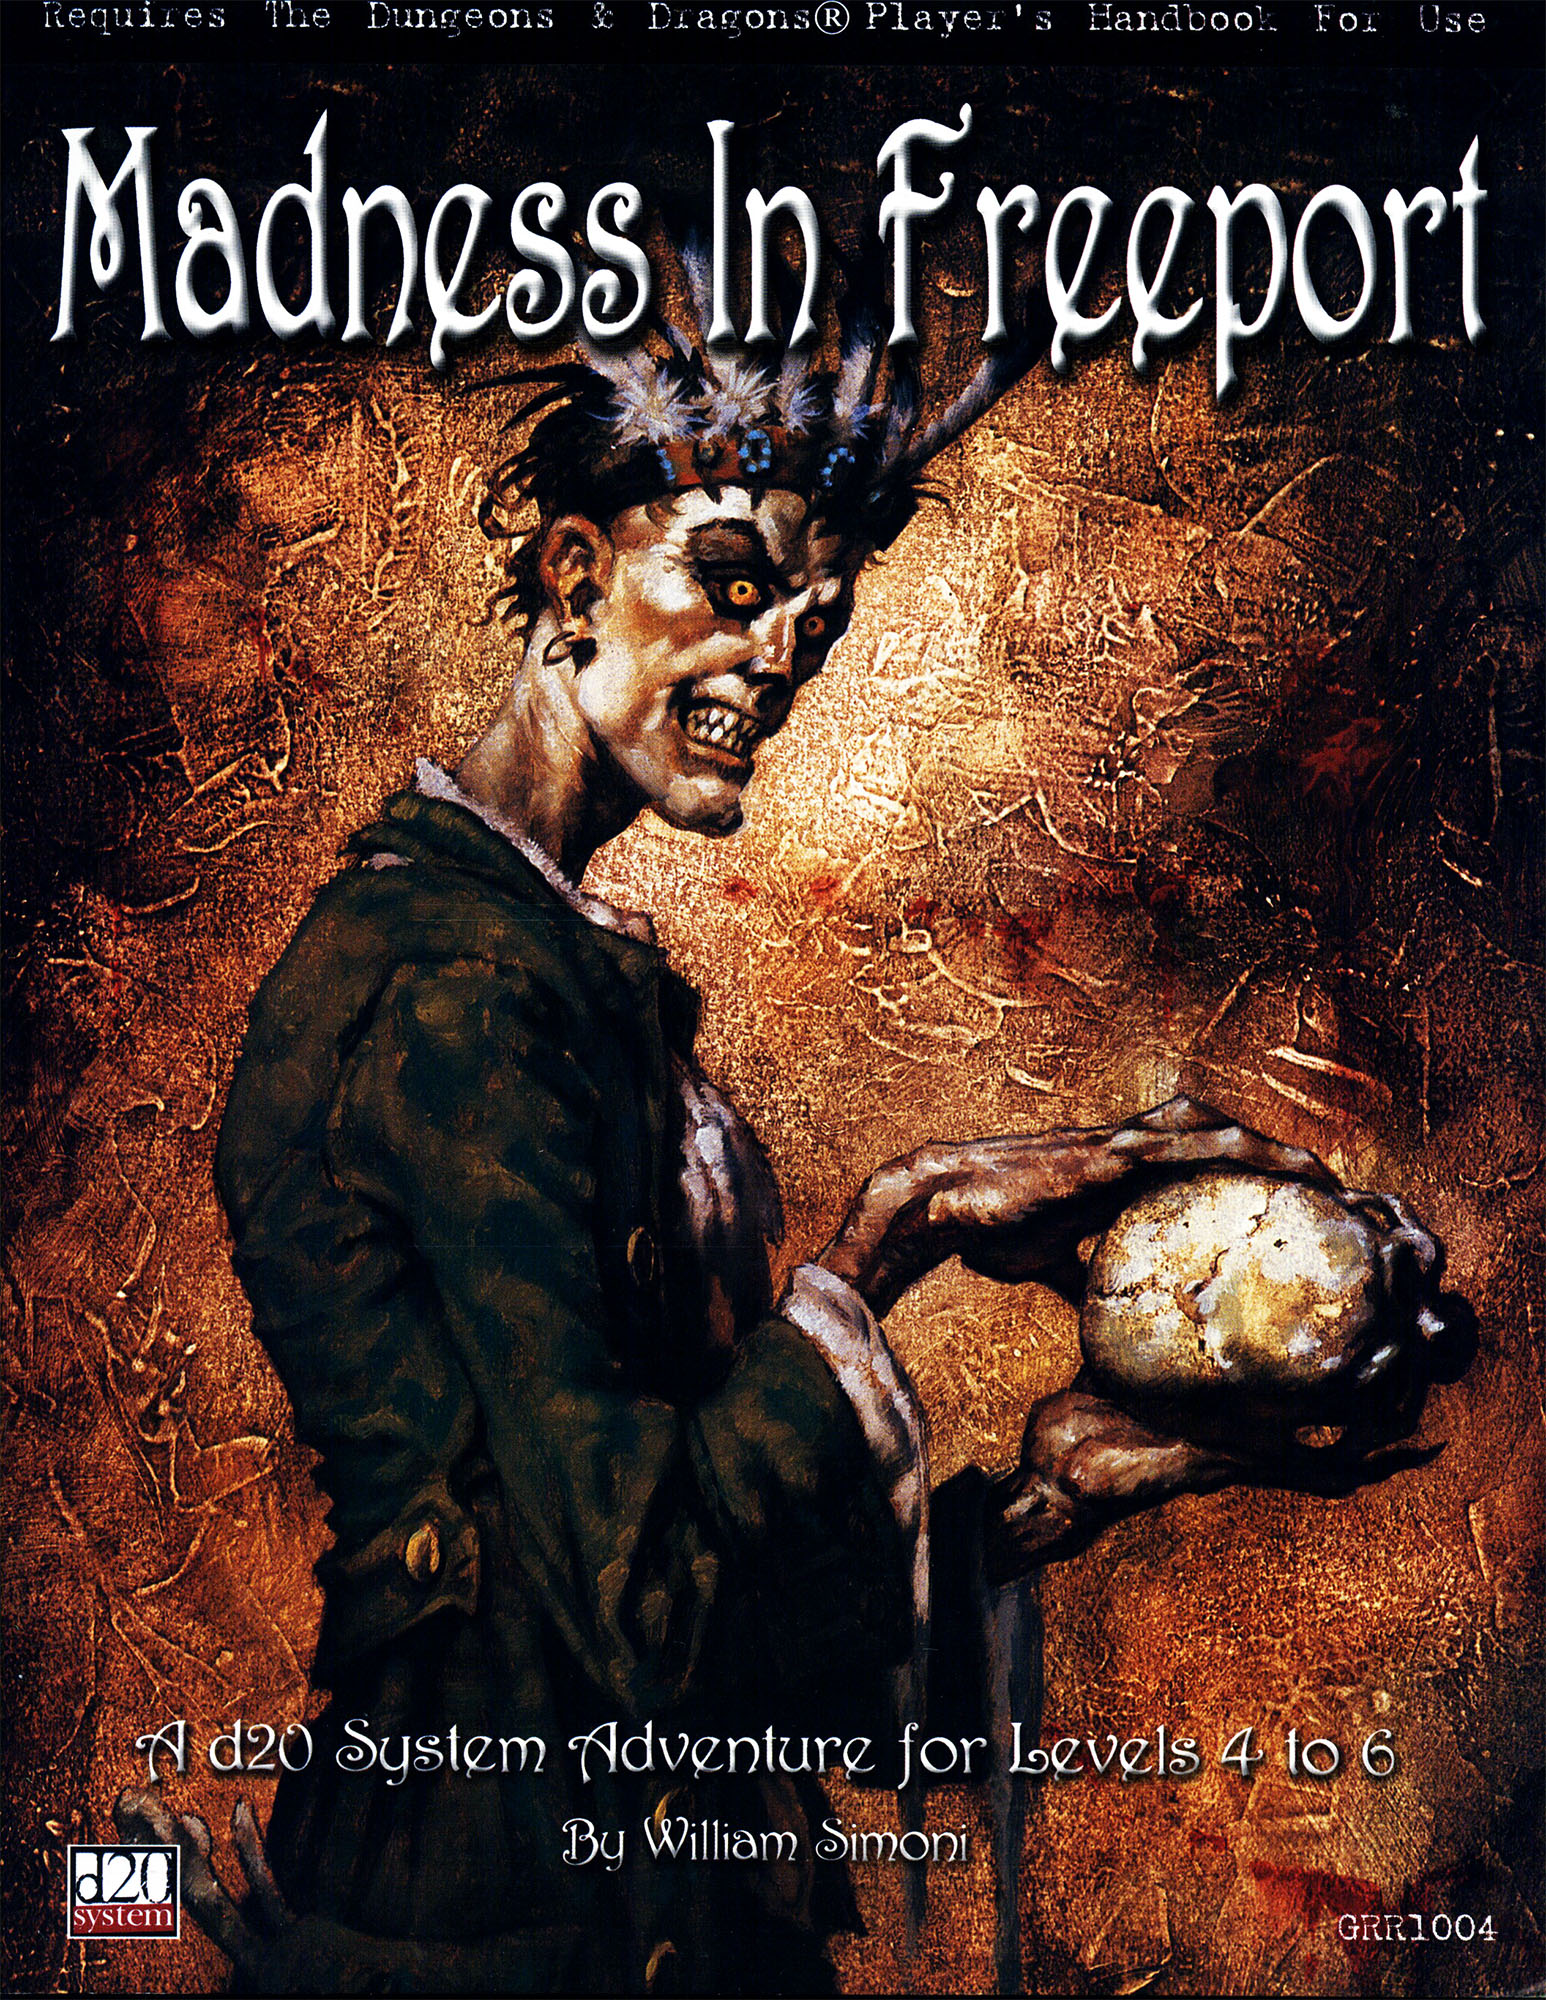
Finally, the big whammy is laid on the PCs (setting the stage for Madness in Freeport): K’Stallo reveals that the diagram the PCs discovered way back at the beginning of the adventure are the plans for the Lighthouse which is being constructed in the harbor – a Lighthouse which is being carefully prepared for a demonic ritual which will see the Unspeakable God of the Yellow Sign reborn into the world once more!

LOW POINTS

Terror in Freeport possesses the same primary flaw as Death in Freeport: The links which hold the adventure together are far too weak. A missed die roll here, a failure to read the author’s mind there, and the adventure is hopelessly derailed without even a glimmering clue regarding how to get it back on track.

To this, a few other weaknesses are also added: The boxed text is generally much weaker than in Death in Freeport, and on at least two occasions it makes decisions for the PCs (something which I simply can’t stand). The pregen PCs from Death in Freeport are reprinted here and, although they’ve been advanced to third level, I consider this an even greater waste of my space and time. Finally, during a sewer sequence,  the map of the sewer fails to match the description in the text.

HIGH POINTS

The biggest advantage Terror in Freeport has is that it is a sequel to Death in Freeport. The same sense of lurking horror and hidden mystery lurks within these pages, and even as some of the mysteries left lingering in the shadows of Death are brought into the light, even more sinister mysteries are shown to lie behind them. Terror raises the stakes elegantly and naturally – drawing the PCs into higher circles of power, and showing that the corruption and horror they had so briefly brushed against before becomes even more terrifying as the full scope of its truth becomes revealed.

Other positives: Adventure seeds for getting players involved in Terror in Freeport are included (in case they didn’t run through Death in Freeport) – even though I can’t seriously imagine running a group through Terror that hasn’t been through Death. In general, Terror is a far meatier adventure than Death, although this is largely due two factors: First, Terror draws upon the background in Death (so that it has a larger number of actual pages in which to describes its adventure). Second, Terror is for higher level characters – so the PCs can handle a bit more breadth and depth than they could before.

CONCLUSION

If you liked Death in Freeport, you’ll like Terror in Freeport. If you didn’t like Death in Freeport, you probably won’t like Terror in Freeport. And if you haven’t read Death in Freeport, then you’re probably best advised to check that out first.

Support the reviewer’s plan for world domination: Click here to order Terror in Freeport through an affiliate link to Amazon.com.

Style: 3
Substance: 4

Authors: Chris Pramas
Company: Green Ronin Publishing
Line: D20
Price: $7.99
ISBN: 0-9701048-2-0
Production Code: GRR1003
Pages: 32

It’s been a long time since I cracked the cover on Terror in Freeport, but I have only the fondest memories of running this module. (Unlike Death in Freeport, I’ve only run Terror in Freeport once, but that has nothing to do with the quality of the module itself and shouldn’t be held against it.)

Taking a peek at my prep notes, it seems that I made virtually no adjustments to the module. It looks like I modified the hook to incorporate a patron who’d been established in my campaign; fleshed out the the tracking section with a Gather Information table; added a cool trap from the Traps & Treachery supplement published by Fantasy Flight Games; and modified Thuron’s story to align it to the cosmology of my own campaign world. Everything else is just stat blocks and handouts.

My point is that sometimes you can have fond memories of an adventure as you experienced it at the table that have little or nothing to do with the adventure as it was published, but that doesn’t seem to be the case here. Terror earns my nostalgic accolades.

Perhaps my strongest recommendation is that I hope to some day return to these modules and run them again.

Next Freeport Review: Madness in Freeport

For an explanation of where these reviews came from and why you can no longer find them at RPGNet, click here.


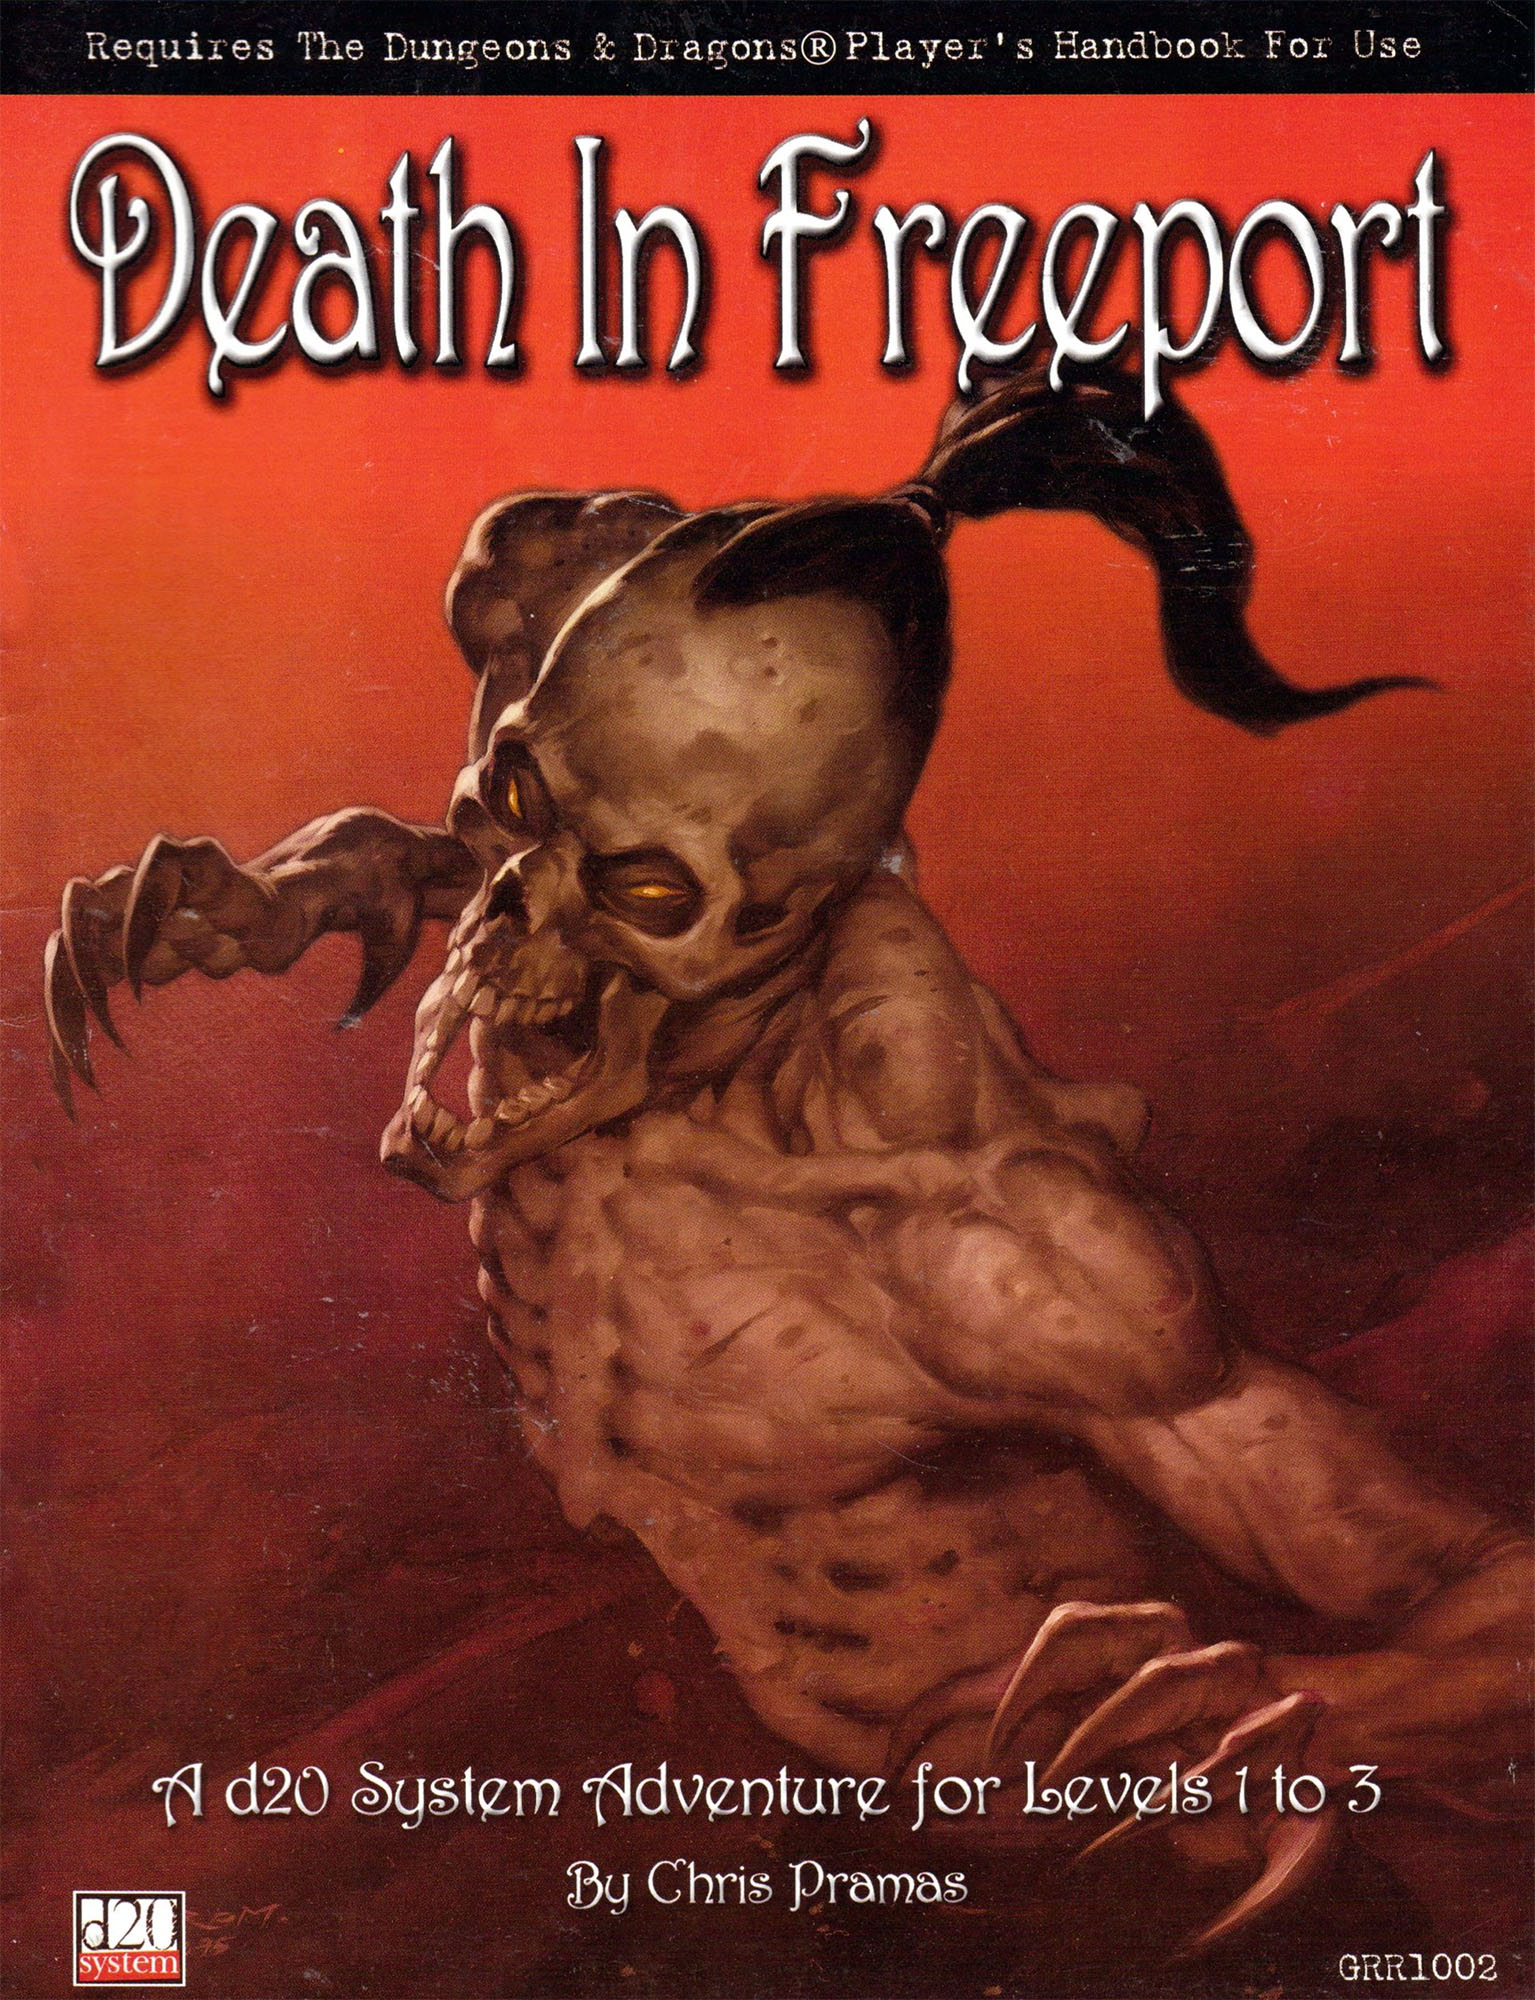
Death in Freeport - Chris Pramas (Green Ronin)

One of the inaugural products of the D20 license, Death in Freeport is possessed of some wonderful strengths… and some disappointing weaknesses.

Review Originally Published February 12th, 2001

When the 3rd edition of D&D was released in August 2000 at Gen Con, everyone in attendance knew that the rules of the game had changed: Not just because the line for the Player’s Handbook stretched around the Castle and out of sight (that was expected). Not just because it was the steadiest, loudest buzz of the con (that was expected). Not just because the words “D&D” dominated every program and announcement (that, too, was expected).

No, people knew the rules had changed because Atlas Games had released Three Days to Kill (reviewed here) and Green Ronin Publishing had released Death in Freeport — the first two modules produced under the D20 System Trademark License.

As an inaugural product of sorts, Death in Freeport has its share of rough edges. But it’s not distinguished only because of Chris Pramas’ good sense of timing. It also contains some laudatory gaming material which you might want to take a couple of minutes to check out.

PLOT

Warning: This review will contain spoilers for Death in Freeport. Players who may end up playing in this module are encouraged to stop reading now. Proceed at your own risk.

Death in Freeport takes place in the City of Freeport, an old pirate den which has since become a bustling island metropolis. The first six pages of this module are, in fact, dedicated to describing Freeport’s history and background – sketching in the broad outlines of an interesting gaming venue which can be thrown down along the coastline of any traditional D&D fantasy world.

The story itself involves a priest named Lucius. Six years ago, Lucius’ body was taken over by a mysterious power. Four years later, Lucius awoke to find his body returned to him – in his absence though, the power had done all sorts of strange things of which Lucius could remember nothing. Despite this, Lucius was still able to resume his former life, up to a certain point.

Then the dreams came.

Lucius would wake every night screaming in strange tongues after seeing visions of bizarre rituals. As a result, he began investigating what “he” had been up to during those years of possession. Two nights ago Lucius disappeared.

Which is where the PCs come in: Brother Egil, a friend of Lucius, wants to know what happened to him – and the other members of the order, uncomfortable with Lucius’ strange behavior of four years ago and his new inquiries into that time period, don’t really seem to care. Egil asks the PCs to investigate.

THE INVESTIGATION

This is the core of the module: The PCs will investigate Lucius’ house. If they make some successful Search checks here they will turn up a “to do” list which will lead them to the Bloody Vengeance, an orcish pirate ship. If they manage to work their way through to the captain of the Bloody Vengeance they will learn… absolutely nothing of consequence.

But eventually they may think to check out the church where Lucius and Egil work. If they do so, they’ll meet with a guy named Milos who will stymie their attempts to learn anything else. Shortly thereafter, they’ll be attacked by some mercenaries and, if things play out the right way, they’ll get the address to a tavern. If they stake out the tavern they might spot Enzo, who will lead them back to a bricked up building. (They might also find the temple if they decide to follow Milos for some reason.) The conclusion of the adventure takes place here.

Frankly, this is the biggest problem Death at Freeport has: The structure of the adventure is tenuous at best. If the PCs miss a die roll, the adventure is derailed. If the PCs don’t make a questionable leap of logic, the adventure is derailed. If an encounter goes just slightly wrong, the adventure is derailed.

A successful investigatory adventure requires multiple paths of inquiry to be present: You can’t expect every player group in existence to perform like Sherlock Holmes. Death in Freeport makes the assumption that the players are capable of reading the author’s mind – and that’s a bad position to but the DM in.

AN ANCIENT EVIL

What lurks in the bricked up building? Nothing less than a temple dedicated to an ancient god whose last appearance upon the Material Plane nearly destroyed the world. (You ever notice how evil cultists never worship the gods who make your socks disappear from the drier? It’s always World Destroying Evil™ they go after. Why is that?)

Years ago, before the humanoid races settled upon the world, a vast continent spread over the area where the Serpent’s Teeth islands exist today. (That’s where the City of Freeport is located.) This continent was known as Valossa, and was home to a race of serpent people whose magical sciences and natural sorceries were vastly advanced compared to those of today.

However, the serpent people was brought low by the Brotherhood of the Yellow Sign, who summoned forth their nameless dark god. This Great Old One tore Valossa asunder, and forever destroyed the civilization of the serpent people.

Unknown to the younger races which have grown strong upon the world’s surface, the remnants of the serpent people remain: Barbaric degenerates still live beneath the surface of the earth, while an immortal upper class of sorcerors still cling to the old ways in forgotten corners of the world.

Worse yet, however, the serpent people walk among us: They have the power to assume human form, and they are out in force in Freeport.

The bricked up building the PCs will, hopefully, reach is none other than a temple of the Brotherhood of the Yellow Sign – still worshipping the ancient god who was once responsible for the downfall of Valossa. At this point you have a fairly standard, if abbreviated, dungeon crawl through the Temple of the Unspeakable One, at the end of which the PCs rescue Lucius.

This, in short, is the greatest strength of Death in Freeport: A rich gaming environment, with a backdrop of ancient mysteries, strange magicks, forgotten races, and arcane gods. Fans of H.P. Lovecraft and Robert E. Howard should get a special kick out of all this, and anyone who enjoys Kenneth Hite’s Suppressed Transmissions should feel right at home.

OTHER NOTES

A handful of miscellaneous notes to wrap this review up: Death in Freeport also contains four pre-generated characters, presumably for use by play groups who don’t want to generate characters. In my opinion, these are a waste of space and the two pages they took up could have been dedicated with far better purpose to just about anything else.

The new stats for the Serpent People, on the other hand, are very much appreciated (and surprisingly accurate, given the fact that Death in Freeport was developed before the release of the Player’s Handbook or Monster Manual).

On the other hand, Death in Freeport demonstrates its pioneering spirit in the fact that it takes up a page and a half with the licensing agreements – something which later D20 releases quickly learned to work around (by shrinking the type size considerably).

It should be noted, in closing, that Death in Freeport is the first in a trilogy of modules (to be followed by Terror in Freeport and Madness in Freeport, in that order). Several minor details of “local color” in Death in Freeport acquire a sinister significance in the later adventures – a nice way of balancing the necessities of a trilogy’s continuity with the autonomy of a stand-alone product.

Style: 3
Substance: 4

Grade: B+

Author: Chris Pramas
Company: Green Ronin Publishing
Line: D20
Price: $7.99
ISBN: 0-9701048-0-4
Production Code: GRR1002
Pages: 32

“A successful investigatory adventure requires multiple paths of inquiry to be present: You can’t expect every player group in existence to perform like Sherlock Holmes.”

What you’re seeing here is very nearly the origin point of the Three Clue Rule. The specific formulation of Three Clues and the refinement of the technique was still in the future, but it was while remixing and running Death in Freeport that I very specifically identified the problem

I used Death in Freeport to launch my second D&D 3rd Edition campaign. It’s a campaign that still lives fondly in my memory, and that may or may not color my opinion of the adventure (which remains quite high). I liked it enough to run it again as a one-shot, also to great effect. When I attempted to use it to launch a second campaign, however, the results were not so satisfactory. (You can read about that in Bumbling in Freeport.)

The adventure itself has been reissued several times, including a 20th Anniversary Edition compatible with 5th Edition and the most recent version, which is compatible with Shadow of the Demon Lord. (I haven’t checked out these specific versions, but have no reason to doubt their faithful rendition of the original. Although I will note that, for whatever reason, 5th Edition versions of the sequels were never produced.)

Next Freeport Review: Terror in Freeport

For an explanation of where these reviews came from and why you can no longer find them at RPGNet, click here.
Map of Porphyry House - Dungeon Magazine #95

DISCUSSING
In the Shadow of the Spire – Session 43E: Snakes in a Whorehouse

They found a secluded corner on the northern side of the building, well-shielded from prying public eyes, and drilled through. They found themselves in a long hallway that looked to run almost the entire length of the building. On the long opposite wall of the hall were roughly a dozen secret doors – or, rather, the back-side of secret doors. Although their construction clearly indicated that they were designed to be lay flush with the wall on the opposite side, from this side their nature and operation were plain. The hall was capped at either end by similar doors.

They had finally breached the walls of Porphyry House.

“The Porphyry House Horror” is an adventure by James Jacobs published in Dungeon Magazine #95. I scooped it up when I was looting scenarios from Dungeon during my original campaign prep: I skimmed through 40-50 issues, looking for stuff that I could incorporate into the campaign. While the PCs ended up skipping several adventures I’d pulled for Act I of the campaign, there’s a bunch of cult-related adventures that I used to add depth to Wuntad’s conspiracy/gathering of the cults in Act II.

(For some reason I started referring to the adventure as “Porphyry House of Horrors” in my notes. I had a real Mandela Effect moment when I went back to reference the original magazine for this article.)

I thought it might be useful to take a peek at how I went about prepping this adventure.

The original scenario was 30 pages long. My prep notes for the scenario, on the other hand, fill a 45-page Word document. That might sound like I completely ripped the module apart and put it back together, but that’s not really the case.

  • 25 pages of my notes are actually handouts I designed for the players. (I’ll talk more about these later.)
  • 10 pages are stat sheets for the adventure. This was partly so that I could use the stat sheets for easy reference (instead of needing to flip around in the adventure), and also because I wanted to adapt the stat blocks to an easier to use format.

So you can see that only about ten pages of material was actually making substantive changes to the module. And most of that was mostly dedicated to adding stuff. “The Porphyry House Horror” is just ar really great adventure. There’s a reason why I snatched it up.

LINKING THE ADVENTURE

After making a list of all the cult-related scenario nodes in Act II of the campaign — some pulled from Monte Cook’s Night of Dissolution, others from Dungeon Magazine, a couple from Paizo adventures, several of my own creation — I went through and made a revelation list with all the leads pointing from one scenario node to another.

While getting ready to prep Porphyry House, I went through this list and wrote down all the clues that needed to be available there, forming a clue list for the adventure:

  • Porphyry House to Final Ritual.
  • Porphyry House to Temple of Deep Chaos.
  • Porphyry House to Kambranex (Water Street Stables).
  • Porphyry House to White House.
  • Porphyry House to Voyage of the Dawnbreaker.

(Actually, a couple of those may not have been on the list yet. I may have discovered them while prepping Porphyry House and then added them to the list afterwards. If so, however, I don’t recall which ones were which.)

At this point, these connections would have been almost entirely structural. They represent my broad understanding of the macro-scale connections between the various cults — i.e., Porphyry House is using chaositech that would be sourced from Kambranex — but I don’t know what the specific clues actually are yet. This is functionally a checklist of blank boxes I need to fill while prepping the adventure.

INTEGRATING THE ADVENTURE

With these links forged, I made a copy of “The Porphyry House of Horrors” and slid it into an accordion folder along with other adventures I had sourced for the campaign. I then didn’t touch the adventure two years. There were, after all, a bunch of other adventures for the PCs to tackle before they would get anywhere near Porphyry House.

According to the file info, I began prepping my notes for Porphyry House at 7:56 PM on August 15th, 2009. This makes sense: That’s also the date that I ran Session 41 of the campaign, during which the PCs decided that they wanted to go to Porphyry House. I would have written the campaign journal that session, and then begun prepping the scenario.

(It’s likely that I had actually reread the original adventure after Session 40, when the PCs first heard about Porphyry House. At that point they would have clearly been just a couple sessions away, and so I would have begun preparations.)

The first thing I did was figure out how to integrate the background of Porphyry House into the campaign. In this case, it was pretty straightforward:

  • Porphyry House is a whore house.
  • Wuntad’s first chaos cult was based out of Pythoness House, another whorehouse.

Sometimes integrating a published scenario into an ongoing campaign is tricky. Sometimes it’s more like drawing a straight line.

  • “The Porphyry House of Horrors” is set in the town of Scuttlecover. I just dropped that material and picked a location for Porphyry House in Ptolus.
  • I also dropped the entire original adventure hook. (I knew that the players would be getting hooked in to the cult’s activities there via the leads from other cult nodes.)
  • The original Porphyry House cult was dedicated to Demogorgon. I simple palette-shifted that to a Galchutt-focused chaos cult.
  • Erepodi, a minor background character from the Pythoness House adventure, was made the founder of Porphyry House. (I knew I would need to add her to the scenario.)
  • Wulvera, the cult leader from the Porphyry House adventure, was given a tweaked background that synced with the lore from Ptolus and my own campaign world.
  • I also knew that I wanted Wuntad to keep a guest room at Porphyry House. (This would be a useful vector for clues, and also be in accord with the Principles of RPG Villainy.)

With those details determine, I put together a very brief (roughly half a page) timeline summarizing the canonical version of events for my campaign. The original adventure also included a Gather Information table, and I adapted this to fit the new lore. (This filled the other half of that page.)

ADVERSARY ROSTER

The next thing I did was the adversary roster.

The first step was simply reading through the adventure and listing the location of every denizens. Sometimes this is all I need to do to have a ready-to-use roster, but in this case there was a lot of tweaking and adjustments that were made as I was developing the scenario. (For example, I was adding Erepodi to the adventure.)

The most significant change I made here was deciding that Porphyry House would have a different adversary roster during the Day than it would have at Night. This sort of major shift in inhabitants can be a huge pain in the ass with a traditionally keyed dungeon, but is incredibly easy with an adversary roster.

The roster was quite large, so I put the Day Roster on one page and the Night Roster on another.

PREP NOTES

I then worked my way through the location key, making diff notes as described in How to Prep an Module. In an adventure with 46 keyed locations, I made changed to 15 of them. These were almost entirely:

  • Adjusting lore (e.g., shifting the original Demogorgon references)
  • Adding handouts (see below)
  • Making the adjustments required for integrating the adventure (as described above)
  • Adding clues to flesh out the adventure’s revelation list (mostly relating to the horrific ritual Porphyry House is making preparations for)

For example, in the original module there are four rooms all keyed to Area 16:

16. DOCUMENTS AND LIBRARY

These rooms store both idle reading material for the yuan-ti to relax with, as well as exhaustive records of their guests. None of the records have any indication that Porphyry House is anything other than a well-managed and profitable brothel, although the documents make for interesting reading; it seems that the yuan-ti keep records on everything their customers ask for…

I took advantage of this by re-keying these rooms as 16A through 16D:

  • 16A was the Customer Records
  • 16B was a Dark Reading Room
  • 16C was Wuntad’s Guest Quarters
  • 16D was Erepodi’s Quarters

In re-keying these chambers, I did things like:

  • Flesh out the customer records to (a) add clues to some of the central revelations in the scenario and (b) add leads pointing to other cult nodes (e.g., sums being delivered to the Temple of the Fifty-Three Gods of Chance and “Illadras at the Apartment Building on Crossing Streets”).
  • Add a selection of chaos lorebooks to the Dark Reading Room.
  • Add some of the items Wuntad took from the PCs at Pythoness House to his guest room.
  • Added a handout depicting a mosaic floor (with chaos cult symbols).

And so forth.

One other interesting change I made here was greatly increasing Porphyry House’s size through the simple expedient of changing the map scale from 5’ per square to 10’ per square. (I liked the slightly more grandiose dimensions this gave Porphyry House, and it also better fit the dimensions of the building I’d selected on the Ptolus city map for the location.)

HANDOUTS

Anyone familiar with the Alexandrian Remix of Eternal Lies knows that I love props. (I created over 300+ of them for that campaign.) I love handing stuff to the players because the players love it when you hand stuff to them.

For Porphyry House this included:

  • A map showing the location of Porphyry House.
  • Magic item references. (I frequently write these up — often including an image of the item — for any magic items the PCs find that aren’t from the DMG. It’s a fun way to make the loot feel extra special, and it’s a super useful reference the player can use for their new items.)
  • Graphics depicting various NPCs and monsters. (Got a cool picture in your adventure? I will not hesitate to rip it out and give it to my players, including Photoshopping it if I need to.)
  • Various bespoke lorebooks, such as Wuntad’s Notes on the Feast of the Natharl’nacna and Wilarue’s Flaying Journal. (As noted above, there were also chaos lorebooks — copies of which were spread around throughout the campaign — to be found here.)
  • Various correspondence, such as Letter from Shigmaa Cynric to Wuntad and Instructions to the Madames.

Prepping handouts like these is often the most labor-intensive portion of my scenario prep, but it can also be the most rewarding.

WRAPPING THINGS UP

In practice, of course, a lot of this work is iterative: I’m updating a room key, taking notes on the handouts found there, and then bouncing back to work on more room keys. Or maybe details in one of the letters I’m writing will cause me to go back and add additional details to the background notes and timeline.

But, ultimately, this is pretty much all there is to it. At the end of this process, I had a really fantastic adventure that felt as if it had been custom-written for my campaign and my players.

Campaign Journal: Session 44ARunning the Campaign: Recalling the Lore
In the Shadow of the Spire: Index

Ptolus - In the Shadow of the Spire
IN THE SHADOW OF THE SPIRE

SESSION 43E: SNAKES IN A WHOREHOUSE

October 25th, 2009
The 24th Day of Kadal in the 790th Year of the Seyrunian Dynasty

Porphyry House

INTO PORPHYRY HOUSE

They found a secluded corner on the northern side of the building, well-shielded from prying public eyes, and drilled through. They found themselves in a long hallway that looked to run almost the entire length of the building. On the long opposite wall of the hall were roughly a dozen secret doors – or, rather, the back-side of secret doors. Although their construction clearly indicated that they were designed to be lay flush with the wall on the opposite side, from this side their nature and operation were plain. The hall was capped at either end by similar doors.

One of these doors gave out into a large, vaulted chamber decorated with hangings of red and blue curtains, risqué paintings, bonsai trees, and erotic statuary. The floor here was covered with a deep, soft carpet that felt as if they were walking across a very firm, forgiving bed. The air was filled with the subtle scents of jasmine-tinted incenses.

In one corner, a stair of intricately carved porphyry curved up through the ceiling. Along one wall a large, elegantly curved desk of gleaming mahogany extruded itself from the wall. And at the far end of the chamber broad, curved steps rose up to a massive pair of daised doors.

The door they had come through was, in fact, disguised from this side. There was also another door of polished wood not far along the same wall. They had clearly entered the “public” area of the brothel.

Crossing the luxurious chamber they ascended to the double doors and eased them open, only to find themselves entering an even larger chamber. The massive hall was dimly lit with glowing tiles in the ceiling and a set of four braziers around a wide, shallow pool of water. Several other pools of heated water off to one side bubbled away, filling that end of the room with misty vapor. Dozens of large cushions were strewn here and there. At the far end of the chamber was a raised balcony lined with a wall of tall of mirrors. The place smelled of sweat and deeper, muskier odors.

Portion of a map of Porphyry House, depicting a large, luxurious chamber

Directly opposite their entry was a matching set of doors. Passing through these, they found themselves in a second antechamber similar to the one they had passed through before. Tee even confirmed their suspicion that there would be a matching secret door in the far corner of the room.

Poking around the desk in this room they found papers detailing registrations for various orgies held in the house. Oddly, despite regular orgies scheduled multiple times per week, there was a gap in the registration records indicating that no orgies were currently being held. The next orgy – which was apparently going to be of prodigious proportions – was scheduled on the 18th of Noctural.

(They noted that all of the records here were for female participants, but a quick double-check in the opposite chamber found that a similar gap existed in the registration for men.)

The secret door in this room also passed into what appeared to be a service hall. A quick check through the other door revealed a luxury-filled hallway lined with matching doors, leading them to conclude that the secret doors probably led into the individual brothel chambers. They didn’t see any need to go into those, and they were fairly certain that what they were looking for wouldn’t be found in the brothel’s public halls.

A little way down the luxurious hall, however, Tee found another secret door in the wall opposite the doors they suspected led to bedrooms. This seemed likely to take them where they wanted to go, so she slid open the panel.

This revealed a large, barracks-like chamber containing four beds (each with a large chest at its foot). The creatures lying in the beds, however, were serpentine monstrosities.

Tee pulled out the onyx ring Nasira had enchanted with an aura of magically enforced silence and motioned the others into position. As the serpent-men started stirring, Agnarr and Tee moved to one bed; Tor to another. While Nasira kept a watch in the hall, Tor swung his blade down and sliced the serpent-man in half.

Despite its  rapid dismemberment, however, the blood-spewing thing’s upper half squirmed towards him. Agnarr and Tee managed to destroy the one they had chosen by slicing it into ever smaller portions, but the arterial sprays of blood were beginning to wake the others—

And magical darkness suddenly descended on the room.

Tor felt his way over to another of the beds and started hacking blindly in the darkness, but the serpent-man who had been bedding there managed to slip away.

Tee stumbled out the far side of the darkness zone and found the two remaining serpent-men trying to regroup by the far door. One of them had grabbed a small bag of black leather and silver Yuan-Ti - Monster Manual (3E)stitching that had been slung over one of the bedposts. Now that it was open, the bag glowed from within with a neonesque, blood-red light. The serpent-men were dipping their weapons into the bag and as they drew the weapons out they were drenched in the living light.

Tee, unwilling to give them a chance to slip through the door and raise the alarm, threw herself at them. With their backs literally to the wall, the serpent-men fought with desperation – and the red light on their blades burned her blood where it struck. But Tee was able to hold them long enough for Tor and Agnarr to join her, and then the tide turned and the serpents were cut down.

They took the strange bag to Ranthir, who identified it as a witchlight reservoir. Such reservoirs were designed to hold small quantities of naturalistic magical energy. Empowered with exposure to sunlight or moonlight or with sacrifices of blood or wine, such reservoirs could fuel minor effects. This particular reservoir, as they had seen, was designed to graft its power onto melee weapons. Ranthir was also able to determine that it was currently empowered with human blood, which raised some unpleasant questions about where such blood had come from.

They quickly stripped down the room. They found several small caches of gold, but were deeply impressed with the high magical quality of the equipment they found. (In many ways, they were thankful that they had surprised the serpent-men while they hadn’t been wearing or using any of it.) It was somewhat disturbing, however, to see that each of the serpent-men had a suit of the porcelain-and-gold armor they had seen the human guards wearing at the front of the building (complete with human vizor). Were those guards also serpent-men? Somehow disguised in plain sight by their armor?

They locked the door the serpent-men had been rallying near (in the hope that it might slow down any accidental discovery of the blood-stained chamber), and headed back through the orgy registration rooms to what they believed would be a second, mirrored barracks on the opposite side of the building.

They did, in fact, find a secret door where they had expected one. But on the other side, instead of a second barracks, they found an opulent lounge of low-lying couches. On one of these, another of the serpent-men lounged, a hookah lying at its side.

Tor leapt forward and beheaded the creature while it was still trying to rise out of its drugged stupor.

With the onyx silence ring still on her finger, Tee moved to one of the doors on the far side of the lounge. Easing it open, she peered into the galley of a long kitchen. Around a table at the near end two more of the serpent-men were playing a desultory game of cards.

They rushed the table: Tee’s blade literally pinioned one of the serpent-men to the table, while Tor chopped off the head of the other.

Heading further down the length of the kitchen they discovered that it opened up into a larger area with a dozen or so humans sleeping in rags on the floor. All of the humans wore bands of green stone around their wrists, which Ranthir identified as slave rings. A slave owner wearing a master ring could use these slave rings to deal out punishments (including death) and even look through the eyes of his slaves.

Waking the slaves, therefore, was too dangerous. They decided to quietly retreat out of the kitchen before they alerted the entire compound.

Running the Campaign: Prepping Porphyry HouseCampaign Journal: Session 44A
In the Shadow of the Spire: Index

D&D 2024: Hiding & Invisibility

February 20th, 2025

Tee vs. the Black Trolls (Art for Legends & Labyrinths) - Viktor Fetsch

The rules for hiding and invisibility in D&D 5th Edition have always been a mess. There’s lots of reasons for this — ranging from the designers of the game having a deeply held belief that being invisible is the same as standing outside on a moonlit night to the weirdly contradictory hardcoding of being blind, being heavily obscured, and being invisible — but the end result are rules that are difficult to use, in large part because they so frequently produce a result that’s completely counterintuitive to how we expect human eyes to work.

The 2024 edition of the rules tried to clean all of this up, but mostly just made a different mess. For example, Hide makes you Invisible. You can Hide if you’re Heavily Obscured, but Heavily Obscured means people are considered Blind when looking at you, and the only effect of that is identical to being Invisible except Invisibility also gives you advantage on Initiative rolls. Also, neither Hiding nor Invisibility prevent enemies from knowing your location.

This only scratches the surface, and I’m not really going to belabor or attempt to breakdown all the problems here. I think it would only distract from the real purpose of this post: To provide a comprehensive fix for the mess.

The house rules below are designed to slot into the existing D&D 2024 rules as cleanly as possible, while being built around a simple mental-mechanical model in which characters are either:

  • Not Hidden
  • Pinpointed (observers know where they are, but can’t clearly see them)
  • Hidden (observers don’t know where they are)

This model makes it easier for DMs to run stealthy situations both in and out of combat with great clarity and confidence, while other elements of these rules simultaneously make them far more useful for making flexible rulings to cover unusual situations and cool ideas that your players might cook up.

REVISED HIDING & INVISIBILITY RULES

These entries completely replace the matching entries in the 2024 Player’s Handbook rules glossary.

HIDE [ACTION]

With the Hide action, you try to prevent people from knowing where you are (or possibly that you are there at all). To do so, you must be in a Concealable Location, such as being Heavily Obscured, behind Three-Quarters Cover or Total Cover, or otherwise out of an observer’s line of sight.

When attempting to Hide, you make a DC 15 Dexterity (Stealth) check. On a successful check, you gain the Hidden condition against all observers with a passive Wisdom (Perception) score lower than your check. If any new observers enter the area, you also gain the Hidden condition against them if their passive Wisdom (Perception) score is lower than your check.

When an observer takes the Search action, they can immediately attempt a Wisdom (Perception) check against the DC set by the Hidden character’s Dexterity (Stealth) check. You lose the benefits of the Hidden condition against any creature who succeeds at the Wisdom (Perception) check or who can otherwise see you (because they’re on the same side of the wall you’re hiding behind or due to a magical effect, for example).

Observers remain aware of where they last saw you or detected you.

HIDDEN [CONDITION]

When you have the Hidden condition, you experience the following effects.

  • When you’re Hidden from a creature, they don’t know your location.
  • If you are no longer in a Concealable Location or benefiting from another condition that allows you to take the Hide action, you immediately lose the Hidden condition.
  • Concealed. You can’t be affected by any effect that requires its target to be seen if you are Hidden from the effect’s creator.
  • Surprise. If you are Hidden from all enemies when you roll Initiative, you have Advantage on the roll.
  • Combat Advantage. Attack rolls against a Hidden opponent have Disadvantage, and a Hidden opponent’s attack rolls have Advantage.
  • Detectable Actions. If you make an attack or take some other loud or overt action (such as talking louder than a whisper, kicking open a door, or casting a spell with a Verbal component), other creatures will pinpoint your current location, allowing them to, for example, aim attacks at you (although you would still benefit from your Combat Advantage). In addition, taking a detectable action allows any observer you’re currently Hidden from to make a Wisdom (Perception) check to spot you (removing the benefits of the Hidden condition). Observers can use a reaction to gain advantage on this check.
  • Leaving Concealment. If you are no longer in a Concealable Location or benefiting from another condition or effect that allows you to take the Hide action, you lose the Hidden condition. If this happens on your turn in combat, you lose the Hidden condition at the end of your turn. (If, after being revealed, you take the Hide action again, you can immediately regain the Hidden condition after losing it, but observers will remain aware of where they last saw or detected you.) If you Ready an action triggered by something that would reveal your location, you lose the Hidden condition at the end of your Readied action. (For example, you could Hide behind a closed door and then stab someone opening the door, while still gaining the benefits of Hidden on your attack.)

INVISIBLE [CONDITION]

When you have the Invisible condition, you experience the following effects.

  • You cannot be seen. Any equipment you’re carrying or wearing is also invisible.
  • You can take the Hide action without needing to be in a Concealable Position.
  • You gain Advantage on checks that would benefit from not being seen, including Dexterity (Stealth) checks.
  • Attack rolls against you have Disadvantage, and your attack rolls have Advantage.
  • You do not gain the benefits of Invisible against any creature who can somehow see you. (For example, due to a see invisibility )

Thanks to piccamo, Hillsy, Grimmash, Lerris, Eshie, Yalim, Kobars Gnomies, zonerhunt, Angon, Noah, Alberek, and other members of the Alexandrian Discord for their feedback and immense help in refining these rules.

FURTHER READING
Random GM Tips: Stealthy Thoughts


Archives

Recent Posts

Recent Comments

Copyright © The Alexandrian. All rights reserved.