Go to Table of Contents
So Elturel has been returned to the Material Plane.
(Probably.)
This is an epic conclusion to the campaign, and a triumphant note on which to finish. Everyone will probably be perfectly happy to see things wrap up.
But what if you want to keep playing?
To answer that question, we need to take a look at what’s been happening while Elturel was missing. And what’s likely to happen now that it’s returned. Whether you continue with high-level characters, likely to be dealing with the major political powers, or boot up a new campaign with low-level characters coping with these crises on the ground, there are rich opportunities for adventure.
ELTURGARD’S FATE
When Elturel vanished, it left a gaping wound in the earth. Tunnels that once connected to the dungeons beneath the city now opened into the crater, providing access to the dark dangers of the Underdark. (If you’re starting up a new campaign with 1st level characters, consider running the first few sessions in The Crater to set the stage for Elturel’s abrupt return.)
Even with Elturel’s return, Elturgard is shattered. For nearly a century, Elturel had expanded its empire, laying claim to all the lands touched by the light of the Companion. They referred to this “protectorate” as Elturel’s Shield, which extended as far away as Berdusk and Boareskyr Bridge (where the Companion could be seen as an unmoving star near the horizon):
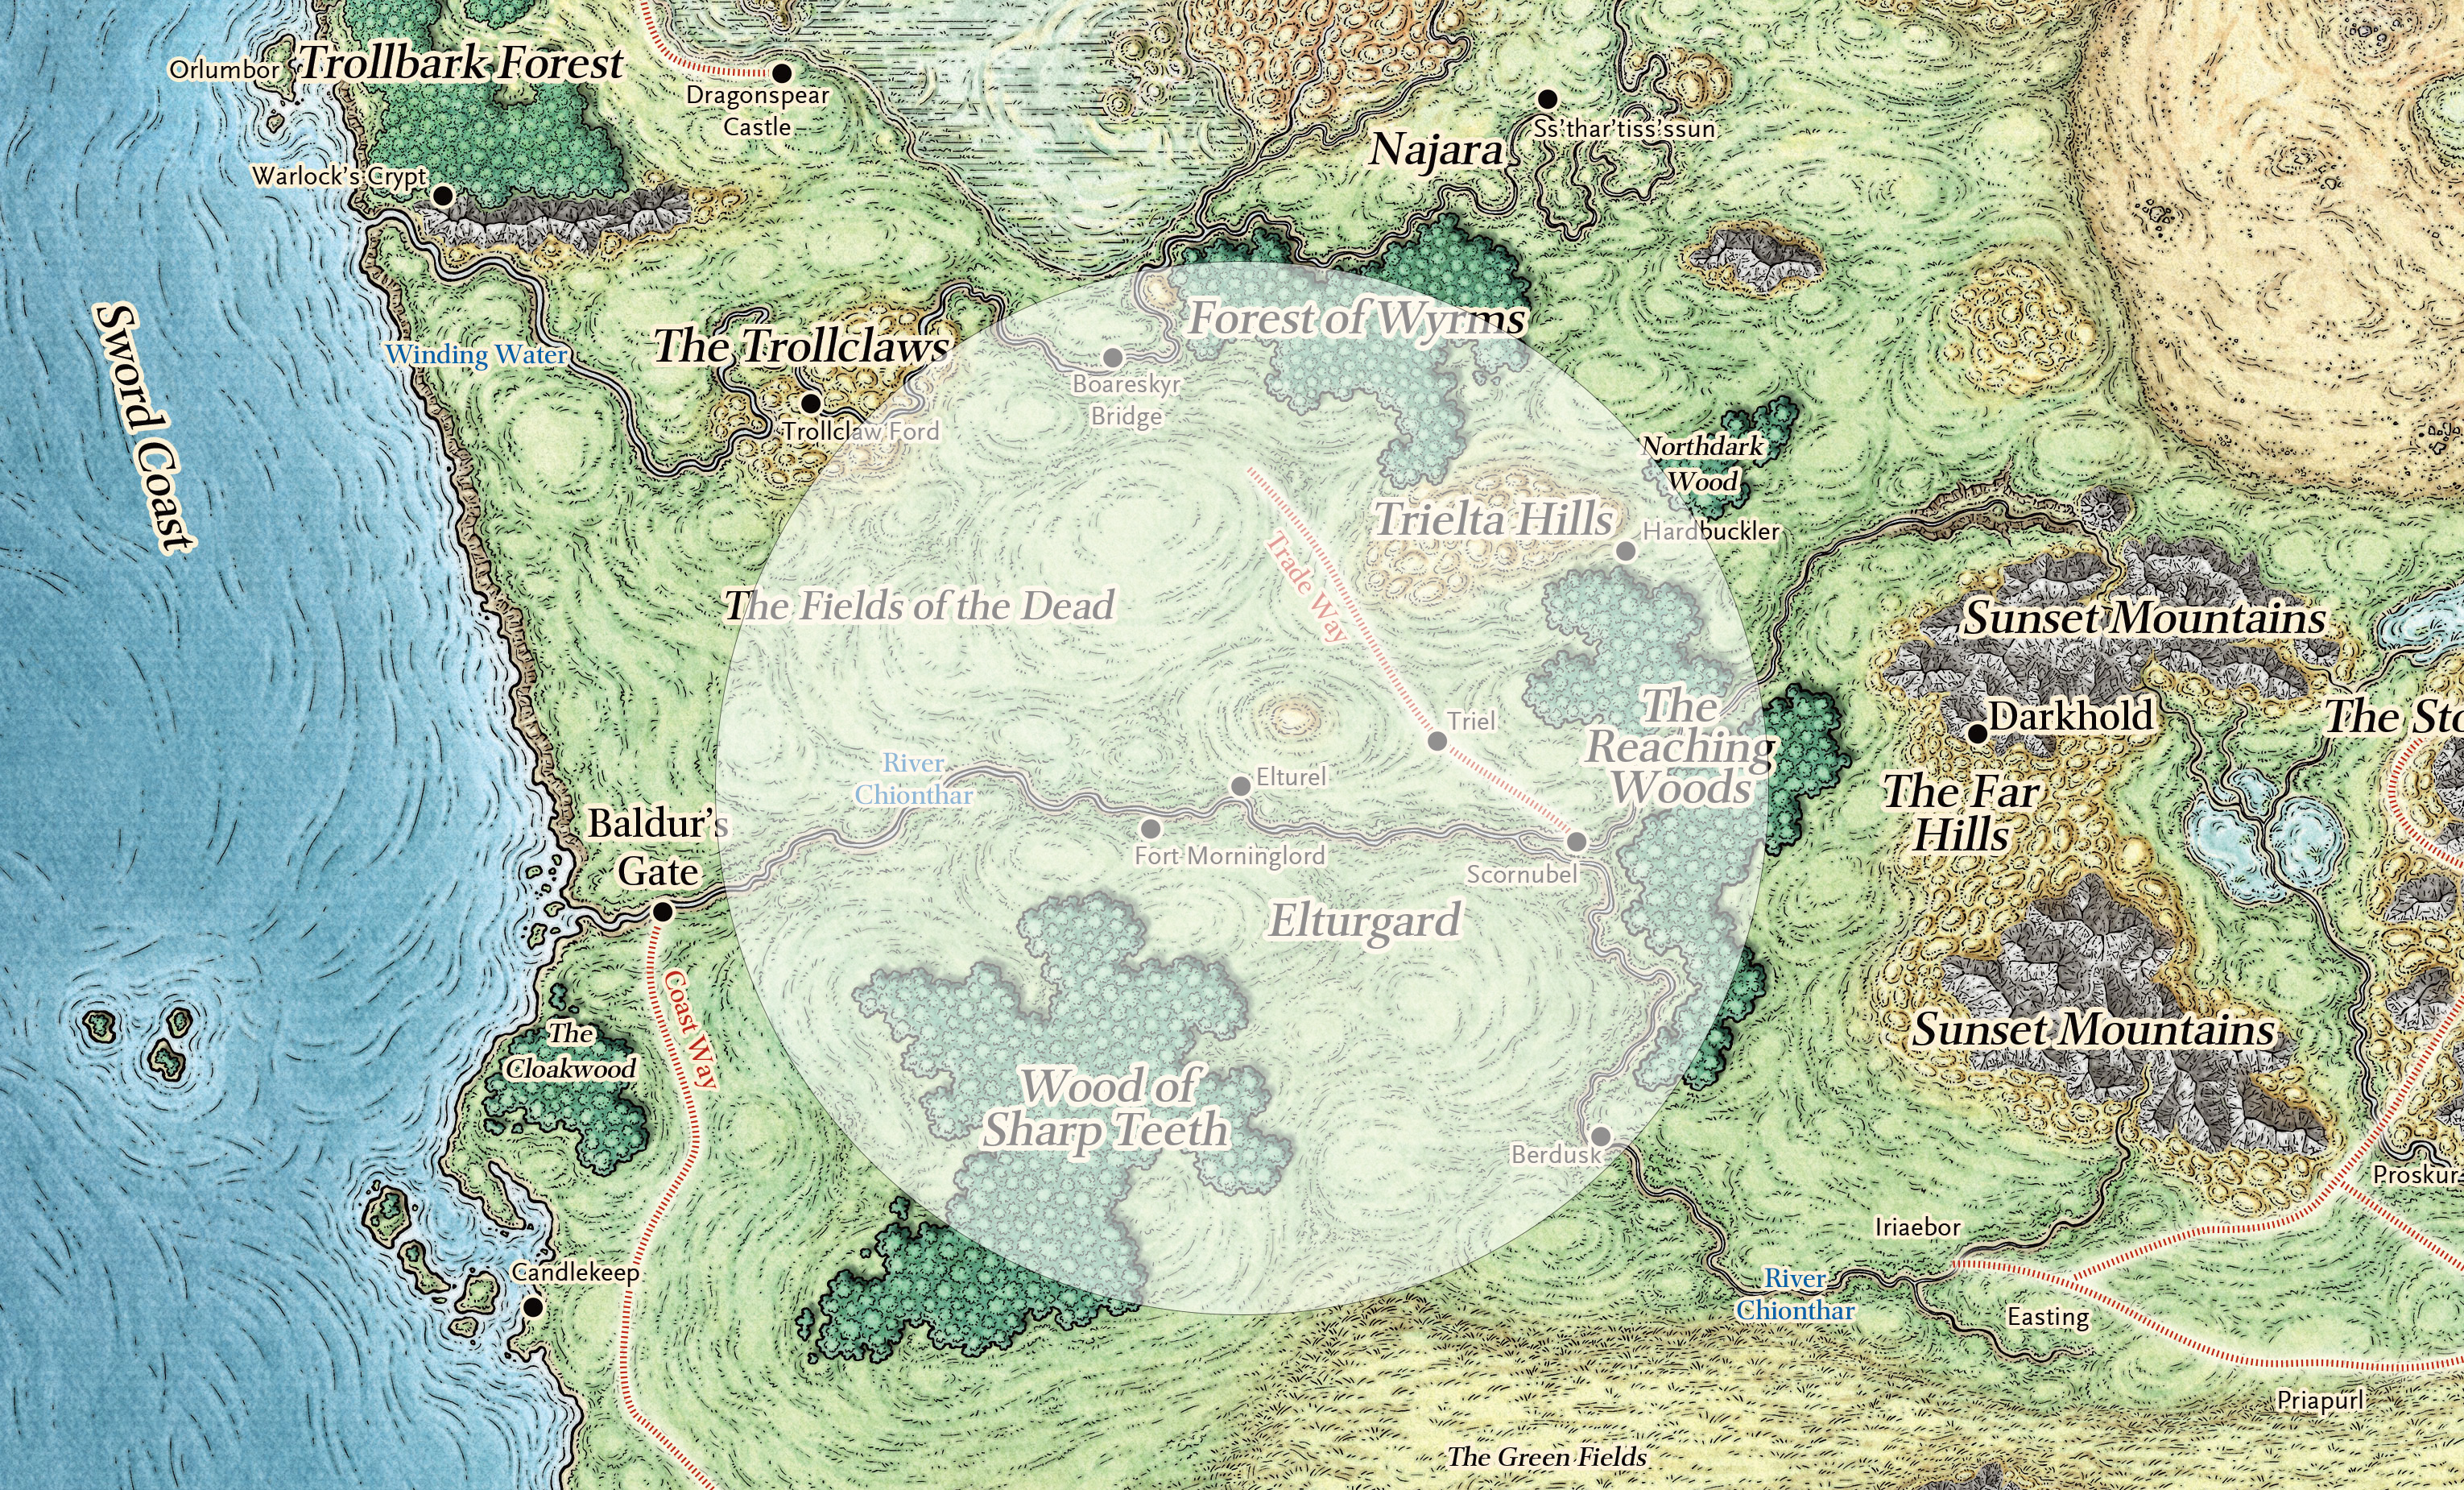
Note: This means that the Companion could be seen at least 175 miles away from Elturel. If you do the math, this means that the Companion must have been located 20,000 feet above Elturel. This doesn’t seem to match the lore, so it may be best to say, “It was magic,” if this should be interrogated.
The grandiose claims of Elturel’s Shield were unpopular with local polities, but were often more welcomed by local villages and farmers threatened by the trolls, orcs, and foul beasts that emerged from the Trollclaws, the Wood of Sharp Teeth, and the Forest of Wyrms. Over time, the claims became less boastful and more reality as one local power after another fell to Elturgard.
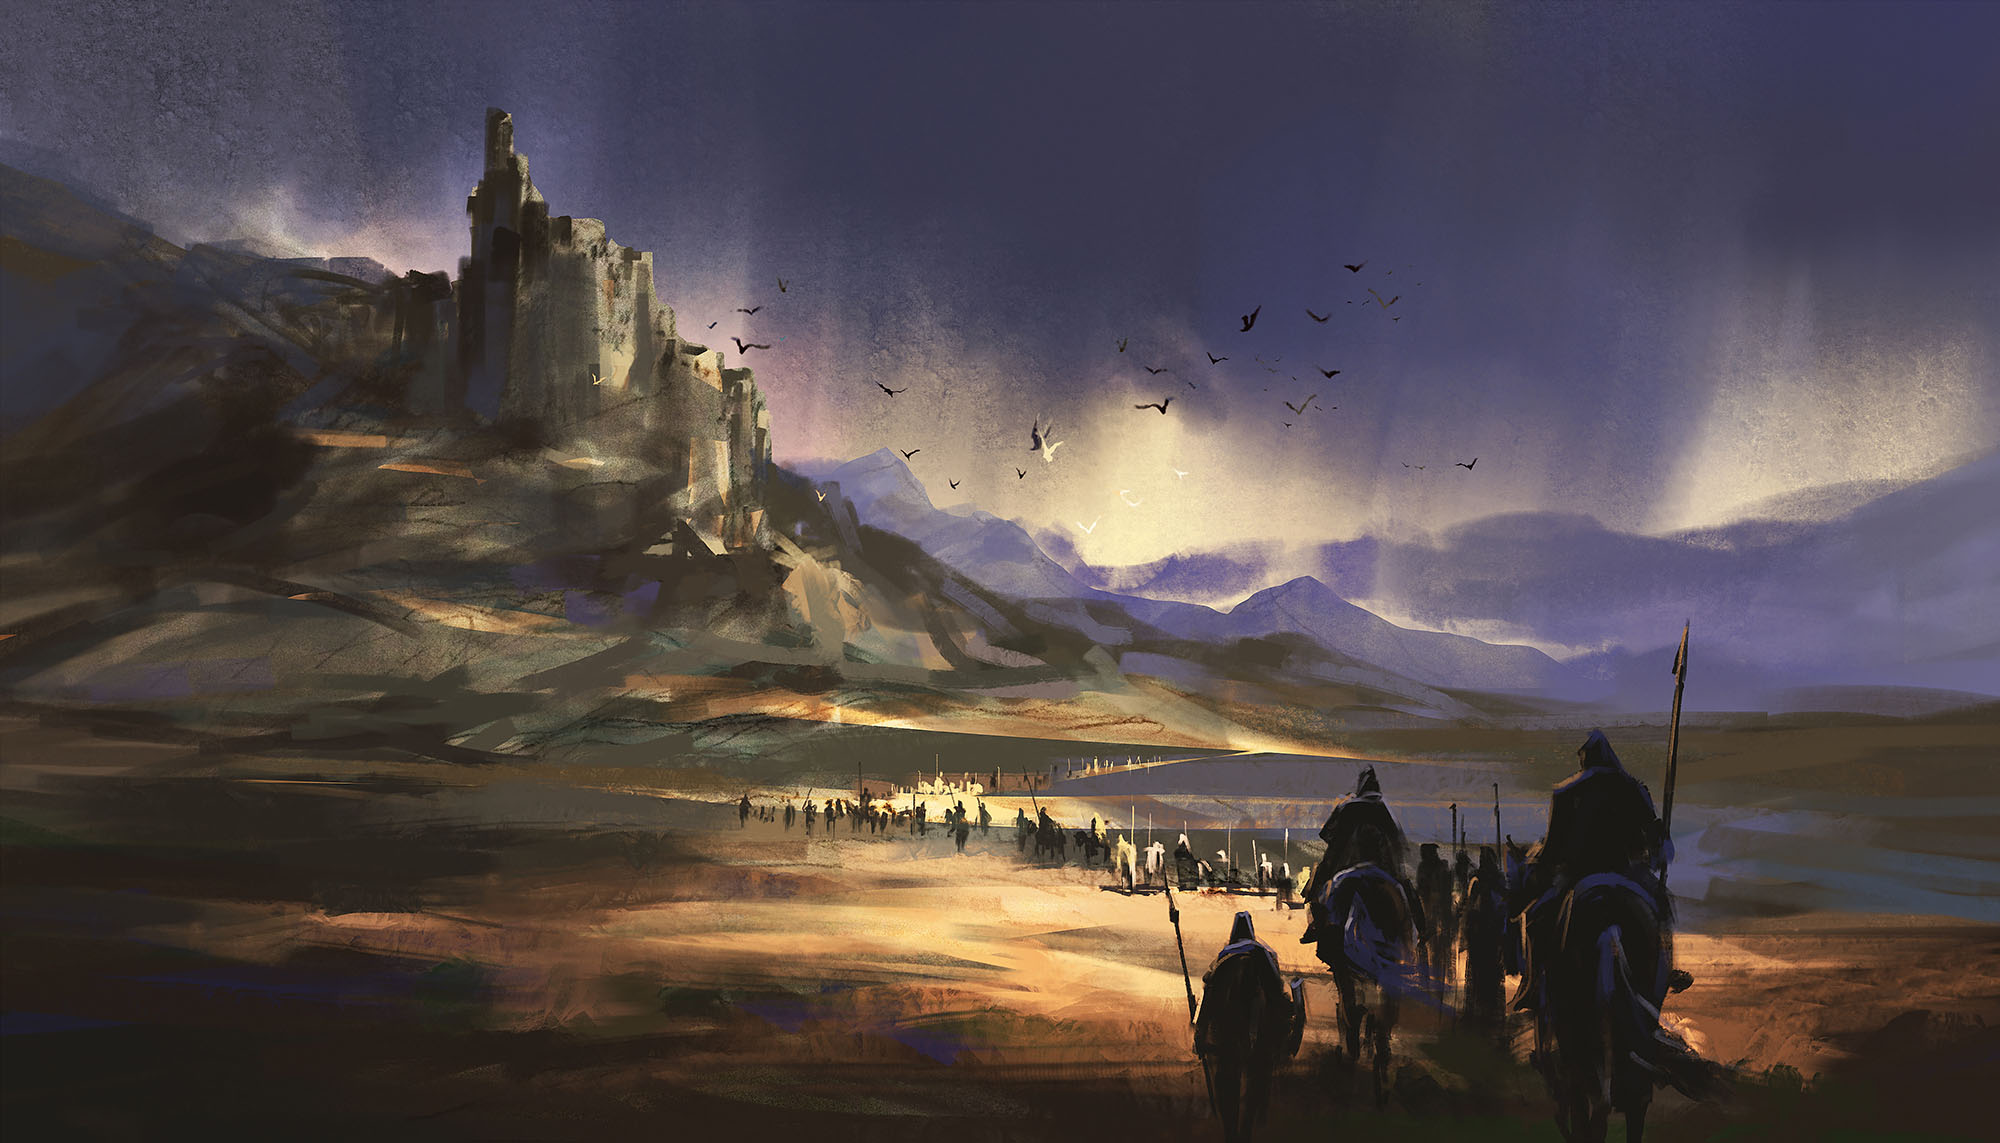
As we’ve seen, the disappearance of Elturel created a refugee crisis in the region. This was initially due to survivors of the catastrophe who had escaped the city or lived on its outskirts, but the crisis rapidly worsened as the threats once kept in check by the Hellriders began raiding and razing smaller settlements throughout the region.
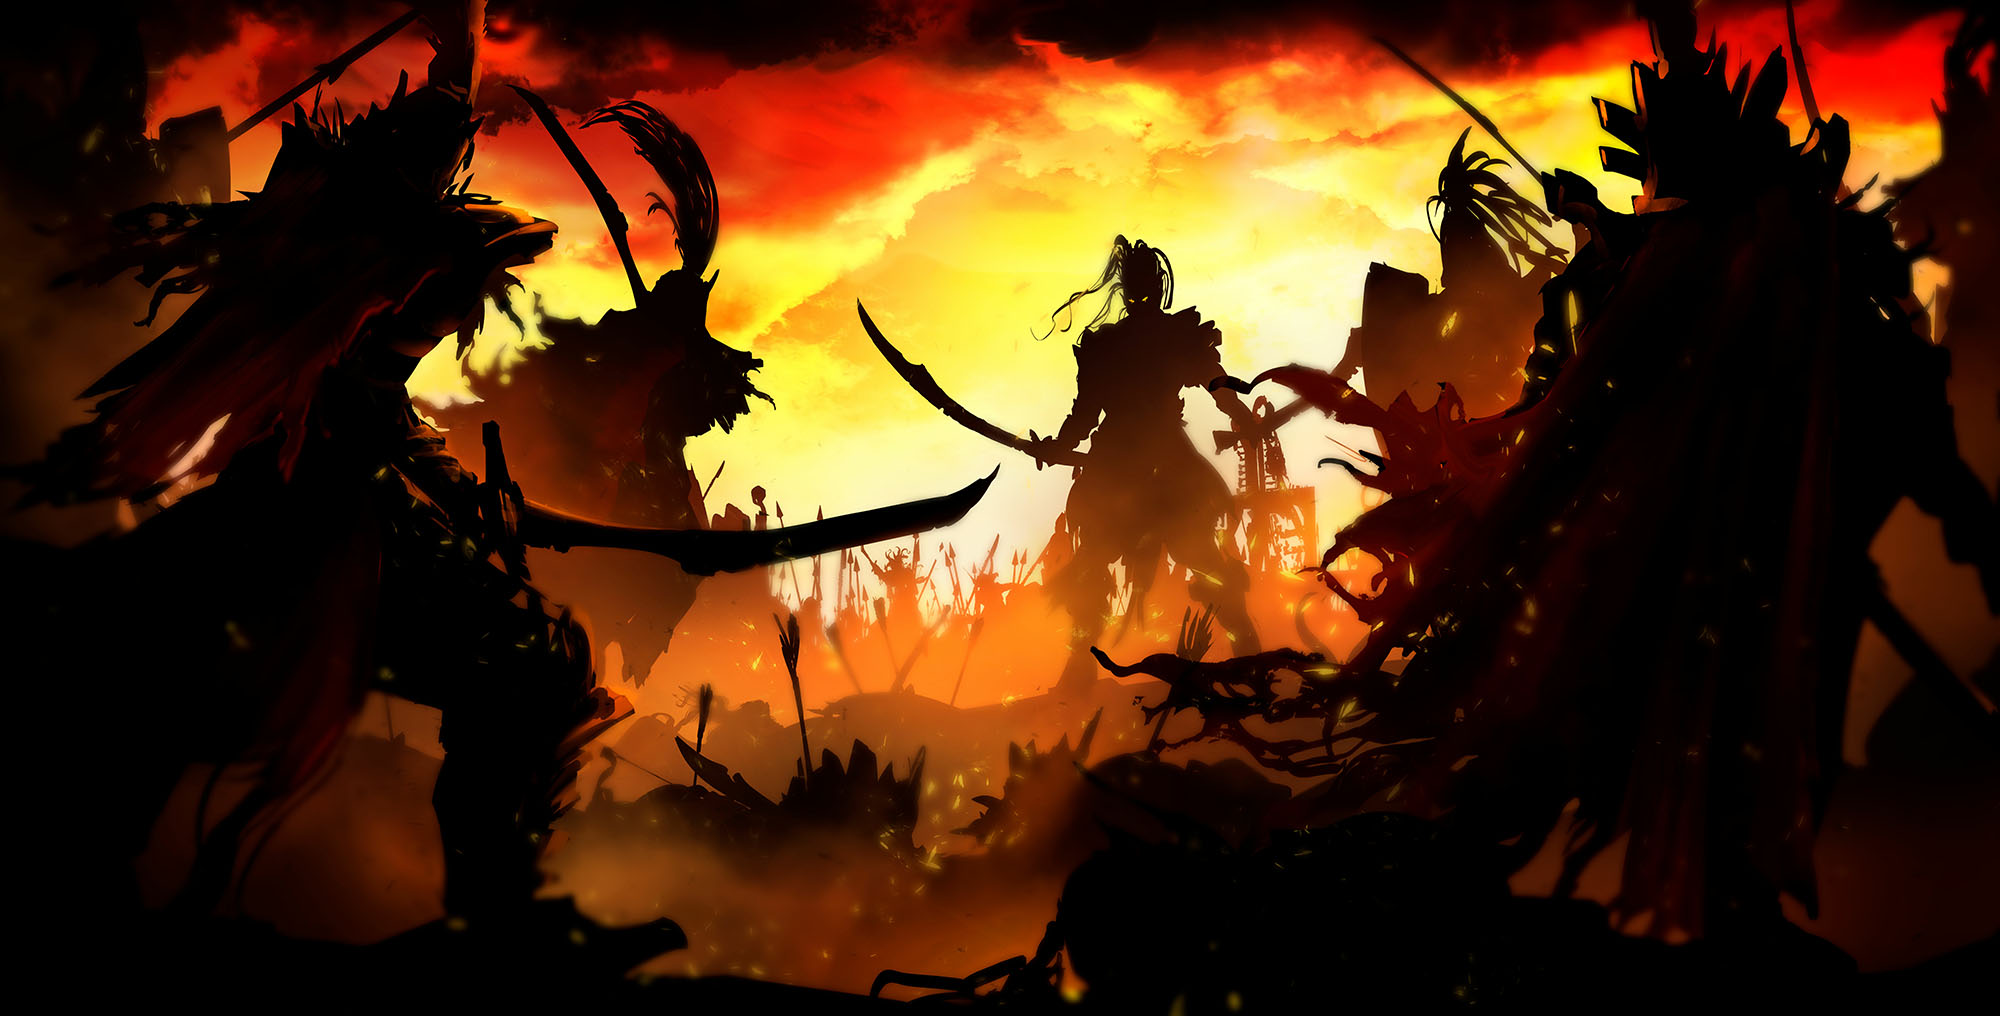
Things worsened again as multi-polar wars broke out between the powers once aligned under Elturgard. These conflicts are heavily influenced by the Zarielites who had, of course, infiltrated the Elturgardian governments. They want never-ending, meat-grinder wars to chew up the corrupted military orders they’ve compromised and happily capitalize on the chaos left in Elturel’s wake.
(This is somewhat standard operating procedure for the Cult of Zariel: They target and hollow out martial orders and military organizations. Those they can’t convert directly to Zariel’s worship they corrupt by issuing immoral orders and fostering a culture of glorified violence and evil. Then the violence itself chews up the lives of those who have tainted their souls, speeding them on their way to Hell.)
THE ELTURIAN WARS
Scornubel declared itself the “Elturgard government in exile,” naming the citadel built by the Elturians in the city center as the new capital. Altaer Ambermantle was named High Observer.
This was most likely a sincere effort to stem the growing chaos, particularly as the government in Scornubel had purged the Zarielite attempt to infiltrate it due to an alliance between the Ambermantles and a band of daring adventurers in the 1480’s. In Scornubel, the Zarielites instead sunk their talons into the thieves’ guild, which they now used to destabilize Ambermantle’s neophyte administration.
Soubar was the first Elturgardian polity to openly declare independence. A small walled city ruling over a cluster of farming communities, there are rumors that the Banite priests who have recently reinhabited the Black Abbey, the ancient temple of Bane in the city, have performed a secret coup, but this may be nothing more than opportunistic propaganda.
Berdusk, the Jewel of the Vale, denounced Scornubel’s “coup,” effectively declaring themselves as the “true” capital of Elturgard.
Berdusk is ruled by the Twilight Hall. Originally a bardic college founded by the Harpers, Twilight Hall evolved into the native nobility known as the First Folk. When the city-state was conquered by Elturel (becoming the “second city” of the newly minted Elturgard), the First Folk made a great show of their piety, with heirs and scions joining and becoming high-ranking priests in the new religious orders of Torm established by High Observer Restat. This tradition of the First Folk to join holy orders eventually spread to the older churches in Berdusk, as well — the Inner Chamber of Deneir, Helm’s Ready House of the Right Strong Hand, Milil’s Evensong Tower, Oghma’s Seat of Lore, and minor orders dedicated to Leira, Lliira, Tempus, and Waukeen.
The problem is that the religious order of Torm was basically a front for Zarielite cultists. Under that guise, the First Folk were subverted, and then Zarielites spread into the leadership of the other religious orders, too. The First Folk are not all cultists, of course, but their ranks are riddled by them.
Triel, a small town northeast of Elturel, found itself choked with refugees, which have caused its population to increase five-fold. A former farmer named Sarika Fortune has, much to her own surprise, found herself leading a rag-tag volunteer militia. They recently (and controversially) assisted some of the independent gnome and halfing communities in the Trielta Hills, and there are some preliminary discussions of a Trieltan defensive alliance of some sort.
Representatives from both Berdusk and Scornubel have recently arrived to determine where Triel’s loyalty lies.
Najara, the serpent kingdom of nagas, yuan-ti, and lizardfolk which lies north of Elturgard, has seized advantage of the chaos. An army of serpents has moved south along the Winding Water and seized Boareskyr Bridge and Fort Tamal. As such, they now control the river crossing of the Iriaebor-Waterdeep Trade Way and de facto expanded their sphere of influence into the northern reaches of the Fields of the Dead.
King Jarant of Najara has sent ambassadors to the major powers of the Sword Coast, declaring his actions “necessary for the stability of trade and for the good of establishing peace in the region.” It remains to be seen whether Najara will settle for what they have gained or if they’ll seek further expansion into the former realms of Elturgard. (It may depend on whether or not they see a good opportunity.)
No one, however, is under any illusions that they’ll be giving up Fort Tamal without a fight.
The Second Fall of Fort Morninglord. In 1476 DR the entire garrison of Fort Morninglord, which lies west of Elturel along the River Chionthar, disappeared overnight. The site had been contaminated by some unknown evil and the High Observer ordered it sealed.
A new fortified encampment was established nearby and garrisoned. After the fall of Elturel, this fort was the only significant concentration of surviving Elturian paladins and Hellriders. It became the sanctuary for a large number of refugees.
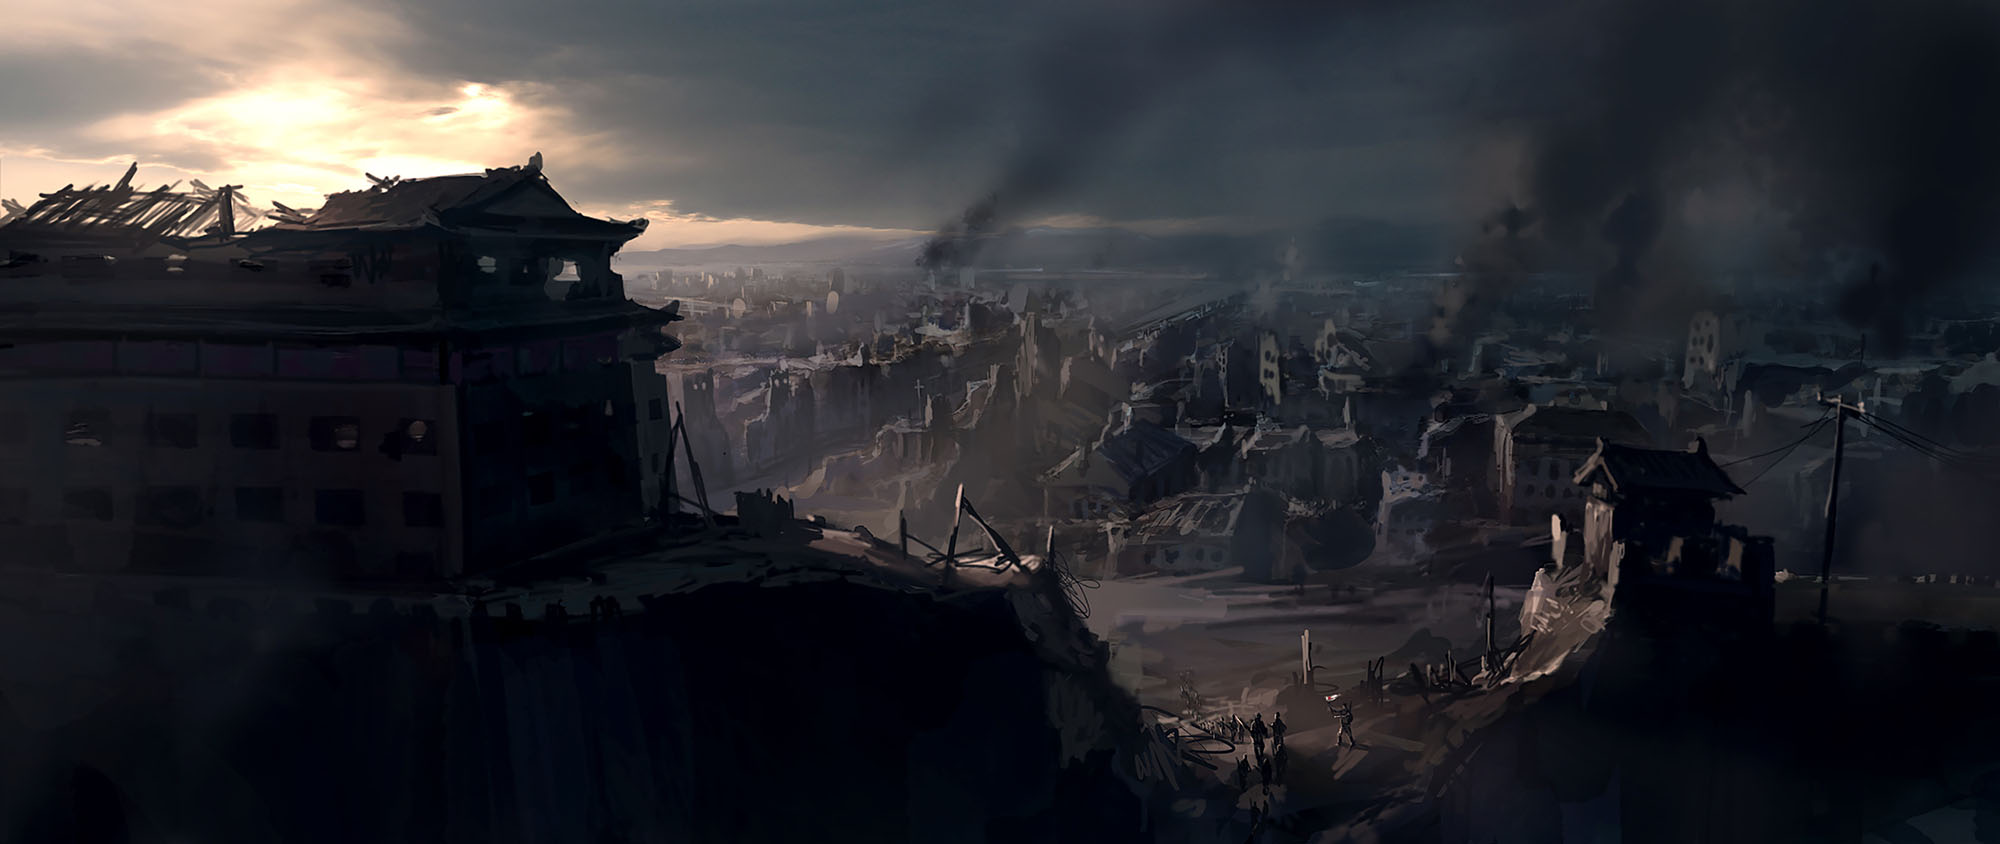
When news of Fort Tamal being besieged by Najara reached Morninglord, an expedition of knights rode north to relieve them. In their absence, Zarielite cultists within the fort summoned a pit fiend. The fiend was eventually defeated, but dozens of knights were slain, hundreds of refugees were massacred, and the fort itself burned to the ground.
This sent a fresh wave of refugees down river to beleaguered Baldur’s Gate and broke the last bastion of Elturgard that was not dependent on one of its constituent parts.
The expeditionary force, unable to reach Fort Tamal in time, remains active-but-itinerant within the Fields of the Dead.
Zhentarim. Darkhold, the citadel of the Zhentarim, lies just to the east of Elturgard. The Black Network’s influence had been kept out of the region for decades by the strength of Elturgard, but the current situation is ripe for them to gain long-term strategic advantage. And even if that wasn’t the case, the Zhents are mercenaries. And if there’s one thing mercenaries love more than a good war, it’s LOTS of wars.
When King Jarant declared Najara’s sovereignty to the powers of the Sword Coast, the Zhentarim were early supporters of his regime. They have remained on good terms since, making it likely that Zhentarim mercenaries will be available to pursue Najara’s interests in the region. (They may have already fought at Fort Tamal.)
As the conflict worsens, Berdusk, Soubar, and Scornubel will all become highly motivated to seek Zhentarim contracts. The Zhentarim know this, of course, and have already sent diplomatic missions to each city. These missions serve a dual purpose, as their embedded spies seek out any hidden opportunities for the Black Network. (The Zhentarim are not, of course, above claiming a chunk of territory for themselves if the opportunity presents itself.)
One way or another, the Black Network and its mercenary armies are going to get involved.
Go to Epilogue – Part 2: Elturel’s Return
 wrapped around a mass of tentacular horror.