The Thracian Hexcrawl was an open table I ran using the original 1974 edition of D&D. The example below is an abbreviated, annotated record of actual play from that campaign, which I’ve adapted slightly to be consistent with the mechanics and procedures detailed in 5E Hexcrawls.
BEGINNING THE SESSION
As the players arrive, I pull their character sheets out of the appropriate folder. Since this is an open table, the players may be choosing which of their active PCs they’re going to be playing. (After which, I’ll return the other characters to the folder.)
In my Thracian Hexcrawl, two things happen at this point:
- I make a rumor check for each primary PC (not for hirelings; although it’s possible for a hireling to be the vector by which a PC hears the rumor). There’s a 1 in 3 chance for each PC that they’ll receive a rumor. If they do, I roll on the rumor table.
- I make a morale check for each hireling employed by the active PCs. On a success, the hireling continues adventuring with their employer. On a failure, I use a system based on the OD&D reaction table to determine the hireling’s action: They might automatically leave the PC’s service or demand an additional bonus of some variable amount. (Usually nothing happens, because the players have learned to keep the morale of their hirelings high.)
- I make a check to potentially generate new hirelings who are available for hire in the home base.
Based on these checks, and their outcomes, I update the campaign status sheet appropriately.
While I’m doing this, the players are generally getting prepared for the adventure. This may be creating new characters if they’re needed. For established characters, it includes:
- Discussing what their expedition is going to be.
- Buying equipment.
- Hiring hirelings.
- Any other business they might need to attend to while in town.
The players may, of course, have questions for me while they’re doing this. It’s generally pretty easy to juggle their requests while simultaneously taking care of my bookkeeping.
STARTING OUT
While the players are wrapping things up, I’ll grab my 6d8 and roll them. This represents a full day’s worth of encounter checks (since there are six watches in a day). By reading the dice left-to-right as they fall, I can rapidly determine which watches in the day have an encounter. Since I don’t know yet where the PCs will be on those days, I can’t generate the specific encounters (which are region-dependent), but I can use my worksheet to jot down the Day/Watch when encounters will be happening. By generating three or four days worth of encounter checks up front, I can simplify my workflow once the PCs hit the road.
Note: If I do, in fact, know that the PCs are going to be heading in a particular direction and will likely be traveling through a given region for a lengthy period of time, I can also go ahead and generate full encounters at this point.
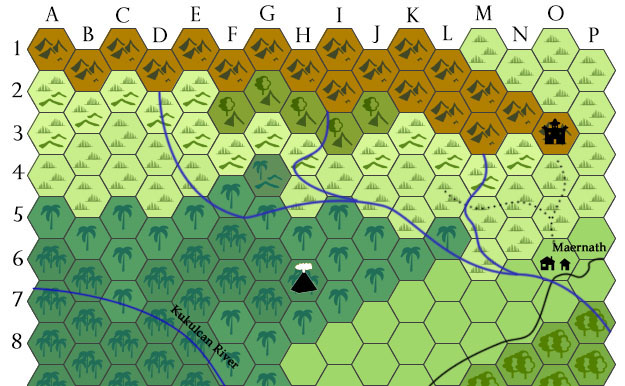
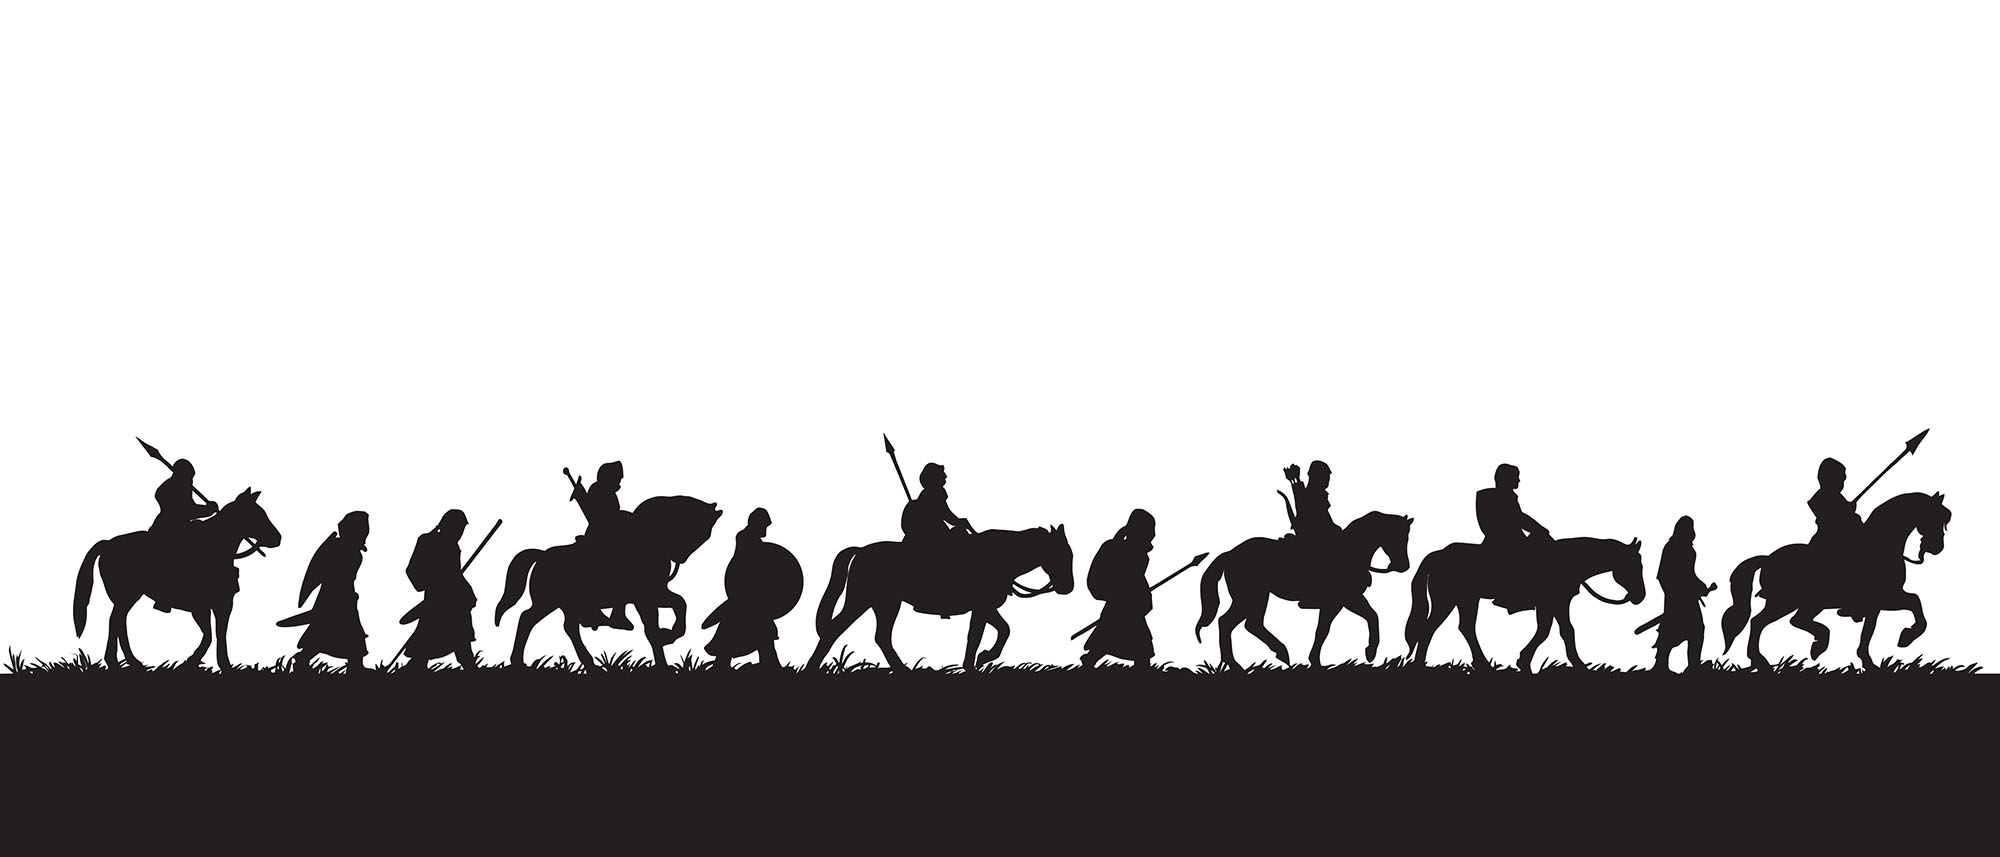
In this case, the PCs are in the city of Maernath, located in Hex O6. Maernath is an old city-state in the setting. It was here long before the Duchy of Thracia began pushing east in recent years (establishing the Keep on the Borderlands and the logging village of Caerdheim to the south) and the City Fathers occasionally chaff against the “authority” of the newcomers. Although the early adventures of the PCs were based primarily out of Caerdheim (which was near the Caverns of Thracia), an increase in interest in the Palace of Red Death to the north led to an increased number of expeditions being mounted from Maernath. Those expeditions resulted in various PCs gaining a lot of lore about the area surrounding Maernath and that, in turn, spurred even more expeditions there.
The PCs leave town along the road heading south. They choose to travel at normal pace. Because they’re following a Road/Trail through Plains hex, their movement modifier is x1, which means they move at their normal expedition speed of 12 miles per watch. (We’re not using the advanced rules for determining expedition speed based on the speed of the expedition’s slowest member.)
Maernath’s position in Hex O6 is biased, so it only takes 4 progress to exit the hex in this direction. They’re aiming for the river, which is on the road right at the border of the hex (so they obviously have no difficulty finding it).
Their goal is to follow the river into the Old Forest (Hex P7), so now I’m going to look ahead: Their course along the river takes them through the near side of the hex (6 miles away) into Hex P6 and, from there, they will then pass through another near side into Hex P7 (another 6 miles). Although they’ve left the road, they’re still traveling through Plains and the river provides enough of a track that they’re still traveling at 12 miles per watch. Total it up:
4 miles (Maernath to River/Hex O7) + 6 miles (O7 to P6) + 6 miles (P6 to P7) = 16 miles
Which means they’ll arrive at the edge of the Old Forest a little over an hour into their second watch. This is notable because, looking at my worksheet, I can see that the second watch of the day has a wandering encounter (I rolled 1 on the 1d8 when making the encounter check). I can determine the time in a watch by rolling 1d8. The result is a 3, which basically means the encounter is scheduled to take place just as they’re reaching the edge of the Old Forest.
This is a border hex, and I’ve listed a 50% chance of border encounters for the Old Forest. So even though we’re still in the Plains, there’s a 50% chance that I’ll roll an Old Forest encounter instead.
- I roll a 13, so that’s exactly what’s going to happen.
- I flip to the Old Forest encounter table and roll. The result I get is “Slimes,” which has a sub-table which generates Gray Ooze.
- Gray Ooze has a 25% chance of being a Tracks encounter, but I roll 46 (so it’s not).
They have no chance of being a Lair encounter, so I can skip that step.
Given the confluence of factors involved, I’m going to have the Gray Oozes appear just as the river passes beneath the boughs of the Old Forest. They’ll be draped across the tree branches above the river like some kind of horrific Spanish moss.
INTO THE OLD FOREST
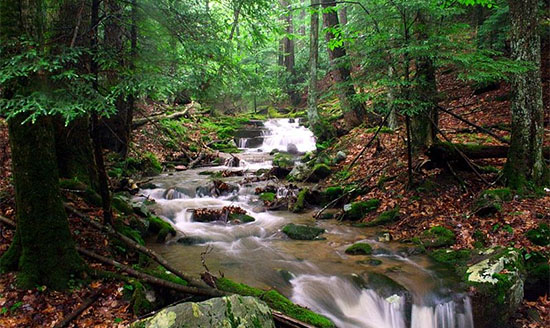
After the PCs have dealt with (or avoided) the Gray Oozes, they’ll be able to continue along the river. It’s a Medium Forest and the trail has disappeared, so their speed is going to drop by ½. They had 8 miles of movement left in their second watch, so they’ll be able to gain 4 progress through Hex P7.
Three miles along the river, however, they come to a tree on the south bank of the river with the Dwarven letter “mu” carved into its trunk. They’re familiar with it. In fact, one of the PCs left it here as a marker: Gordur, a powerful orc stronghold, lies several miles due south from this spot.
This, however, is not their goal. They continue along the river for another mile and then make camp for the night. The next day, they continue another two miles until they find a similar tree with the Dwarven letter “thod” carved into it. This marker was place due north of the Crypt of Luan Phien. The crypt is their ultimate goal, so now they turn south, away from the clear navigational landmark of the river, and into the depths of the Old Forest.
At this point, they need to start making navigation checks. Epicaste, a hireling rescued by the dwarf Aeng from a thousand-year slumber in the Caverns of Thracia, is the group’s navigator, so she steps forward and takes point.
- It’s a Medium Forest, so the Navigation DC is 16.
- Epicaste blows the check. (Possibly because Delmhurst, another hireling, keeps second-guessing her.) I roll 1d10 to determine the group’s veer. With a roll of 8, I determine that they’re veering to the right. Instead of heading due south into Hex P8 (which is where they want to go), they’re going to end up southwest in Hex O8.
LOST IN THE OLD FOREST
When does that actually happen? Well, they entered Hex P7 from due north. Whether they’re leaving into Hex P8 or Hex O8, they’re still existing through the far side of the hex. So they need to rack up 12 progress to exit the hex.
- They’d gained 4 progress in the hex during their second watch. They don’t want to do a forced march, so they stop traveling after the second watch.
- During the first watch of the next day (their third watch of travel overall), they’ll gain another 6 progress. That’s a total of 10 progress, which is not quite enough.
- Therefore, they’ll enter Hex O8 about midway through the second watch of their second day of travel.
Checking my worksheet, I can see that I generated a location encounter for the second watch of the second day, so once again I generate a random time and determine that they’ll encounter the hex’s keyed location AFTER they’ve entered Hex O8. (If the encounter had happened earlier, it would have been with the keyed location in Hex P7.)
I flip to the key for Hex O8:
Me: Towards the waning hours of the day, you enter a small clearing. Criss-crossing branches grow into what appear to be houses with walls of woven moss.
Aeng: I don’t remember this.
Delmhurst: I think the thousand-year dummy has gotten us lost again.
It turns out the strange houses are empty and abandoned. It’s getting late in the day, so the PCs decide to make camp here for the night. They’ll try to backtrack the trail the next day and figure out where they made the wrong turn.
And that’s basically all there is to it. With a strong key and a clean procedure, the hexcrawl will flow naturally in response to the explorations of the PCs, drawing them deeper and deeper into the mysteries of the wilderness.


 “Flotsam” is a side trek featuring a couple of pirates who pretend to be legitimate merchants; they lure people onto their ship by offering legitimate passage and then rob them on the high seas. It doesn’t seem immediately appropriate for a forest hex key, but what if the PCs found this ship — and its weird, seemingly crazy crew — just sitting in the middle of the forest? Maybe it’s a witch’s curse or a strange haunting. Or just crazy people.