SESSION 33B: THE INTERROGATION OF ARVETH
December 28th, 2008
The 18th Day of Kadal in the 790th Year of the Seyrunian Dynasty
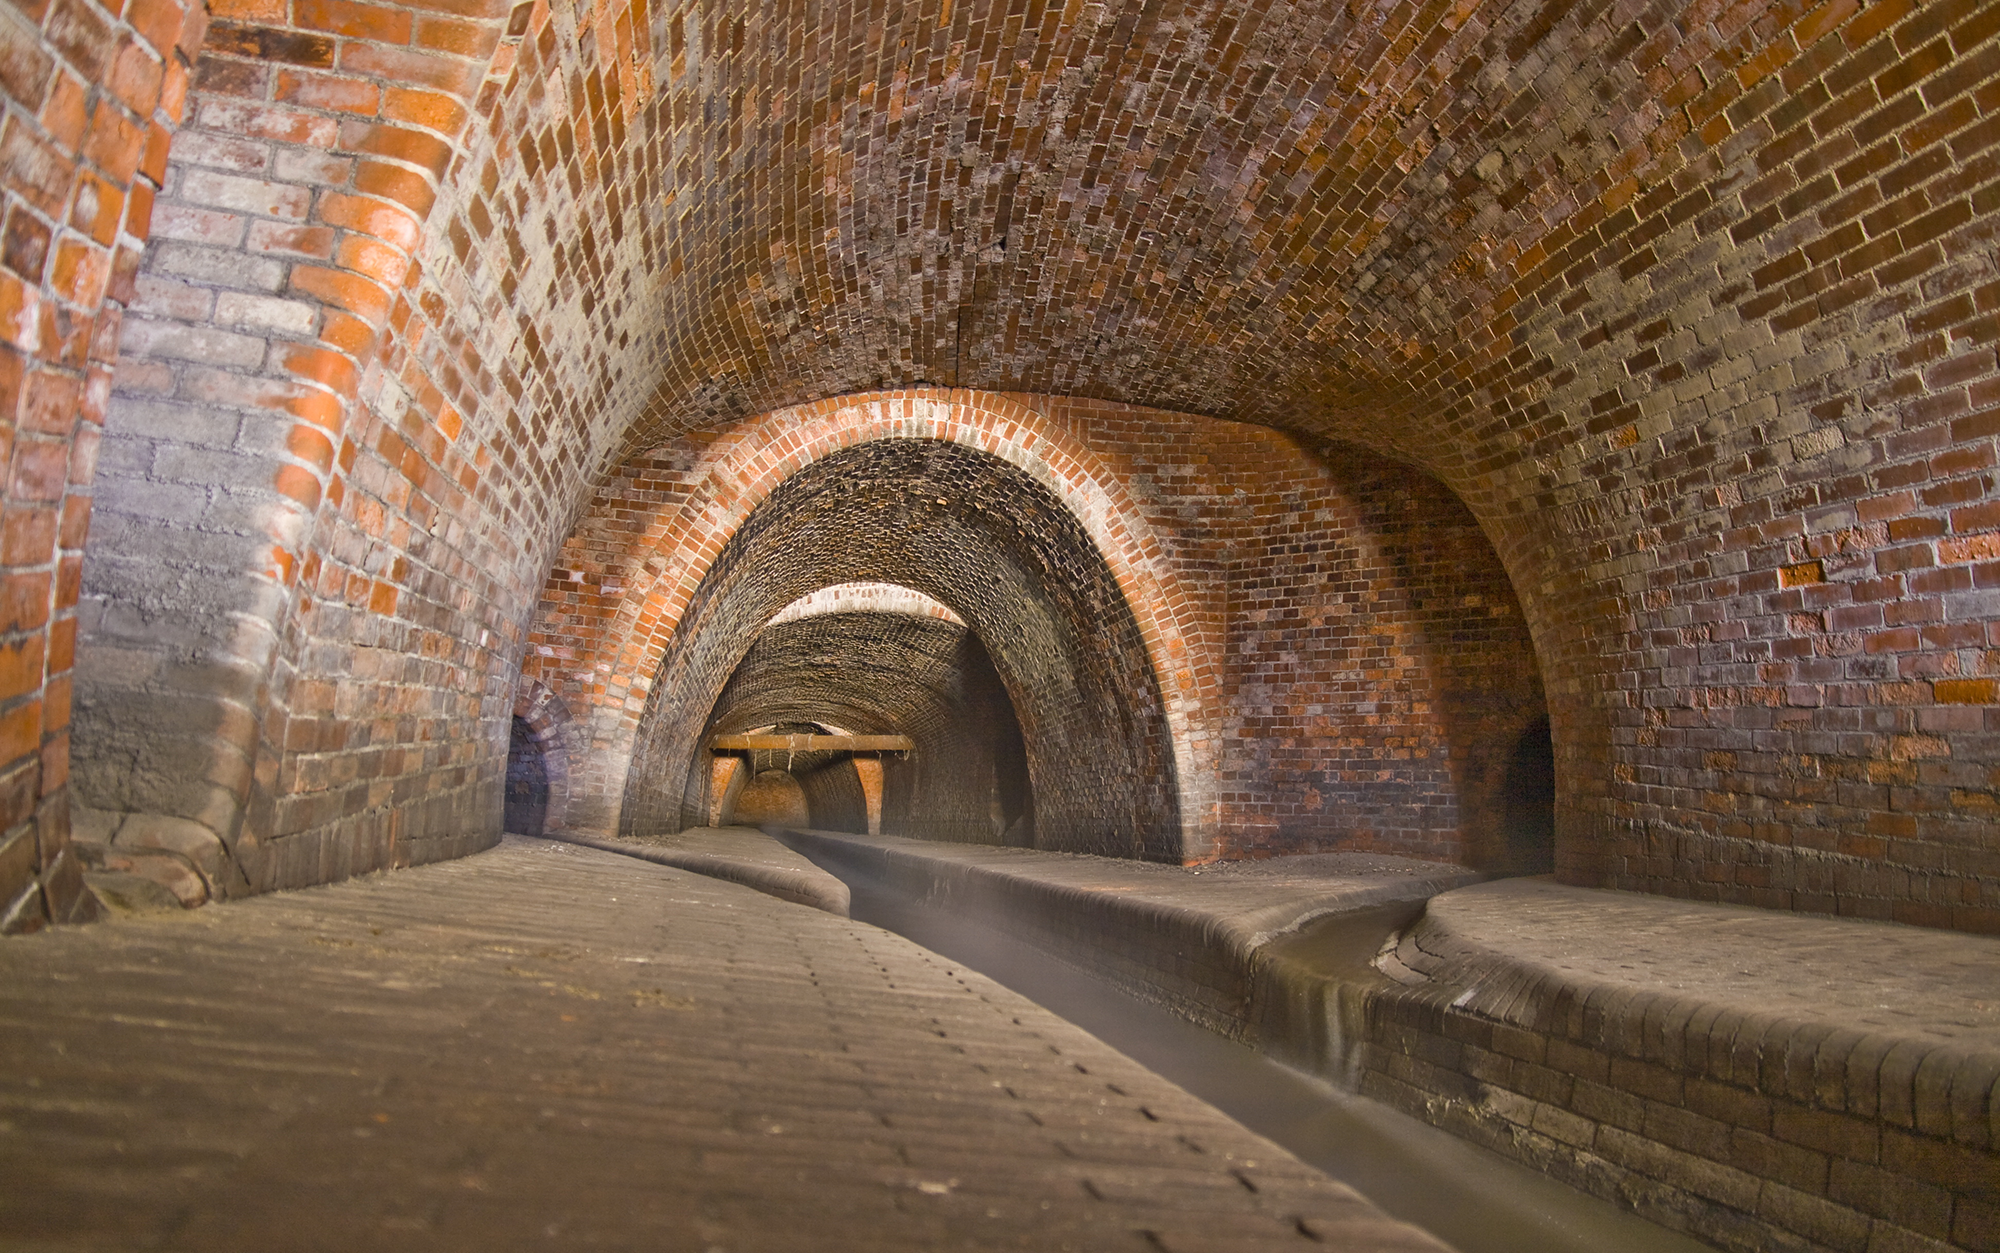
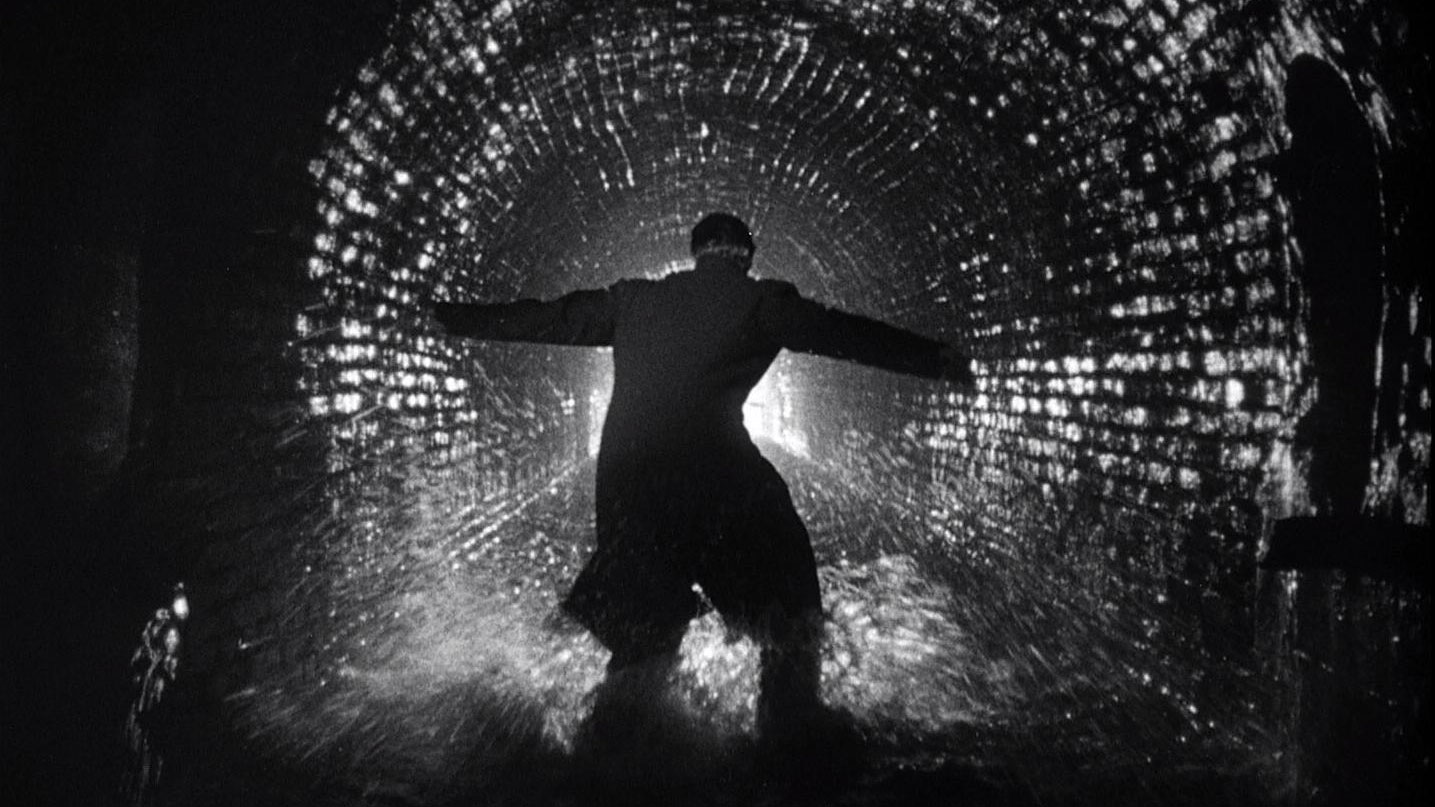
After briefly discussing what they wanted to ask the prisoners and how they would go about interrogating them, they started with Arveth. Agnarr grabbed her by the ankles and held her upside down above the turgid sewer sludge. Tor slapped her awake.
She woke up angry.
“Who are you who dare to defy the powers of chaos?” She scanned their faces, but when she came to Tee’s she blanched.
“That’s right,” Tee smiled with vicious glee.
“You bitch!”
Tee smiled and shrugged. “Where’s Wuntad?”
Arveth’s eyes filled with confusion. “Who?”
Tee studied her carefully for a moment, and then suddenly her face broke into a large grin. “Oh! You don’t know anything, do you?”
“You insignificant worm! You’re not worthy of knowing the secrets of chaos!”
“Wrong answer.” Tee signaled to Agnarr, who dipped her into the channel of sludge. She came back up spluttering and gagging.
Tee pulled out the thick stack of papers they had collected. “Did you mean these secrets of chaos? Because I know these secrets. For secrets they don’t seem very well secured.”
Arveth glared. “You came so close to greatness.”
Tee laughed in her face. “Let’s try something simple. Who do you work for?”
“Dilar.”
“The centaur? Okay. What else can you tell me?”
Arveth hesitated.
“I guess you really don’t know anything. Well, in that case…” Tee raised her hand in Agnarr’s direction. The barbarian began lowering Arveth back towards the sewer sludge. Arveth panicked.
“I know things! I know!”
Tee held up her hand to stop Agnarr. “Like what?”
“There are at least eight people who come in and out of this building.”
“Who?”
“I don’t know.”
“What do they do here?”
Arveth hesitated again. Tee laughed. “You really don’t know anything. Did you even tell anyone before you came rushing in?”
“Yes. They’ll be here soon.”
She spat the words. But she’d hesitated for just a moment. Tee laughed again. “You didn’t! And you just tried to lie to me again.” She leaned in close and whispered in her ear. “You came so close to greatness…”
Tee gave a signal. Arveth had just a moment to struggle, certain that she was about to die, before Agnarr slammed her head into the wall of the sewer, knocking her unconscious again. Dominic took a moment to make sure that the wound wasn’t lethal and then they turned their attention to the spellcaster.
THE INTERROGATION OF URANIK
“I’ve seen him before,” Ranthir said. “He was one of the Venom cultists who killed the cultist from the Brotherhood of the Ebon Hand.”
“The one you saw while using clairvoyance?” Tee asked. Ranthir nodded.
They blinded the cultist and Agnarr dangled him above the sewer sludge. Elestra slapped him awake.
“Whoever you are, you’re already dead.” His voice was possessed of a cruel, sardonic tone.
Elestra laughed at him.
Tee ignored him. “Do you know where you are?”
“You blindfold me and then ask me where I am?” The man sneered.
At Tee’s signal, Agnarr hit him across the face. Hard.
The man licked blood from his lip. “All right. I’ll play along. Judging by the smell, I’d guess we’re in the sewers.”
“That’s right. We found our way down here.”
“You found a huge hole in the floor? Congratulations on your powers of perception.”
Agnarr hit him again.
“What do you want to know?”
“Let’s start with your name”
“Uranik.”
“So you can tell the truth.” Tee smiled through her bluff. “That’s right. We know who you are. Now, tell us about the Brotherhood of Ptolus.”
The man laughed. “It’s a fiction. A front for the Brotherhood of Venom.”
“Which you belong to.”
“That’s right.”
“What are you doing here?”
“Being questioned by amateurs.”
Tee wasn’t amused. She signaled Agnarr, who lowered him and began swinging the top of his head through the sewer sludge.
“Stop it.” Uranik managed to keep his sardonic tone, but there was a slight edge of tension in his voice.
“Pull him up,” Tee said. “Hmm. You seem to have gotten a little dirty. Now, I’ve got one of your fancy pieces of cloth here – the one with the purple liquid on it. I suppose I could just wipe your face clean with it…”
“This isn’t necessary,” Uranik said. “If you let me live and let me go, I’ll tell you whatever you want.” He was outwardly calm, but it was clear that Tee had rattled him.
Tee considered it for a moment. “Dunk him so that we can talk.”
Uranik opened his mouth to protest… which was a mistake.
While he gurgled they quickly talked it over. Elestra didn’t like the idea of letting him go – unlike Arveth, Uranik had been directly responsible for the atrocities performed in the apartment building above them. But the rest of them decided to accept his terms.
Agnarr hauled him back up and they sat him down on the ledge. Tee quizzed him about the work that had been done in the apartment complex, and by comparing those answers to the papers they had retrieved she confirmed that he was being truthful… about that at least.
They learned that the cultists had broken into the apartment complex and started their experiments on the residents. When they ran out of residents, they started bringing in slaves from the Temple of the Rat God.
“And what’s down here in the sewer?”
“The Temple of Deep Chaos,” Uranik said. “It was founded by Wuntad.”
They quizzed him about Wuntad. He had apparently left the Temple here about a month and a half ago and Uranik hadn’t seen him since, although he believed that Illadras – who was now in charge of the Temple – was in contact with him. Uranik claimed to know nothing about Pythoness House.
“You work here with the Ebon Hand?”
“And others.”
“So why did you kill the other priest?”
“Reggaloch? He was planning to betray us.”
“And yet he’s the one who’s dead.”
“There were two of us and only one of him.”
“How do you get into the Temple?”
He told them of two entrances – an iron door down the western tunnel and a secret entrance up the northern tunnel. If they went through the iron door, they would enter a long stone hall. He described one of the walls of this hall as being illusionary, and said that there were four priests who stood as guardians and could look into the hall through a peephole.
“And through the secret entrance?”
“There’s a tunnel with two sentries on duty. If you can get past them, you should be able to come up behind the priests through their quarters. There’ll be a staircase down—“
“We’re going to leave you here. When you get out of your ropes, don’t try to warn your friends. We’ll make sure they know you’re a traitor. And we both know what you do with traitors.”
Agnarr knocked him unconscious. Tor loosened his ropes… slightly.
Running the Campaign: Bond. The Opposite of Bond. – Campaign Journal: Session 33C
In the Shadow of the Spire: Index