The Alexandrian

Posts tagged ‘storm king’s thunder’

Storm King's Thunder - Map of the Giant Attacks

Go to Table of Contents

In addition to the Three Cities attacks in Phase 2 of Storm King’s Thunder, the pointcrawl in Phase 3 of the campaign is filled with a plethora of giant attacks, raids, and other activity. The map above shows the locations of these encounters, color coded by the giant faction involved.

  • Cloud Giants: Yellow
  • Fire Giants: Red
  • Frost Giants: Blue
  • Hill Giants: Orange
  • Stone Giants: Green

Unlike the other giant factions, the Storm Giants of Maelstrom do not have keyed encounters and, therefore, do not appear on this map. (However, see Part 4C of the remix for suggestions of how such raids and other activity could be added to the campaign.)

The map below uses the locations of the giant encounters to roughly map out spheres of influence for the various giant factions:

Storm King's Thunder - Giant Territory

The areas indicated are, of course, just rough approximations, but they should prove useful when generating random giant encounters and the like. The intersection between the hill giants, fire giants, and cloud giants in the Evermoors and Dessarin Valley also immediately leaps out as potentially significant, suggesting a dynamic and unstable situation which could easily evolve over time in your campaign. (Or, perhaps, be taken advantage of by your PCs.)

A few more quick notes:

Shining White. The storm giants encountered here (SKT, p. 107) are not explicitly associated with Deadstone Cleft. I’ve included the encounter here for completeness, but (a) given how far Shining White is from any another stone giant activity and (b) the fact that there’s no coherent reason for Deadstone Cleft giants to be here, it’s probably safe to assume that these are unrelated stone giants.

You might actually consider swapping these stone giants out with cloud giants from Lyn Armaal (seeking the cache of dragon  magic) or fire giants from Ironslag (who might believe a fragment of the Vonindrod is located here).

Fire Giants. Duke Zalto has sent out a number of farflung expeditions for various purposes, most notably seeking the pieces of the Vonindrod. For the purposes of mapping out their area of influence, I’ve chosen to not include their drow agents in Gauntlgrym, but you could just as easily conclude that the fire giants encountered in Triboar, Stone Bridge, and even those passing through Mornbryn’s Shield on the western side of the Evermoors are similarly small expeditions and not indicative of wider activity.

However, it’s probably more interesting for Duke Zalto to actually be pushing an expansion in this direction. (Particularly because, as noted, it brings him into conflict with Lyn Armaal and Grudd Haug.)

Cloud Giants. There are a large number of cloud giant encounters in Storm King’s Thunder which are NOT associated with Lyn Armaal. This includes the cloud giants who attack Nightstone at the beginning of the campaign (p. 20), as well as Zephyros (p. 32), Count Nimbolo’s cartographers in Waterdeep (p. 113), and the cloud giant youths in Secomber (p. 107). These encounters are not shown on the map.

In fact, unlike the other giant factions, there are no encounters associated with the cloud giants of Lyn Armaal or Sansuri’s schemes. Since Sansuri is not actively preying on the countryside, this might potentially make her a more natural ally for the endgame of the campaign (see Part 5 of the remix)… except for the whole “torturing good dragons” thing.

Remember that Lyn Armaal’s location above the Evermoors, although it’s “default” position (SKT, p. 187), can easily change. It is, after all, a flying fortress.

Go to Storm King’s Remix

Additional versions and high-resolution copies of these maps, as well as a layered Photoshop file you can use to customize your own, are available to Patrons of the Alexandrian.

Medieval Knight Encamped - Smulsky

Go to Table of Contents

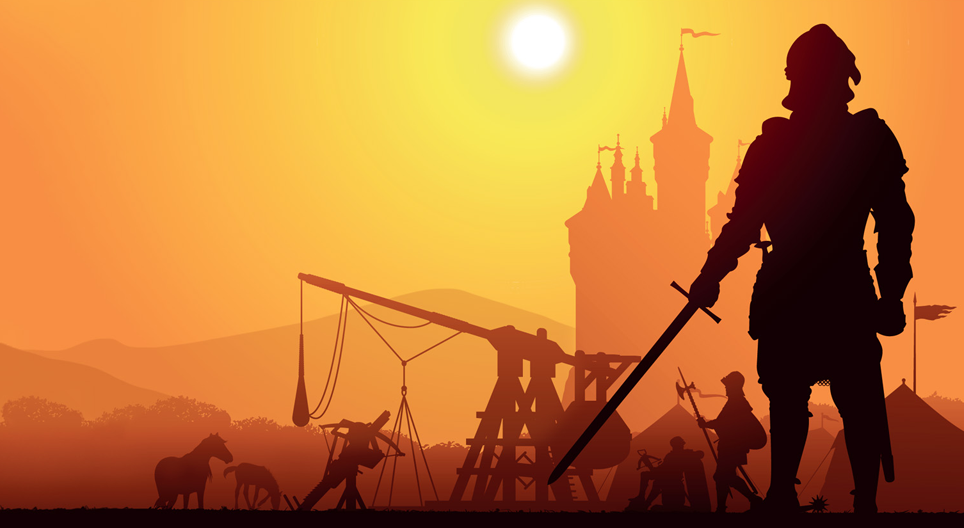
The War of the Giants has begun!

Whether that’s a war against the giants, the war the giants are fighting against each other, or some form of draconic crusade will depend on how your campaign goes. But the core concept is that the campaign has escalated beyond dungeons crawls and simple raids: The PCs are no longer a simple fellowship, but are part of an alliance — likely an alliance they have helped forged themselves! — capable of resolving an international conflict.

There are several ways you can handle this, possibly all at the same time.

TRUE WAR

Armies have been gathered and mass combat is the order of the day!

A full-scale military operation is a thrilling option to consider, but vastly exceeds the resources available to us in Storm King’s Thunder. Not only are the giants and other faction threats scaled to tactical combat with a group of five PCs (not armies marching across the Sword Coast), but we also don’t have the mechanical support or scenario structures for running a war campaign in D&D 5th Edition.

If you want to go big, therefore, you’re going to have to start basically from scratch and it’ll take a lot of work to pull it off. I can suggest a couple of options you might want to consider, however.

Option #1: Handle the macro-strategic elements of the war — the size of the armies, their movements, etc. — in a more or less ad hoc fashion. For the individual battles, adapt the fray system from Shadow of the Dragon Queen to put the PCs on the battlefield and in the thick of things.

The major shortcoming of the fray system is that the PCs’ actions don’t truly have an impact on the outcome of the battle. The old D&D 3rd Edition module Red Hand of Doom used a similar system, but also had the PCs’ actions matter more in the grand course of things. You may find it useful to draw some inspiration from that.

Option #2: Implement a full-fledged system for war. MCDM’s Kingdoms & Warfare might be a good place to start, although its primary focus may not make it a perfect fit for what your Storm King’s Thunder campaign needs. Another project with Matt Colville as one of the lead developers you may find useful here is Fields of Blood: The Book of War, another 3rd Edition-era supplement.

ALLIED ASSAULTS

Instead of full-scale war, we can evoke a similar thematic scope of allies gathering to fight titanic struggles while still keeping within a typical D&D-style tactical scale (i.e., individual combatants on a manageable tabletop battlefield). They key escalator here — what will make these fights feel larger-than-life and bigger than a typical D&D combat encounter — is simply the allies themselves: It won’t just be the PCs vs. the bad guys; it will be the PCs + their allies vs. a much larger and/or more  dangerous force of bad guys.

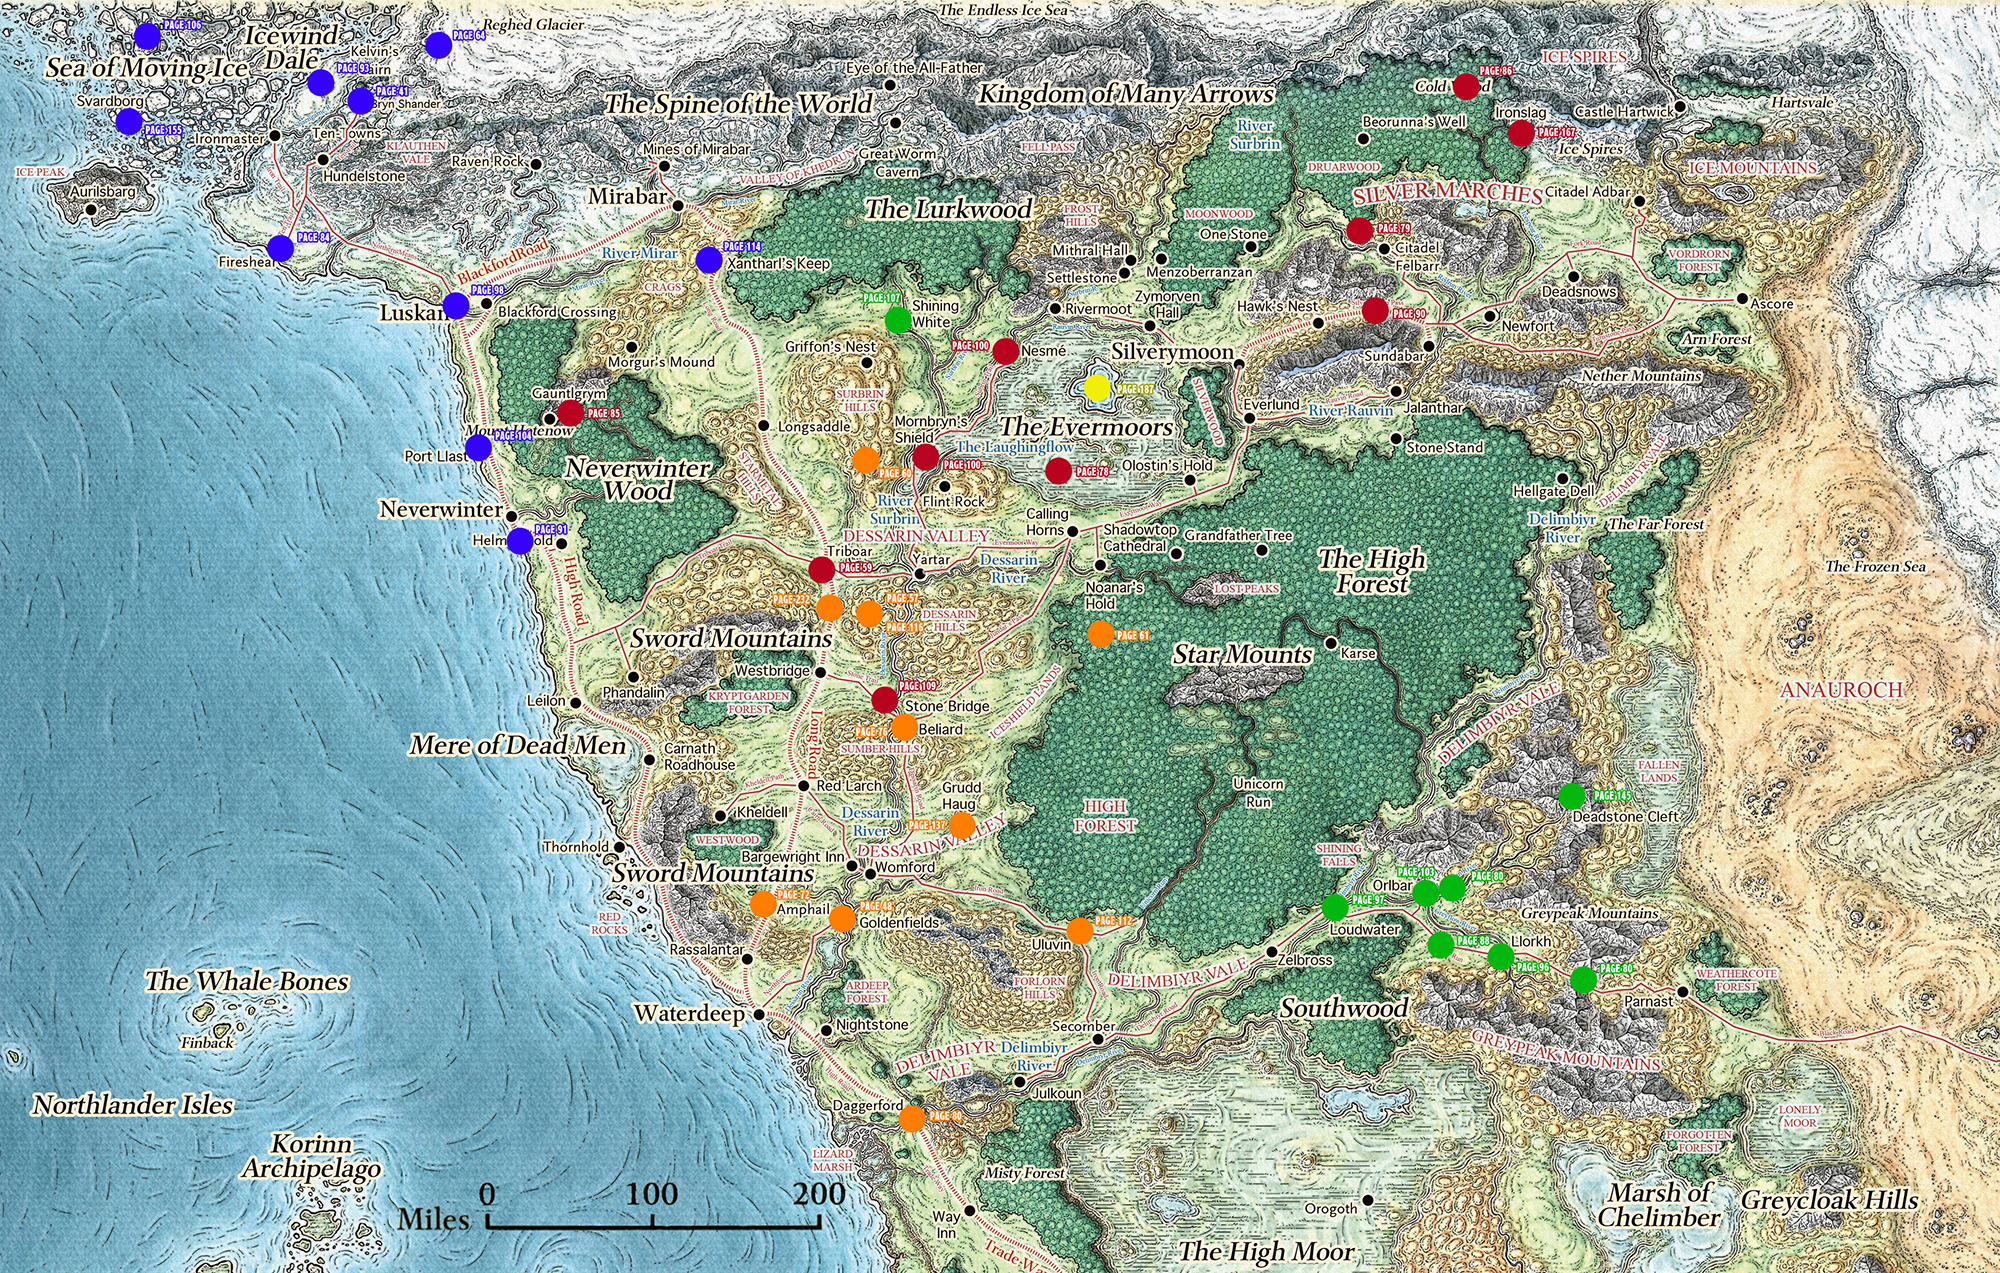
Storm King’s Thunder already includes an example of what these allied assaults might look like: In Chapter 12, a combined strike force of PCs and storm giants head to Iymrith’s lair for a gigantic showdown with the blue wyrm!

Whether these allied assaults are targeting giant strongholds or draconic lairs (or both) in your campaign’s final act, they’ll follow a similar structure:

  1. The PCs will hit up their allies.
  2. Their allies will provide a strike force.
  3. The players will run both their PCs and their other members of their strike force.

Giving each player one additional character to play during the assault is probably ideal, and in practice I’d suggest that two additional characters per player is probably the maximum you’d want them to be juggling simultaneously. Fortunately, this is more than enough for the scale of the confrontation to feel epic in scope.

On the other side of the battlefield, if the PCs line up a bunch of allied support and then siege the giant strongholds, the problem you’ll immediately run into is that these strongholds were balanced on the assumption that the PCs — and only the PCs! — would be attacking them. If the PCs attack with a much larger and more powerful force, they’ll likely just roll over the opposition.

This isn’t necessarily a bad thing for the first allied assault: It will be like a reward for the hard work the PCs have put into bringing that allied force together. But if the end of the campaign turns into a series of trivial mop-up actions, that likely won’t feel very satisfying.

Fortunately, there are a few options you can use here.

Reinforcements: Simply add more giants to the strongholds. Whether they’re mustering for their own military actions or bolstering their defenses in response to the PCs’ assaults, the giant lords are simply calling more giants home to defend their strongholds.

Allies vs. Allies: Along similar lines, if the PCs are forging alliances to take down the giants, it will likely force the giants into new alliances with each other. For example, the fire giants of Ironslag and the cloud giants of Lyn Armaal might join forces in a defensive pact. (This will also reduce the number of stronghold assaults you need to play out, which may be useful if your group is finding “fight yet another giant stronghold monotonous”.)

Alternatively, you can use the concept of enemy alliances to evoke “offscreen” giant factions — e.g., the cloud giants of Lyn Armaal ally with the cloud giant wizard who stole the Nightstone. This allows you to simply increase the number of giants (or their small-folk allies) present, in a fashion similar to reinforcements, while simultaneously raising the stakes and making the scale of the giant crisis seem vast.

Split the Assault. If the players adopt — or can be encouraged to adopt — a battle plan in which the strike teams split up and each assault a stronghold from a different direction, you may not need to rebalance the encounters at all. The encounters will be split across multiple groups, but since each group will have roughly the same strength as the PCs, each encounter will remain a balanced and challenging fight.

These split assault plans may also make it easier for the players to juggle multiple characters, since the strike teams can be arranged in such a way that each player has one character in each team.

In terms of actually running these encounters, I recommend checking out Spectacular Sidekicks for techniques to use while running multiple characters simultaneously. Remember that the Three Cities Proxies will have also given your group some basic training in running these types of encounters.

On your side of the screen, these assaults will run best if you can run them dynamically, having the defenders actively respond and adapt to the actions of the PCs and their allies. Don’t be afraid of letting this collapse towards a dramatic final stand in which the various assault teams join up for one final, epic assault on the final defenders. (See “Dynamic Encounter Design” in So You Want To Be a Game Master, p. 186.)

Tip: On a wider scale, you might also want to consider how, why, and when the PCs enemies — whether giants, dragons, or other factions — might choose to counterattack, forcing the PCs into a defensive scenario for a change of pace.

SPECIAL OPS

Along similar lines, you can evoke a larger battle or military campaign, but rather than focusing the gameplay on that military campaign, you can instead put the focus on the PCs performing essential special ops missions:

  • Disabling supply lines.
  • Assassinating a giant leader.
  • Sneaking into a besieged fortress to lower the gate.
  • Breaking through enemy lines to deliver a vital message or object.

And so forth. Instead of Aragorn leading the Army of the Dead at the Battle of the Pelennor Fields, the PCs are taking the role of Frodo and Sam sneaking into Mordor with the Ring.

The exact nature of these special ops will depend a lot on exactly how your campaign’s endgame is playing out, but I would certainly look for opportunities that leverage the existing resources in Storm King’s Thunder — e.g., the giant stronghold maps and keys. You’ll likely also discover that it’s easiest to frame and hook these special ops missions if the PCs are taking orders from someone else (who can give the a mission brief). That may be less desirable, of course, then having the players feel like they’re in the driver’s seat.

MIXED METHODS

In practice, none of these techniques need to be all-or-nothing. PCs who have conceived, coordinated, and executed an allied assault may report back and get assigned to a special ops, only to receive a promotion and lead the troops during a full-fledged wargame finale.

Or, alternatively, the players might be running a full-scale war, only to conclude — like Aragorn parting ways with King Theoden to recruit the Army of the Dead — that there’s a special op that requires their attention.

Or perhaps while some are holding back the armies of the fire giants, the PCs will need to lead allied assaults on dragon lairs in order to complete a draconic crusade and seal the deal for a new Ordning.

CONCLUSION

The common theme here, of course, is that the true conclusion of Storm King’s Thunder is uncharted territory: Neither I nor you nor your players will truly know the fate of Faerun until that fate is forged at your table.

With the right tools and techniques in your pocket, though, you should be able to confidently follow your players’ lead, actively play the huge cast of characters and factions at your disposal, and discover that thrilling tale together.

ADDENDUMS
Addendum: Kraken Society
Addendum: Faction Reference
Addendum: Three Cities Proxies

Kraken of the Deep - feaspb (modified)

Go to Table of Contents

Just like the other sections of the campaign described in Part 2 and Part 3, the Hekaton investigation is ultimately organized around a revelation list, although it may be useful to think of it in separate parts.

SETTING THE STAGE

Even before the PCs get directly involved with the Kraken Society, you’ll almost certainly want to set the stage with some key revelations:

  • Storm Court is no longer in charge of the other giants
  • King Hekaton is Missing / Queen Neri is Missing
  • Serissa is acting as Regent of the Storm Court
  • Optional: Storm Giant Raids (if these are happening)
  • Optional: Mirran and Nym are opposed to Serissa’s regency

Basically, you want the PCs to know that the storm giants are in a state of crisis and confusion — and, importantly, who King Hekaton and Queen Neri are — so that when the PCs start encountering Hekaton-related revelations while investigating the Kraken Society they’ll immediately recognize the significance of what they’ve found.

Several of the clues we set up in Part 3D can serve double duty here, but you’ll want to make sure these revelation lists are fully stocked. It probably wouldn’t hurt for some/all of these to be seeded fairly early in the campaign.

STRUCTURAL REVELATIONS: THE KRAKEN SOCIETY

The core structural revelations are the ones we’ve already discussed — e.g., point-crawl accessible nodes → Involved nodes → Purple Rocks → the Morkoth. These are the leads that will take the PCs through the various Kraken Society nodes. The exact breakdown of this revelation list will depend on the options you’ve chosen.

In addition to the standard revelation list (i.e., the leads pointing to a node from other nodes), I would also make a list of pointcrawl-acccessible nodes for easy reference. “Encountered on Pointcrawl” is, of course, a legitimate vector pointing to a node and can also be included on the node’s revelation list, satisfying one of the three clues for the Three Clue Rule.

You’ll also want to include any leads from the Three City hooks or faction missions pointing to Kraken Society nodes. It can be useful to sketch these out ahead of time, but keep in mind that you don’t need to fully flesh out the faction missions until you know which (if any) of the factions your group is getting involved with. If you want to do this systematically, include a Kraken Society lead in each of the Three Cities and for each of the factions.

Friendly factions can, of course, give the PCs direct leads to Kraken Society nodes as missions, but missions can also point to the Kraken Society indirectly — i.e., the PCs are given a mission to do X, which is unrelated to the Kraken Society, but doing so will tangentially bring them into contact with the Society. (An easy example of this is, “go do X, which is coincidentally in the same location as a pointcrawl-accessible Society node, thus triggering the Kraken Society encounter.”)

Along similar lines, even enemy factions can deliver Kraken Society leads: The PCs target the faction, and discover that faction’s Kraken Society-related intelligence (e.g., “Why are the Zhentarim so interested in the activities of Lord Drylund of Yartar?”).

CORE CONCEPT REVELATIONS: WHAT THE HELL IS HAPPENING?

In addition to just moving from one Kraken Society node to another, there are several key concepts that the PCs should be learning so that they can figure out what’s really going on:

  • The Kraken Society kidnapped Hekaton.
  • Hekaton is on the Morkoth.
  • How to locate the Morkoth.

You’ll likely want to make sure that the clues for “the Kraken Society kidnapped Hekaton” are seeded into the entry point nodes for the Kraken Society: Learning this will give the PCs a very specific goal for continuing their investigation of the Society. Without establishing a goal like this, the only thing motivating the PCs to continue investigating the Society will be simple curiosity. This can work, but it tends to be less reliable and less compelling. (Of course, it’s also quite possible that the PCs — or perhaps their factions — will end up providing their own anti-Kraken Society motivators.)

THE IYMRITH CONSPIRACY

Strictly speaking, the PCs can probably end up rescuing King Hekaton from the Kraken Society without ever figuring out the deeper conspiracy involving Iymrith, Mirran, and Nym. But ideally they’ll figure out this deeper truth, so we should set up a revelation list:

  • The Kraken Society is collaborating with someone in the Storm Court.
  • The Kraken Society’s collaborator is Iymrith.
  • Mirran & Nym are conspiring with Iymrith.
  • Iymrith is actually a blue dragon.
  • Optional: The location of Iymrith’s lair.

It’s likely a lot of clues on this list will be pulling double duty (i.e., a clue that indicates that Iymrith is conspiring with the Kraken Society AND that the Kraken Society know she’s really dragon). The clues in Part 3D, once again, include several more clues that are pulling double duty for these revelations. Also remember that clues pointing to these revelations can also be seeded into the Storm Court itself.

One structural note here is that any clue pointing to “the Kraken Society’s collaborator is Iymrith” will almost certainly also reveal that “that Kraken Society is collaborating with someone in the Storm Court,” but the latter is listed as a separate revelation because — while it’s not strictly necessary — it’s probably more effective to establish the mystery of “Who is the collaborator?!” before providing the clues that resolve the mystery.

In other words, you want three distinct clues for “Kraken Society is collaborating with someone in the Storm Court” that don’t overlap with “their collaborator is Iymrith,” and you’ll want to seed those clues into “earlier” nodes. (For example, maybe “there’s a collaborator” clues can be found in the pointcrawl-accessible nodes, but “it’s Iymrith” clues can only be found in nodes that can only be reached by investigating the pointcrawl-accessible nodes.)

Since node-based scenarios are, obviously, nonlinear, it’s still quite possible that the PCs will learn Iymrith is the collaborator at the same time they learn there IS a collaborator. They might also learn, from other vectors, that Mirran, Nym, and Iymrith are all collaborating together before they learn that they’re working for the Kraken Society and/or are involved in Hekaton’s disappearance! That’s just fine. Our goal isn’t to lock things down. We’re just seeding our clues in the most effective way possible.

The final thing to consider here is designing a proactive node for Iymrith and/or the sisters. In other words, if/when Iymrith learns of the PCs’ efforts, what action might she take to oppose them? Some or all of them might choose intervene directly. Or, alternatively, send agents who can be tracked back to them. In addition to being a fun encounter, this is obviously also a perfect opportunity to include some Iymrith Conspiracy clues.

Go to Part 5: The Final Act

Cloaked Figure in Marble Halls - Nobel

Go to Table of Contents

As described in Part 4B, you have everything you need for the PCs to penetrate to the heart of the Kraken Society conspiracy and rescue King Hekaton.

But what if you want to take this even farther?

Here are some options. You can easily use one, some, all, or none of them.

OPTION #1: ADD A STORM GIANT THREAT

The storm giants know that King Hekaton and Queen Neri were meeting with representatives of the Lords Alliance and the Open Lord of Waterdeep, and they assume that the small-folk are guilty of murdering the queen and kidnapping the king. Isn’t it possible that, with or without Serissa condoning the action, the storm giants might be making retaliatory strikes on the coast and/or coastal shipping?

You can easily add this element to the adventure, adding aggressive attacks by the storm giants that mirror those from the other giant factions, and creating a new vector for the PCs to learn about Hekaton’s disappearance and/or get pulled into the politics of Maelstrom.

(The potential drawback to this option is that it removes the contrast between the storm giants — who have simply gone radio silent under the waves while their former subjects run wild — and the other giant factions.)

OPTION #2: THREE CITY HOOKS

To remove the element of random chance from the PCs getting pulled into the Kraken Society investigation, add explicit hooks from each of the Three Cities pointing to the Uninvolved nodes. (These connections do not have to be direct, of course, or even terminate with the Kraken Society. You just need quest lines that intersect with the Kraken Society nodes.)

Alternatively, you can have missions given to the PCs by any factions they choose to join to point them to these nodes.

OPTION #3: EXPAND THE KRAKEN SOCIETY

To expand the Kraken Society’s presence in the campaign, add more Uninvolved nodes throughout the Sword Coast and Savage Frontier. You can do this by just flipping through Storm King’s Thunder, picking a location from the gazetteer, and then brainstorming ways that krakenar agents could be trying to infiltrate that location.

As with the extant Uninvolved nodes, include clues in these nodes pointing to other Uninvolved nodes and also the Involved nodes. (Remember that your structural goal is to pull the PCs towards the Involved nodes, where they can find the clues leading to Hekaton.)

One particular place you could look at is the Dessarin Valley, where Ghald & Unferth are trying to launch multiple krakenar operations. Lord Drylund’s operation in Yartar is also located here. By adding several Kraken Society operations throughout the valley, you could turn the whole region into a micro-campaign within the campaign.

Dessarin Valley - Forgotten Realms (c) Wizard of the Coast

OPTION #4: BURY THE INVOLVED NODES

In the default structure, the PCs can run into either the Uninvolved nodes or Involved nodes during the Phase 3 pointcrawl. If you want to create a greater sense of depth in the Kraken Society conspiracy, however, then DON’T make the Involved nodes accessible directly from the pointcrawl: The only way to reach the Skum Lord, Reefkin, or Lord Drylund is via clues picked up in the Uninvolved Nodes (which remain accessible from the pointcrawl).

In practice, this will create a flow from Uninvolved nodes to Involved nodes to Purple Rocks to the Morkoth. The players will truly feel like they’re getting pulled deeper and deeper into the conspiracy.

This option is probably best used in combination with Option #3. Since you can no longer enter the Kraken Society investigation through the Involved nodes, you’ll likely want a few more Uninvolved options to replace those entry points.

OPTION #5: ENTRY VIA MAELSTROM & WATERDEEP

The burgeoning political crisis between Maelstrom and Waterdeep creates an alternative vector for the PCs to follow.

For example, imagine that the PCs follow a path similar to that suggested in Storm King’s Thunder: They journey to Maelstrom and manage to get an audience with Serissa. She would like to trust them — it’s what her mother would have wanted — but it’s impossible under the circumstances. If they want the storm court’s help (to do whatever it is the PCs came here to ask them to do), then they need to help bring those responsible for her mother’s murder and father’s disappearance to justice.

Rather than giving them a casino chip, however, Serissa is going to point them in the direction of the “treacherous” Knights of the Blue Moon.

Meanwhile, in Waterdeep, Laeral Silverhand knows something has gone wrong: She was supposed to meet with King Hekaton and Queen Neri, but then, from her perspective, they abruptly postponed the meeting and a storm giant raiding party ransacked the Hall of Reflected Moonlight and murdered many Knights of the Blue Moon. (If you’re using Option #1, this may have been followed by additional storm giant raids.)

If the PCs are already working with the Lords Alliance or Harpers, it’s not hard to imagine that Silverhand might want to call in some agents with a proven track record for dealing with giant issues to get to the bottom of what happened at Red Rocks.

Either way, the PCs will get briefed on the details of Neri’s Peace — or, at least, a version of those events — and pointed in the direction of Red Rocks, the Hall of Reflected Moonlight, and the Knights of the Blue Moon.

Whichever direction they’re coming from, this investigation could quickly reveal the mismatch in communications between Waterdeep and Maelstrom.

From here, add three clues to reveal the agent responsible. (A chambermaid working for Silverhand? A lesser Knight of the Blue Moon who’s secretly a krakenar agent? Both of them locked in a forbidden tryst and working together?)

This agent, through three more clues, can then point the PCs in the direction of the Skum Lord, for whom they work.

The Skum Lord, of course, is an Involved node, and the PCs are now inside the Kraken Society conspiracy.

Tip: You might find it useful, particularly if you’re using this option, to have Imperator Uther discover Queen Neri’s body and lead the raid on the Hall of Reflected Moonlight during the events of the campaign, instead of having these events play out before the campaign begins. It will be a lot easier to create the sense of high stakes if events are playing out in real time, rather than waiting on hold for weeks or months for the PCs to level up.

OPTION #6: THE EXPEDITION TO ASCARLE

An expedition to the sunken city of Ascarle sounds incredibly cool!

… it’s also a huge undertaking and probably way outside the focus of a Storm King’s Thunder campaign.

If you’d nevertheless like to provide a path for the PCs to follow to Ascarle — one more layer hidden within the Kraken Society conspiracy! — then I’d recommend placing clues in Purple Rocks and on the Morkoth pointing the way.

Go to Part 4D: The Hekaton Revelations

Dragon in the Blue Night Sea - warmtail

Go to Table of Contents

To clearly see how the PCs can rescue Hekaton, we need a few key insights.

First, finding Hekaton is not the end of the campaign. For the reasons we’ve previously discussed, and which we’ll take an in-depth look at in Part 5, Hekaton’s disappearance is not the reason the Ordning is broken, nor will returning him to power restore the Ordning. Therefore, saving Hekaton will not end the campaign.

Importantly, this also means that solving Hekaton’s disappearance doesn’t need to be positioned as the end of the campaign: We don’t need to stop the PCs from “prematurely” solving the mystery and ending the campaign early, which will conveniently make it much easier for us to design a robust scenario for solving it.

So if we shouldn’t think of this as the end of the campaign, how should we think about it? Basically, on par with the other giant factions. “Solving the problem of the storm giants” will likely require a different solution than “solving the problem of the hill giants,” but it slots into the same “there’s something wrong with the giants and it needs to be fixed” structure.

Second, the PCs are not assigned to find Hekaton. Or, at least, they don’t need to be. Maybe they journey to Maelstrom, find a way to befriend Serissa, and she asks of them a boon to prove that not all small-folk are treacherous. Or maybe they’ll end up working for a faction and you could have them order the PCs to rescue Hekaton.

It’s more likely, however, that the PCs will simply discover that Hekaton is missing and then decide to deal with that situation themselves. Or they’ll report it to someone and the response is for that person or faction to ask them to look into it further. Either way, the impetus of action is flowing from the players.

Third, it’s the investigation of the Kraken Society that reveals the plot to kidnap Hekaton, rather than an investigation into Hekaton’s disappearance that reveals the Society. This will probably make more sense as we dive into the specific structure of the remixed investigation, but the key insight is that if the storm giants had been able to find any good leads at the crime scene, then they would already be pursuing those leads, not sitting around for months until a random group of small-folk showed up at their doorstep.

Therefore, logically, if you start from, “Hekaton is missing! How do we find him?” there aren’t any good leads.

The reason the PCs can be the ones to solve this is because, structurally, they approach the problem from a completely different direction.

THE BASIC PLAN

The Kraken Society addendum of the Remix provides a full breakdown of the organization. We’re going to break that organization into separate nodes, and then we’re going to classify those nodes as being either Involved (in the Hekaton conspiracy), Uninvolved, or Distant (and, therefore, unlikely to be encountered by the PCs).

INVOLVED

  • Waterdeep – Skum Lord
  • Neverwinter – Reefkin
  • Yartar – Lord Drylund

UNINVOLVED

  • Luskan
  • Thornhold
  • Dessarin Valley – Ghald & Unferth

DISTANT

  • Caer Westphal (in the Moonshae Isles)
  • Purple Rocks
  • Ascarle

For the moment, let’s discard the Distant nodes. The remaining nodes, whether Involved or Uninvolved, can all be encountered by the PCs during the Phase 3 pointcrawl. Any one of these, when encountered, therefore becomes the PCs’ entry point into the Kraken Society investigation.

In each Uninvolved node, include clues pointing to:

  • One or more Involved nodes.
  • One or more Uninvolved nodes.

In each Involved node, include clues pointing to:

  • Optional: One or more Uninvolved nodes.
  • The other two Involved nodes.
  • The Morkoth and how the PCs can locate it. (See below.)

And we’re done. The PCs can encounter one or more Kraken Society nodes while traveling across the Sword Coast and/or Savage Frontier, then follow the clues they find until they reach Hekaton. (Potentially unraveling krakenar operations as they go.)

THE LUSKAN AGENDA

To include Luskan on the list of Kraken Society nodes above, we’re presuming that there’s some fresh operation afoot there to reestablish the Society’s presence in the City of Sails.

It’s possible that this operation was under the command of Tholtz Daggerdark (SKT, p. 221), who we might characterize as a member of the Arcane Brotherhood. Daggerdark is now the captain of the Morkoth… perhaps the ship was built in the shipyards of Luskan? And the Kraken Society’s current scheme might have something to do with those shipyards, too?

FINDING THE MORKOTH

The basic concept here is that the Morkoth is sailing aimlessly through the Trackless Sea in the vicinity of the Purple Rocks, loaded up with wards that will prevent divination spells from revealing its location or the location of anyone or anything onboard.

This scenario is fundamentally sound, but it obviously means that the PCs need to (a) learn that Hekaton is onboard the Morkoth and (b) figure how to actually locate the Morkoth.

In the book, there’s one method for doing this: Drylund tells the PCs that the Morkoth is in the Trackless Sea and then the PCs just sail around randomly hoping they bump into it.

This option is not particularly compelling, and since it feels pretty hopeless unless you know that The Plot™ is going to deliver you to the ship, you may end up in a situation where the players just won’t go to the Trackless Sea because they’ll be convinced they need more information before they can succeed.

With that being said, keeping “we know the ship is somewhere in the Trackless Sea, so let’s just sail around and see if we can spot it” as a backstop option isn’t a bad idea. Fortunately, there are also some other options we could use:

  • The PCs discover navigational charts indicating where the Morkoth will be so that they can intercept it. The most logical reason for these charts existing is that someone in the Kraken Society has a reason for periodically intercepting the Morkoth; e.g., to deliver fresh supplies.
  • Alternatively, the PCs discover a beacon designed specifically to pierce the wards around the Morkoth and allow a ship to find it. (Probably for similar reasons to the navigational charts. Or perhaps the ritual which wards the Morkoth even from divine eyes actually requires the creation of the item as a lynchpin for the spell.)
  • The PCs access the kraken’s lighthouse. This powerful psionic artifact is attuned to kraken’s compasses, which are carried by ships and undersea agents loyal to Slarkethrel. The system allows for hyper-accurate navigation, but also allows those in control of the lighthouse to keep an eye on everyone using the system. The Morkoth is using a kraken’s compass to avoid other ships in the region, and it’s a key weakness in its wards.
  • There’s a permanent teleportation circle onboard the Morkoth. If the PCs can learn the sigil sequence for this circle, they can teleport straight to the ship.

You can pick whichever one of these sounds most compelling to you, and have the clues in the Involved nodes point to it.

Alternatively, they could ALL be true, with each Involved node having one of them as an option. There is a point, though, where a superfluity of options will make the Kraken Society feel childishly incompetent in their efforts to secure the Morkoth, which will also cheapen the players’ sense of accomplishing in conquering it.

So what I would recommend is picking the one you like best, putting it at Purple Rocks (so that the PCs have to go into the heart of the creepy krakenar cult), and then putting clues in all of the Involved nodes pointing to Purple Rocks.

With this done, you’ll have woven all of the Kraken Society nodes together, collectively pointed them through the Three Clue Rule at the Morkoth, and created multiple entry points the PCs can use to enter this knot of nodes and begin exploring them.

You’re good to go.

Go to Part 4C: Expanding the Path

Archives

Recent Posts


Recent Comments

Copyright © The Alexandrian. All rights reserved.