This is a product you shouldn’t ignore. Read the review. No, really: Read the review. I’m not kidding.
Review Originally Posted February 12th, 2001
After Winter Dark, I’m afraid, is one of those products which – if you saw it on the shelf at your game store – you would promptly ignore. I mean, it’s got three strikes against it:
- It’s from a company you’ve never heard of before.
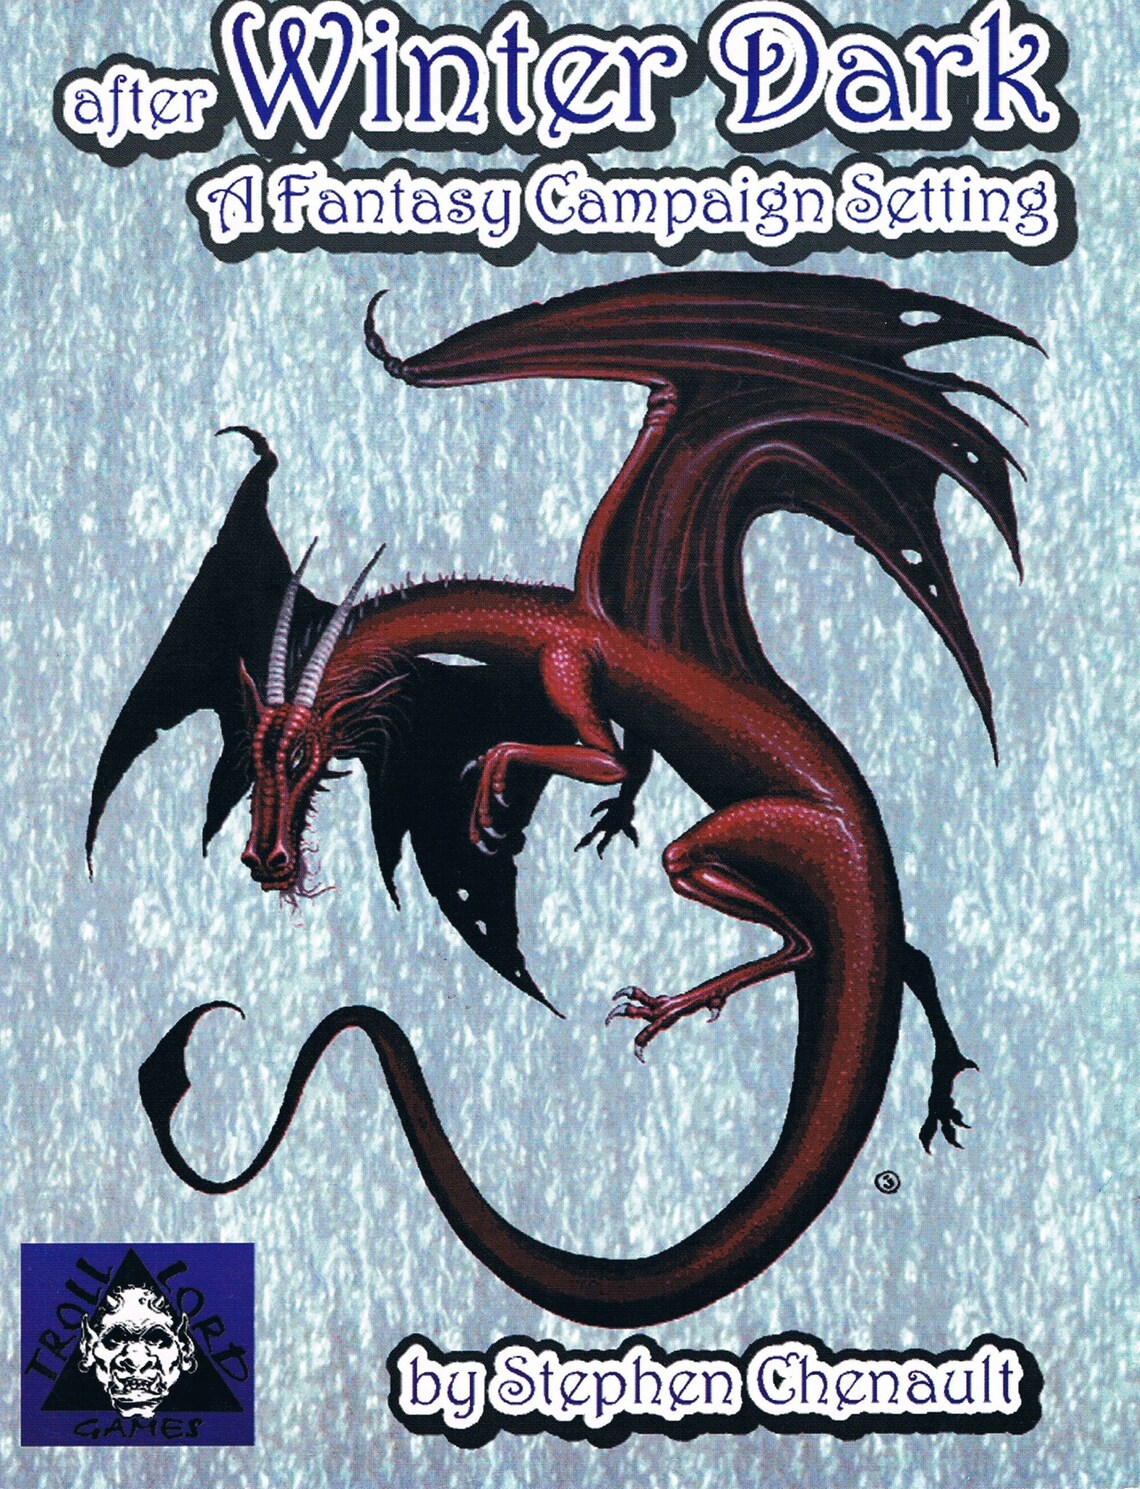
- The cover, while having a very nice picture of a dragon on it, still comes across as very amateurish in its overall composition and structure.
- It’s a generic fantasy campaign.
Whoa! Hold on there! Don’t hit the “back” button on me quite yet! Keep reading!
After Winter Dark is, thus, one of those products which is truly fun to review, because you know that you have the chance to let people know about an outstanding product which they might otherwise miss.
So give me – and After Winter Dark — a chance to change your mind.
WEAK POINTS
Let’s get these out of the way first: Yes, the cover has a certain taint of amateurism. The interior art is reproduced too darkly. And the two maps (one of the geographical forms and the other for the sociopolitical boundaries – a nice touch, by the way) are organized numerically, while the text is organized alphabetically (making it difficult to cross-reference between them).
After Winter Dark is also only 24 pages long – which isn’t so much a fault in the grand scheme of things (because, at $5, that makes it a far better deal than the comparable product on the market, the D&D Gazetteer), as it is a fault because I want more.
Okay, those are the downers. It’s all uphill from here.
HISTORY
The After Winter Dark campaign setting is placed upon the world of Erde. The story of its creation is fairly typical in all but the details: The All Father brought the world into existence, and during the Days Before Days all creatures knew his mind – even the Great Dragon Frafnog who, today, is the only being which remembers this ancient time. Given eternity, however, the All Father grew weary of his creation and allowed the dwarves to enter it – and the dwarves did not know his mind, and their empire grew great. Some of the dwarves settled far from their brethren and lived wholly above ground, eventually becoming the thirteen tribes of man. And the Great Trees still wandered wild, and the Dragons made their nests across the world, and for three hundred centuries Erde thrived beneath the light of the sun.
Then the Goblins came – from whence, no one knows (although there are whispers of dwarves forever twisted and corrupted by the dark and evil of the deep). The terrible sorcery of the goblins made war upon the dwarfs, and the Goblin-Dwarf Wars stretched across four millennia – smashing the world of the Days Before Days into chaos. In the final days of the wars, the goblin sorcerer Ondluche worked powerful magic in an attempt to undo the dwarves – but the magic went awry, and the mind of the All Father was broken, opening gates into all of his imaginings. Thus the multiverse was born, and a host of new creatures sprang into the world. From the All Father’s purest thoughts came the Faerie, but there were also darker things – demons and orcs and, worst of all, the All Father’s Nightmare: Unklar.
The Age of Dwarves came to an end, with the great societies of both dwarf and orc smashed back into a primitive state by their self-destructive war. And thus the Age of Man began. From their “shallow roots in the distant north, the thirteen tribes of men grew.” The tribes became kingdoms, and the greatest of the kingdoms became the Empire of Aenoch. Then the Empire decayed, and the Middle Kingdoms arose in its place. This was the Age of Heroes – when “men, elves, and dwarves battled the evil remnants of the Old Empire, and heroes, like Aristobolus the White, Luther the Gallant, Daladon Half-Elven, and the monk Jaren ruled the day”.
But the Age of Heroes was doomed to end in tragedy: Sebastien Oliver I, “last of the House of Aenoch”, summoned forth the “last breath of the Days Before Days”. Using vile sorcery he summoned forth Unklar from the Paths of Umbra, and Unklar slew Sebastien and for forty years made war upon the land – bringing all the world beneath his heel: “In the last only the Kingdom of Kayomar stood alone against him and his vile folk. But in the Catalyst Wars, they too were thrown down and their last King, Robert Luther, slain, and with him, Jaren the monk. Only the Great Tree avoided Unklar’s touch for it hid in the deeps of the Eldwood, on the edge of the world. There, servants of the Oak under the ranger lord Daladon struggled on through the long years of the millennial darkness. Jaren, taken to Aufstrag, languished there for a millennium.”
Thus came about the Age of the Winter Dark – when Unklar ruled with an iron fist, and a shroud of mist obscured the sun and brought eternal winter upon the land. Then, “in the 1019th year of Unklar’s reign the Winter Dark Wars began”. Unklar’s power had waned, and his opponents gathered about the Great Tree – Aristobolus returned from the Land of Shade and Chaos, Luther from the Sea of Dreams. Jaren was freed, Dalodon half-elven and Dolgon (the last dwarven king of Grundliche Hohle) came as well. “In the 1030th year of Unklar’s reign they stole into his throne room and cast him from the plane.”
That was sixty years ago.
This, then, is the world of After Winter Dark: There is just the faintest scent of Elric here, as the Young Kingdoms begin to build anew beneath a lingering shadow upon the remnants of an ancient past.
THE WORLD TODAY
It was the history of the After Winter Dark campaign which first caught my attention. You know that something is being done right if you are immediately enraptured with era after era of a world’s history: I can easily see myself setting entire campaigns in the time of the Goblin-Dwarf Wars, the Empire of Aenoch, the Age of Heroes, the Age of Winter Dark, or the Winter Dark Wars – not to mention the Young Kingdoms which are actually detailed in this pamphlet.
After Winter Dark takes the familiar, twists it just enough to make it its own, and then adds that ineffable quality of the epic which can take the ordinary and make it exceptional. In short, I was excited — and that’s worth $5 right there.
Erde’s cosmos and calendar are described, then its people and languages, followed by the gods and divine orders, and then the guilds and other organizations of the world. Finally, the individual lands are given brief descriptions (including their Lord, Capital, History, and Modern Classification). Finally, the major geographical and terrain features of the world of Erde are described.
The actual detail of the world, although sparse (as the format would suggest), is no less exciting than the history. A few examples.
Aufstrag. “Fell Unklar, brooding in fear, roused himself and fortified his Keep. Rending the earth with his great axe he cleaved huge rifts about the Imperial castle of Old Aenoch, and with sorceries created great pools of water and pestilence to cover the rent lands. And all of Aenoch between the rivers Udunilay and Uphrates was made a swamp of fell death.” Aufstrag was once the mighty stone citadel of Unklar’s rule – “in time of years the place became a cesspool of all things vile; tunnels, great and small, fanned out beneath the halls into the rock of the world, towers and buttresses rose into the sky, and the city sprawled out over hills”. The halls of Aufstrag have fallen into decay now, but Coburg the Undying – one of Unklar’s unvanquished lieutenants – is rumored to lurk within its massive halls, plotting for the day that he will reclaim his power.
(In my opinion, Aufstrag is simply a wonderful excuse for an elaborate dungeon. And I really hope that the Troll Lords return here some day with a product which will explore its dark depths in detail.)
Grundliche Hohle. The Deep Halls, as it is known in the tongues of men, is the oldest of the dwarven realms. Unklar opened it to the darkness and slew or enslaved Angrod’s people. Eventually, though, Dolgan – the last king of Grundliche Hohle – rose up from the slave pits and helped defeat Unklar. Now the dwarves have returned here, to reclaim their ancient land.
The Shelves of Mist. “These gently rolling, forested hills, north of the Darkenfold, are home to all manner of fantastic creatures. The many creeks and small lakes lend to the banks of mist which seem to forever hang over the shelves. ‘Tis said that these hills harbor the gates of Vakhund, doorways to other worlds.”
The Detmold. “An old and dark forest. Its short thick trees grow close together and crowd the northern road. It is said that Queen Ephremere of Aachen became one with the Unicorn here.”
Even in the brief span of 24 pages, it becomes clear that what truly helps After Winer Dark excel is the attention to detail: Specifically, Stephen Chenault has crafted a world in which every detail has been dipped in the fantastic and awe-inspiring. The mountains of Erde have a history; the hills echo with the ring of magic; the rivers flow from springs of time immemorial; and the entire world seems harmonized to an ancient, evocative song. If you can take nothing else from this product, you can take the rich elements from which it has been built and use them to spice your own campaigns.
This is a world of fantasy, above all, which deserves a much more detailed presentation. But, until that happens, we will have to content ourselves with After Winter Dark.
COMMERCIAL DETAILS
A full color poster map (21” x 32”) of the world of Erde is sold separately, also for $5. It is well done for the price, and I honestly can’t imagine using After Winter Dark without owning a copy. Check it out.
After Winter Dark and the After Winter Dark Fantasy Campaign Setting 21” x 32” Map can be ordered directly from Troll Lord Games or from Wizard’s Attic. Both of these have also been packaged with the CD-ROM editions of The Fantastic Adventure, Mortality of the Green, and A Lion in the Ropes for the low price of $10. I have reviewed The Fantastic Adventure, and will be reviewing The Mortality of Green and A Lion in the Ropes in the near future.
Style: 3
Substance: 4
Grade: B+
Authors: Stephen Chenault
Company: Troll Lord Games
Line: Sword & Sorcery
Price: $5.00
ISBN: 0-9702397-0-X
Production Code: TLG 1001
Pages: 24
This campaign setting has been vastly expanded and released as After Winter Dark: The Codex of Aihrde, but there is something still incredibly appealing about the slim, 24-page version I first read 20+ years ago.
This review nearly went astray. It somehow slipped through my original archiving of these reviews and, although I recalled reading After Winter Dark, I had actually remembered NOT reviewing it. (I think because I wrote half of a never-finished review of a later Troll Lord Games campaign supplement.) It was only because a review that will be reprinted next month mentioned that I had written a review of After Winter Dark “that could be found elsewhere on this site,” that I realized something was amiss.
Thankfully, I was still able to track down a copy of the review. And here it is!
For an explanation of where these reviews came from and why you can no longer find them at RPGNet, click here.