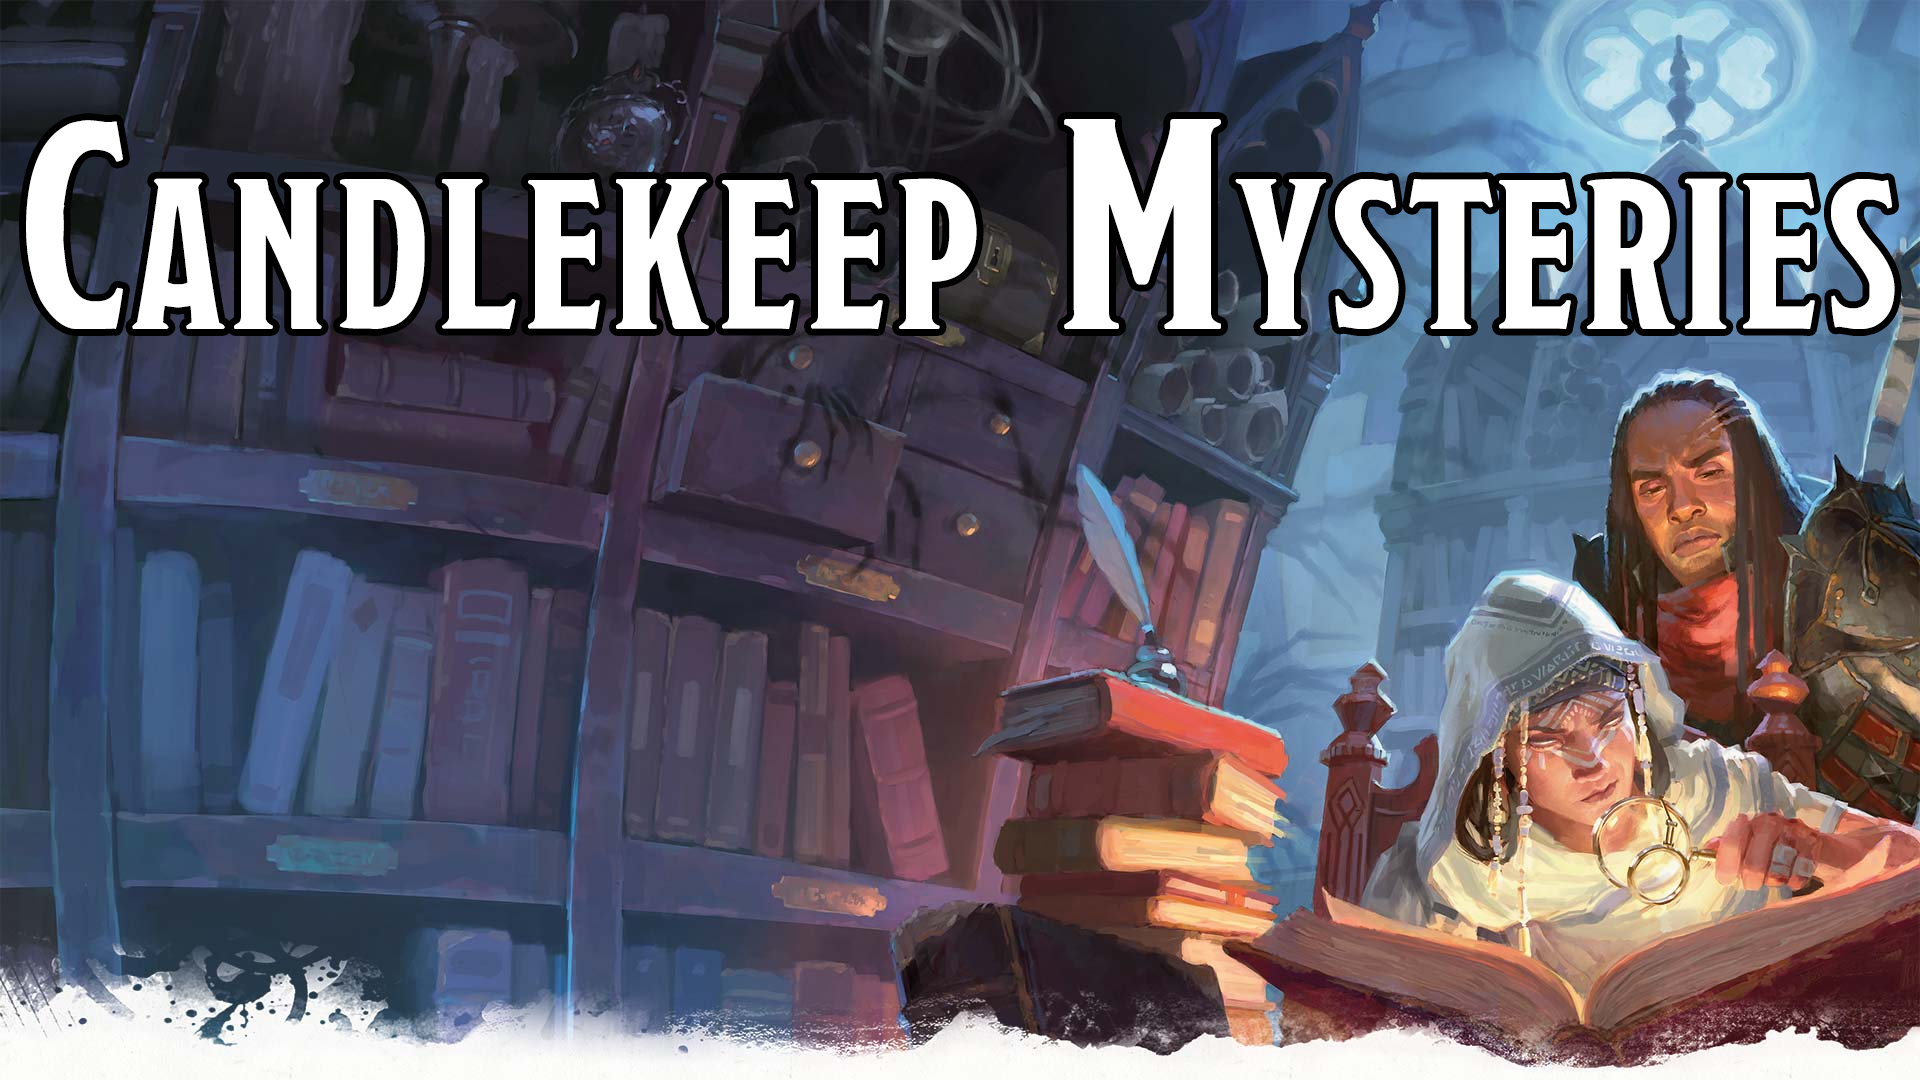
SHEMSHIME’S BEDTIME RHYME (Ari Levitch) has the PCs trapped in the annex of a library that’s struck by a magical curse. The Avowed place the annex under quarantine, creating a kind of bottle episode where the PCs are locked in with a small cast of NPCs.
The adventure, therefore, is a mixture of roleplaying with the NPCs; an escalating series of horror vignettes resulting from the curse; and a mystery where the PCs are trying to figure out the source of the curse.
Unfortunately, “Shemshime’s Bedtime Rhyme” doesn’t quite work. It’s not a bad scenario, but it also fails to be a particularly good one.
There are two fundamental problems here. The first is that, while the adventure isn’t precisely railroaded, the author does spend a lot of time trying to script the events as if they were designing a computer game.
For example, in Event 1: Quarantined, all of the NPCs have an immediate scripted reaction to Varnyr announcing that they’ve been quarantined (p. 65-66). Then the text immediately gives ANOTHER set of scripted reactions to Varnyr’s announcement to each NPC.
I initially couldn’t figure out why Levitch wouldn’t just list each NPC once with ALL of their reactions, but it clicked into place when I realized he was scripting a cutscene followed by the subsequent “click on an NPC” conversations of a CRPG.
The entire adventure, unfortunately, is sabotaged by this linear scripting. In addition to the NPCs, each of the events is also heavily scripted. And, since the author obviously can’t control the PCs, this leads to the common problem of everything in the adventure being described as a cool scene from a movie that the PCs watch play out in front of them.
Sure, the PCs can get involved and muck up these scripts. But because they’re designed as scripts, the adventure material quickly becomes worthless in actual play (unless you force the script).
 An even more fundamental problem are the NPCs themselves. If you think of John Carpenter’s The Thing or Ridley Scott’s Alien or Vincenzo Natali’s Cube, the thing that makes these stories click is that the high stakes and paranoia combined with the need for unified action cause the characters to slam into each other: I think we need to do A. You think we need to do B. We can’t do both. That is a conflict that needs to be resolved.
But that doesn’t happen in “Shemshime’s Bedtime Rhyme.” Everyone wants the quarantine to end. No one really has any idea how to do that, so they all just sit passively waiting for the PCs to click on them for their scripted dialogue.
Salvaging this adventure would mean scrapping the scripts and then re-designing from the ground up so that there were multiple high-stakes issues in play that could be played off against each other. Unfortunately, that would probably mean scrapping almost the entire adventure as written and starting over from scratch.
Grade: D-
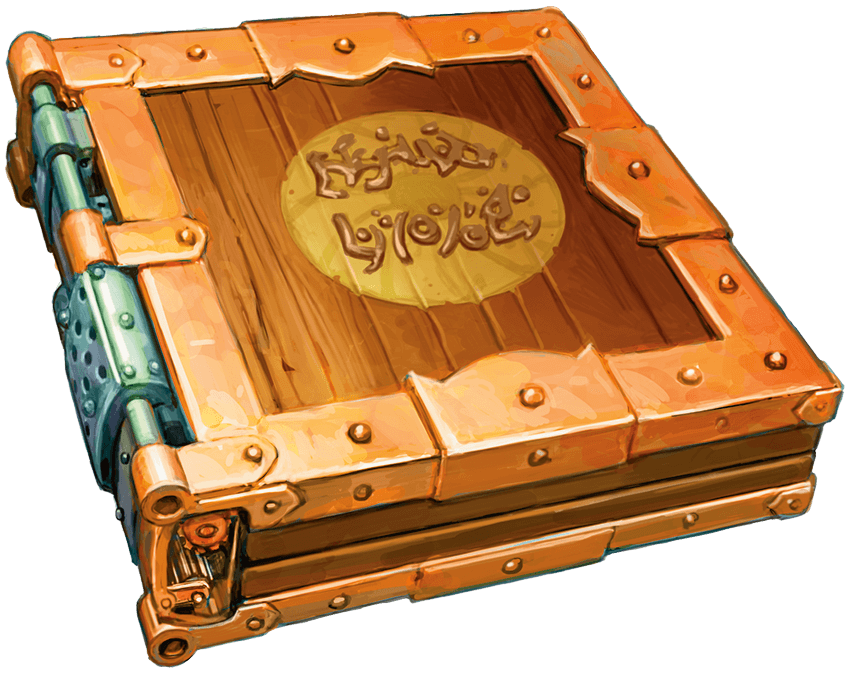
PRICE OF BEAUTY (Mark Hulmes) features the titular “book of tips for channeling self-love and inner-beauty” which is also a literal portal to a spa shrine dedicated to Sune, the god of love and beauty.
Unfortunately, the shrine has been suborned by hags, who are using it to curse the supplicants.
“Price of Beauty” is a pretty good example of how Candlekeep Mysteries takes scenarios with offer-type mystery hooks and then sandbags them with heavy-handed patron hooks. The adventure here begins with the PCs unexpectedly encountering the book and discovering that there’s a magic portal in it. This is an offer! It’s interesting! What will the PCs choose to do?
And the answer is: Be immediately interrupted by an NPC who comes in and says, “Oh good! You have the magic book! I need you to find the missing person who was last seen holding the book!”
Fortunately, “Price of Beauty” recovers easily from this sandbagging. It’s a nicely done creepy horror scenario where a beautiful place is revealed to have dark and terrible secrets. It has good maps, good flow, and good NPCs.
One fantastical element the adventure touches on that I really like is the concept of “this is an ancient text, written hundreds of years ago and a cultural touchstone for multiple generations… also, the author is an elf and still alive, so you can go chat with her.”
If you’re looking to run this adventure, I’d prep both an adversary roster and a revelation list. They’ll make it a lot easier to run the rich complexities of the scenario.
Grade: B
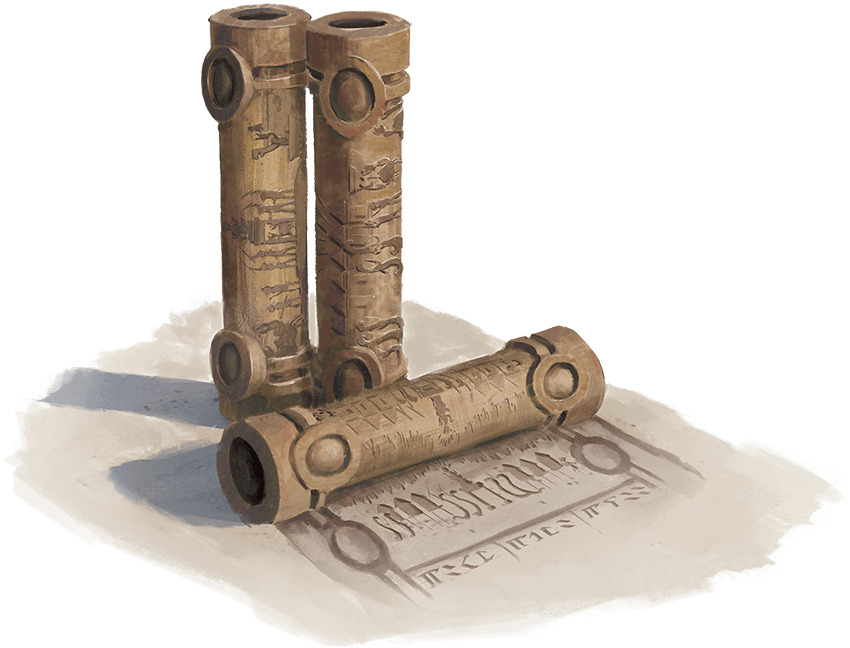
BOOK OF CYLINDERS (Graeme Barber) is a difficult scenario to talk about. Shortly after Candlekeep Mysteries was released, Barber publicly disclaimed the adventure as it had been published. He reported that it had been substantially altered between his final draft and publication. You can see his original Twitter thread and also a lengthier description of the entire creation process (and its aftermath) here.
This review, obviously, is going to be looking at the adventure as it was published.
And the biggest problem “Book of Cylinders” has, as published, is that its core structure is incoherent.
For example, the whole thing is set up as an investigation: The grippli village that provides fish to the Avowed of Candlekeep have stopped sending fish and the PCs are asked to investigate. Something is wrong with the grippli. What is it?
The PCs need to figure out that yuan ti have taken over the grippli village.
… but the initial quest-giver just tells them that yuan ti have taken over the village and that the grippli leader has fled to a nearby trading post.
Then the PCs talk to other people at Candlekeep, who tell them that yuan ti have taken over the village and yada yada yada.
Then they talk to a ship captain who tells them that yuan ti have taken over the village and yada yada yada.
 Then they talk to the grippli leader-in-exile, who tells them that yuan ti have taken over the village and yada yada yada.
“I’d like you to investigate the murder of Bob, who was definitely killed by Lara” doesn’t make for a great murder mystery.
Every adventure in Candlekeep Mysteries, of course, is supposed to have a book for its hook, so the quest-giver also gives the PCs a grippli book with a prophecy describing the events currently happening at the village. The book, of course, tells the PCs that yuan ti have taken over the village and yada yada yada. But the prophecy also doesn’t match what’s actually happening at the grippli village… so the whole thing is supposed to be a red herring, I guess?
The adventure is then structured to give the PCs a choice of how they want to go to the grippli village (and there are vestiges of a version in which this was a legitimate choice and the adventure had been designed to flexibly accommodate whatever the PCs chose to do)… but one of the choices is WRONG and you will be PUNISHED for choosing it:
In addition, you might pit the characters against some random encounters along the way, to hint at the error of their ways in turning down the sea voyage.
Once the PCs get to the village, a big deal is made out of what the yuan ti are up to:
The evil serpentfolk are here for a particular purpose, and as a rule they have no quarrel with anyone who doesn’t directly threaten their plan or try to impede what they’re doing.
The yuan ti have an agenda! They’re here for a reason!
What is it?
Couldn’t tell you.
The adventure never explains it.

The resolution of the adventure seems pretty straightforward: The PCs kill all the evil yuan ti, free the grippli and the good yuan ti, and everyone is happy about it.
But the adventure never provides a roster or count of the yuan ti in the village!
As published, therefore, I would describe “Book of Cylinders” as literally unplayable.
Grade: F
SARAH OF YELLOWCREST MANOR (Derek Ruiz) is another highlight of the book and a really good adventure.
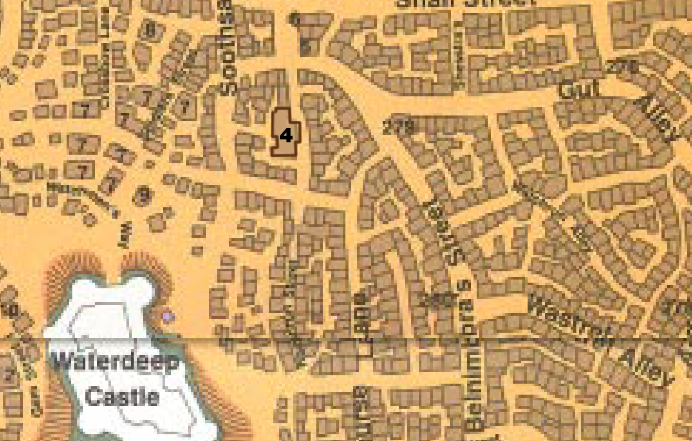
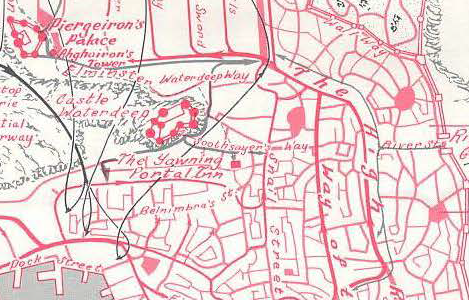
While perusing the stacks of Candlekeep, the PCs trigger a haunted journal. Sarah of Yellowcrest’s ghost points them on a path to seek vengeance for her murder. The ensuing investigation is  spread across three far-flung locations — Candlekeep, Waterdeep, and the village of Greenfast.
(It would be pretty easy to use this as the framing device for a mini-campaign if you wanted to — inserting other adventures as the PCs travel from one location to another, getting hooked into urban shenanigans in Waterdeep, and so forth. It could also be easily woven into a larger campaign, such as Storm King’s Thunder.)
The investigation itself is meaty, with a good mix of investigation methods: research, roleplaying interactions with varied NPCs, evidence collection, etc. Then the whole adventure culminates in a nicely xandered dungeon with a really satisfying key.
Plus! Ruiz wraps things up with a nice, tight write-up of potential fallout from the scenario. What I really like about this is that (a) it is, in fact, kept tight and (b) it provides concrete guidance, but is very flexible and reflective that the details of what the PCs actually do in the adventure will vary a lot. The adventure would be top-notch even without this final flourish, but it really seals the deal.
Grade: A
LORE OF LORUE (Kelly Lynne D’Angelo) is another adventure in which the titular tome turns out to be a magical portal. This particular portal leads to a demiplane that basically functions as a holodeck simulation of the 4th century DR.
This pseudo-holodeck includes quick saving (if you die, you can rejoin the rest of the group when they enter the next room). Unfortunately, it also uses the plotting of a Call of Duty game:
After the characters enter the book, their literal path is dictated by the story… If anyone tries to move away from the forest they are halted by an impassable barrier of force that disallows any other route.
(…)
No map is necessary for the adventurers to get from one place to the next; if they try to deviate from the direction the story takes them, the same barrier of force prevents them from making any progress.
Frankly, this is crap.
The arbitrary (yet completely meaningless) encounters that the PCs are arbitrarily shuffled between are… fine. Nothing particularly wrong with them. Nothing particularly interesting about them, either. They are functional and varied.
 I could point out that the metaphysics of the scenario are inconsistent (characters who aren’t present when the book is opened are allowed to join after the fact, but later the adventure says that they can’t). But it doesn’t really matter.
Because railroad.
I will note that the book is called Lore of Lurue and the holodeck demiplane is supposedly designed to instruct the reader/player in said lore…
…except, as far as I can tell, that doesn’t actually happen.
The closest the adventure seems to get is this passage:
In the prologue of Lore of Lurue — not a part of the story that the characters witness — Ecamane Truesilver describes the underlying truth of the situation…
Which is mind-boggling on multiple levels.
First, because the book explicitly does not have any text except an introductory scroll that plays when the PCs open the cover. (And so, no, there is no such prologue.)
Second, because this is literally the adventure saying, “We’re just going to skip the part that lets players have any clue about what any of this crap means.”
As a result, what you’re left with is a bunch of meaningless encounters that culminate with: “If the characters vanquish the corrupted avatar of Lurue or are in danger of being vanquished themselves, read [this deus ex machina].”
And: “Regardless of the outcome of the characters’ efforts, the book’s final scene ends the same.”
A simulated, heavy-handed railroad with no stakes, no meaning, and no consequences?
No thank you.
Grade: F
KANDLEKEEP DEKONSTRUKTION (Amy Vorpahl) has a concept: The janitors of Candlekeep — who have names like Rooster Muffin, Pig Wheat, and Ram Sugar — are actually a secret society who have learned that one of the towers of Candlekeep is a rocketship.
Not a magic rocketship. Or a spelljamer. Just a rocketship. That’s also a stone tower.
As the summary might suggest, this adventure is pretty deep in the wacky-for-the-sake-of-wacky school of D&D design. Wackity-schmakity-doo.
And, to be perfectly honest, this is clearly something that some people want, but it’s never done anything for me. I assume it’s meant to be funny? “Ha ha! There’s a dwarf named Rooster Muffin! So random!”
In short, this adventure is so far outside of what I’m interested in that anything designed like this is automatically unusable for me.
But if this sort of thing works for you, then this adventure is probably pretty good. Solid structure. Cool premise.
There are just a couple of things I would take a closer look at.
First, the scenario hook is a trifle… convoluted?
- A dwarf carrying a book walks up to the PCs and dies.
- The adventure assumes the PCs will read the book in detail before reporting the corpse to the authorities.
- The authorities are then assumed to confiscate the book.
- The PCs are assumed to then just go about their business until an earthquake hits.
- They are then assumed to talk to one specific person hanging out in the Candlekeep courtyard.
- That person will then escort them to the site of the adventure.
That probably needs a little TLC.
Second, the adventure assumes that the PCs will want to STOP the rocket ship from launching into space.
I mean… that doesn’t seem likely, does it?
“Here’s a flamethrower loaded with liquid awesome. You are not supposed to fire it!”
(If it were me, that rocket is definitely headed straight to an abandoned Spelljammer space station in orbit around Toril.)
Grade: C

ZIKRAN’S ZEPHYREAN TOME (Taymoor Rehman) starts with the players discovering a friendly djinni that has been trapped inside one of Candlekeep’s books.
The only way to help him?
Track down the wizard who trapped him in there.
Getting down to brass tacks here: This is just a really solid adventure.
The PCs pick up Zikran’s trail at one of his old, abandoned labs (which has been taken over as a lair by a young dragon). Then they follow clues to Zikran’s new lair, which is located in a HAUNTED CLOUD GIANT AIR FORTRESS that he’s trying to repair.
These are great locations, absolutely dripping with atmosphere presented near flawlessly with well-developed keys. The ghosts are incredibly creepy. I love them.
Grade: A