SESSION 31D: THE MIDNIGHT WATCH
November 9th, 2008
The 18th Day of Kadal in the 790th Year of the Seyrunian Dynasty
As midnight drew near, Tee left the Banewarrens and headed across Oldtown for her guard duties as a “cultist”. On her previous watches there had been little or no activity around the apartment complex. In fact, from all outward appearances, it seemed to be abandoned.
About an hour into her shift, however, Tee suddenly saw a light come on in one of the upper windows of the building. Her interest was particularly piqued when she realized that it was the window of the room in which Ranthir had clairvoyantly spied on a quarrel between cultists of the Ebon Hand and the Brotherhood of Venom.
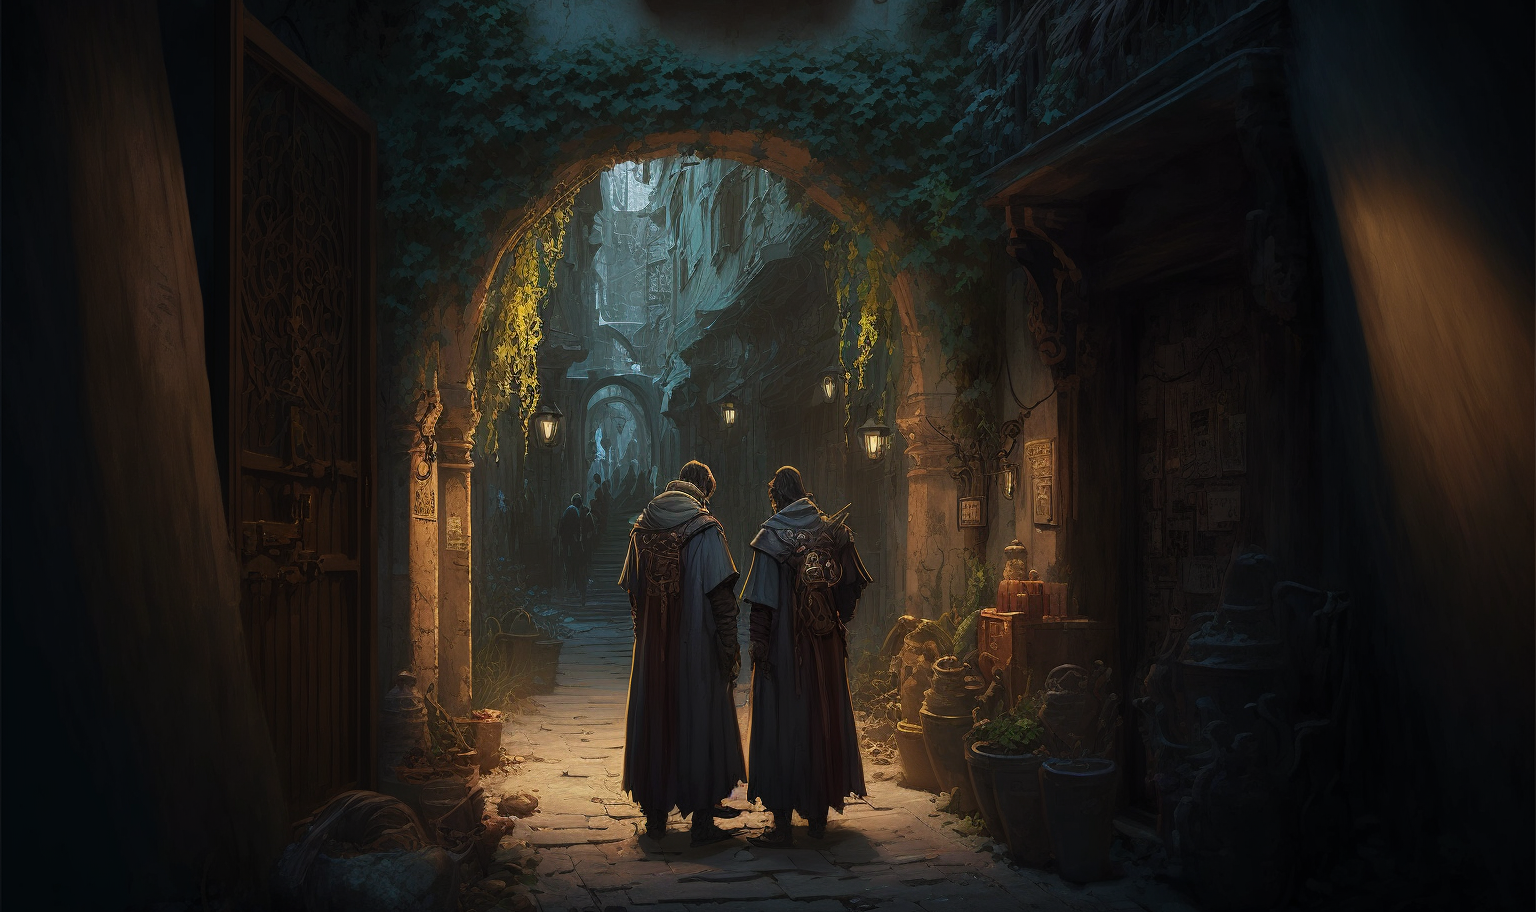
Tee slipped across the street and, using her magical boots, levitated up to the window. The curtains had been drawn, but they were cracked and she was able to peer between them: A grim-visaged man wearing grey robes and an iron breastplate bearing the symbol of a coiled serpent was kneeling next to the corpse Ranthir had seen left behind. After a few moments, he stood up and left the room.
Tee floated up to the roof and kept an eye on the street to make sure that he wasn’t actually leaving the building. A few minutes later, however, she saw a light through the rear windows of the building moving back towards the room with the corpse. She returned to the window in time to see a group of several people return: The same grey-robed man was accompanied by two others wearing serpent symbols and a fourth man with a large tattoo in the shape of a black hand on his throat.
After no more than a cursory inspection of the corpse, the group fell into arguing with each other. Tee was having problems hearing, so she cautiously cracked the window open.
“—we’re not going to stand for this!” This was the Ebon Hand cultist.
“Vocaetun, if you’re making some sort of accusation—“ this was the grey-robed man.
“I am! You may think that you can steal this research from us! But we have worked just as hard to perfect the venom-shaped thralls, and we won’t let you steal them from us.”
“It could have easily been one of the thralls who did this.”
“Don’t be absurd!”
At this point one of the Venom cultists slipped out of the room. The argument continued vociferously. It became clear that the two cults had been working together to create “venom-shaped thralls” – which Tee guessed must be the insectoid horrors that Ranthir had seen on the lower level – but now significant distrust was boiling up between the two groups.
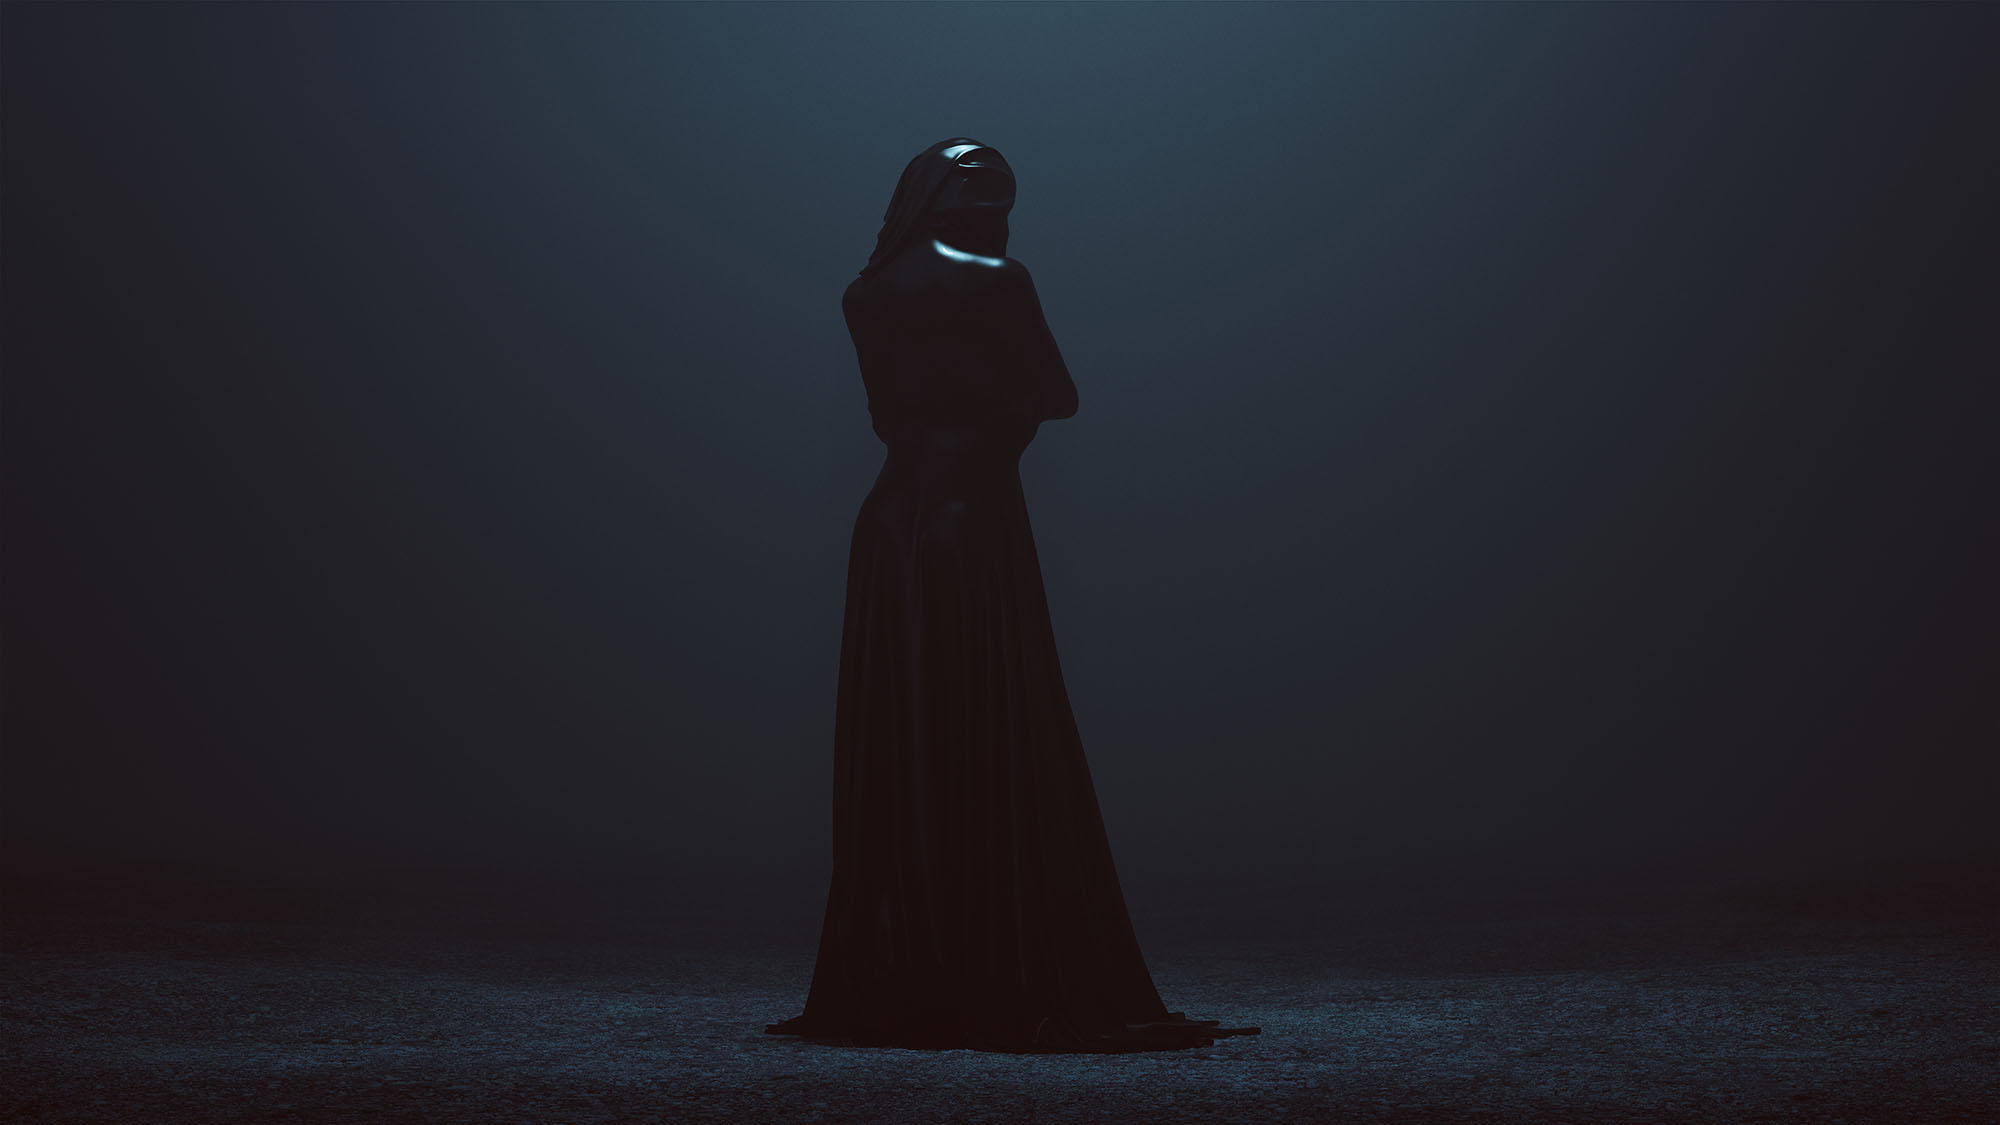
The cultist who had left returned, following a woman with golden-brown skin. Tee spotted a bell-shaped charm around the woman’s wrist.
As soon as they saw her, the other cultists fell silent. She eyed fixed them with a steady gaze until they settled down. “What’s going on here?”
“Reggaloch’s dead, Gavele. Theral found the body here.”
“Theral killed him you mean!” Vocaetun shouted.
While the other cultists went back to arguing, Gavele knelt down next to Reggaloch’s body and did a more thorough inspection of the corpse. Unnoticed by the others (but not unnoticed by Tee), she found a note and slipped it into her pocket. Then she stood up.
“That’s enough,” she said. “Reggaloch has been dead for days. Give the body to the thralls. They’ll eat it up. Then come with me and we’ll settle this. You really don’t want me to have to bring this idiocy to Illadras’ attention.”
At the woman’s direction, a couple of the cultists grabbed the corpse and hauled it out of the room. The rest of the cultists followed, taking the light with them.
Tee waited for a long while. When it was clear that none of them were coming back, she decided to go through the window. She eased it open silently and slipped inside.
She could hear sounds of movement from below, but nothing untoward here on the upper level. It looked as if the room had been torn apart: Various pieces of furniture had been smashed into kindling and scattered around haphazardly. There were doors to her left and right, but there was also a gaping hole punched through the far wall.
She headed through the hole in the wall into another large room. The floor creaked ominously under her weight. There was another hole in the far wall here, too, but she couldn’t see anything beyond it due to the lack of light. There were a couple of doors and one of these had been smashed open. Through it she could see a hallway leading to the stairs.
She decided to backtrack through the room where Reggaloch had died and tried one of the doors. Through it she found the remnants of a small apartment. In one corner of the ruined room she saw a cocoon of crystalline black secretions. In the other corner there was a second cocoon… but this one had been ripped open from the inside, and something seemed to be writhing in there.
I’m going to die in here… Tee realized with a sudden dread. She backed out of the room, shut the door, and escaped out the window.
She returned to her post across the street and waited for dawn to come. Just a few moments before the end of her shift, however, the door of the apartment building opened. The Ebon Hand cultist she had seen in the room above emerged and began walking down the street to the west.
She was just considering whether she should follow him or not when she spotted him surreptitiously passing a note to a man walking in the opposite direction. That settled the matter for her: She wanted to see that note.
She followed the messenger for several blocks and then, seizing an opportune moment, knocked him unconscious. She grabbed the note, quickly rifled through his purse (to make it look like an ordinary robbery), and then slipped away. When she was safely out of sight, she opened the note and read.
Malleck—
Reggaloch is dead. I am certain the Brothers of Venom are to blame. Gavele is deaf to our cause. I would urge you to send more of our brethren as soon as you can.
Vocaetun
Thinking quickly, she returned to where she had left the messenger. He was still unconscious. She quickly replaced the note and then woke him up.
“Hey! Are you all right? I saw that guy hit you and then—“
The messenger, with a look of panic in his eye, quickly patted himself down. As soon as he had confirmed that the note was there, he pushed his way past Tee and hurried down the street.
Alarmed, but not suspicious… Good. Tee nodded to herself and then headed back to the Banewarrens to meet up with the others.
A MORNING WITH ILTUMAR
When Tee returned to the excavated cave, she found Agnarr and Kalerecent on watch. Ranthir was awake, as well, having suffered from bad nightmares during the night. Waking the others, she proposed that they should renew the alarming charm that had been placed on the sealed door.
This needed to be done in any case, but it also gave them an excuse to leave Kalerecent so that they could speak in private. As they walked, Tee quickly briefed the others on what she had seen the night before.
(“You went inside?” Dominic said, incredulous.)
Elestra renewed the alarming charm and they made their way back to the excavated cave. All was quiet in the Banewarrens.
While the others rejoined Kalerecent’s watch, Elestra and Tor left the Banewarrens.
While careful to remain within the limits of her alarming charm, Elestra walked the streets of Oldtown. What she heard disturbed her: Late last evening, a small group of arcanists had magically animated the painted mural of the griffon in the common hall of the Griffon Tavern on Tavern Row. Three innocent bystanders had been killed by the creature before Sheva Callister had been able to stop it.
The word on the street was clear: The Killravens were making a concerted push to muscle in on the Balacazars’ protection racket along Tavern Row. There had been a few skirmishes between low level enforcers, but it was only a matter of time before the Balacazars started pushing back… and when they did, things were going to get ugly.
Nearly drowned out by the affairs on Tavern Row, there was another piece of news: A warrant of arrest had been sworn out for Sir Kabel. The charges were “disturbances of the peace” and “conspiracy to murder”.
Tor, meanwhile, headed down into Midtown. He met Iltumar at the Bull and Bear.
“Did you get a sword?”
“I did!” Iltumar said, patting the blade strapped awkwardly to his hip.
“Good. Do you have a horse?”
“… no.” Iltumar frowned.
“It’s all right. I’m sure arrangements can be made.”
And, in fact, they could. At the stable behind the Ghostly Minstrel, Tor saddled Blue and made arrangements to hire a horse for Iltumar for the day.
They rode up to the tournament grounds north of town. They were empty, but served as an excellent arena in which Tor could practice Iltumar on the arts of the sword.
As they worked, Iltumar slowly loosened up – both physically and with his tongue. “I think it’s important to fight for what’s right,” he said. “I wish I could do what you and Mistress Tee do.”
“What do you mean?”
“Making a difference in the world,” he said. “That’s all I dream about, really.”
Tor grunted. “That’s a noble sentiment. And now… defend yourself!” And he pressed the attack again.
Running the Campaign: Roleplaying NPC Scenes – Campaign Journal: Session 31E
In the Shadow of the Spire: Index